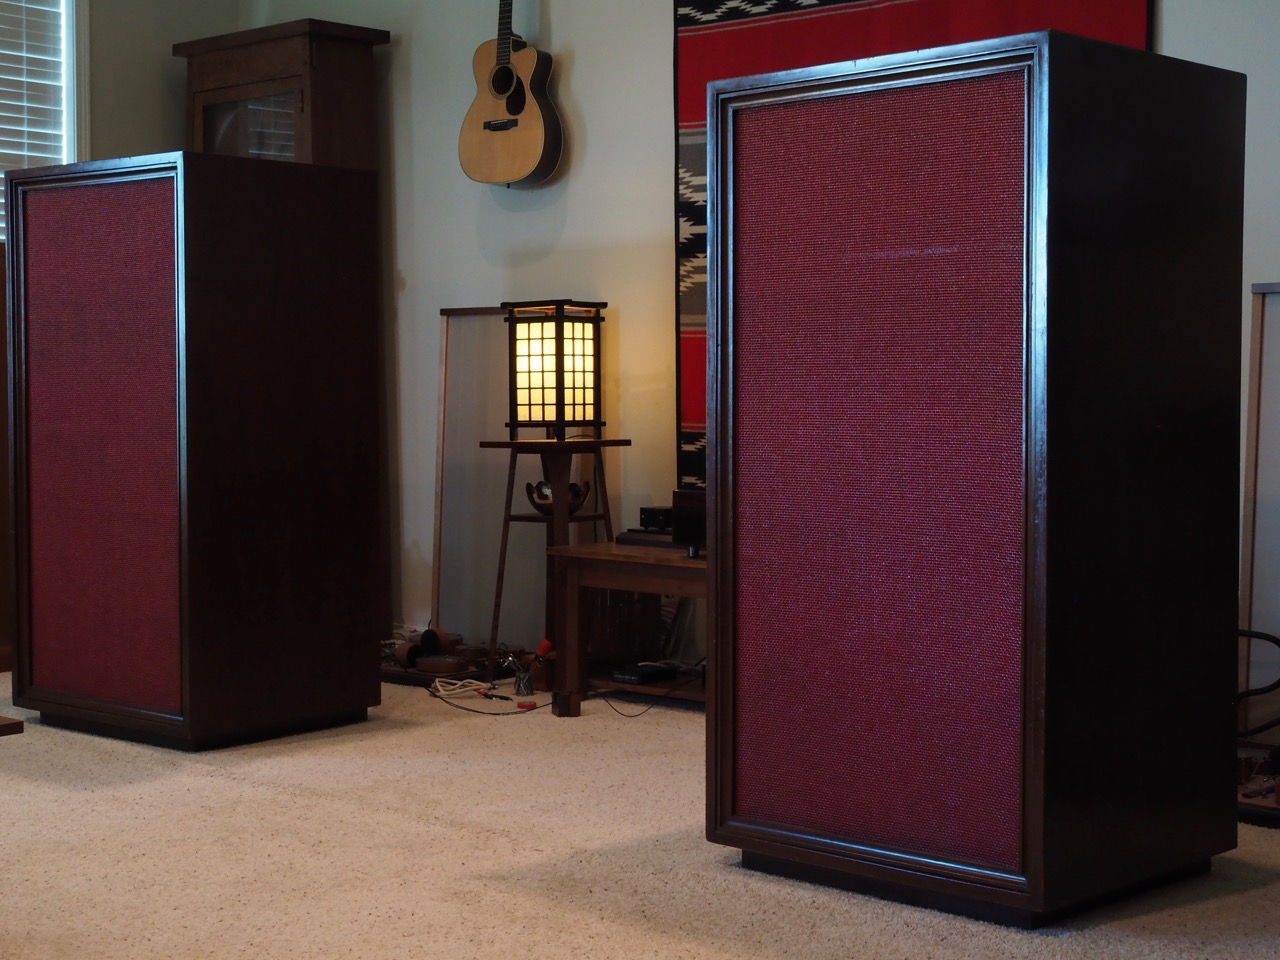
As I mentioned earlier, after we got the "Stokowski" Altec's setup in my living room, we listened to a little music while catching up on recent events in each other's lives over a few beers, and we were astounded at how good the "Stokowski" Altec's sounded in my living room with my vintage McIntosh vacuum tube electronics.
One might wonder why Dr. Stokowski went to the trouble of having custom Altec's built for him given the availability of a variety of high-quality domestic Altec loudspeakers at that time, like my own Altec 832A Corona loudspeakers. Or why didn't he just use Altec professional loudspeakers like my Altec A5 Voice of the Theatre loudspeakers?
Well one listen will tell you, as this particular combination of Altec drivers, horns, crossovers, and the massively braced cabinets chosen for the "Stokowski" Altec's sound incredibly good together!
As superb as my vintage Altec 832A Corona loudspeakers and my vintage Altec A5 Voice of the Theatre loudspeakers are in their own right (I love them!), the custom "Stokowski" Altec's are significantly better performance-wise, both musically and sonically, and exude an uncanny live-like portrayal of music being played in front of the listener.
It was a real treat to hear what the "Stokowski" Altec's were capable of with my vintage McIntosh MX110Z tuner-preamplifier, vintage MC30 monaural amplifiers, and CTC Garrard 301 turntable, which are hifi components that are similar to what would have been available to Dr. Stokowski during the period they were built, and it gave me a good sense of what Dr. Stokowski would have heard in his own Fifth Avenue apartment.
Considering Leopold Stokowski's enormous influence upon the world of music, film, recording, and audio engineering during his lifetime, I was fascinated by hearing what his reference loudspeakers could do compared to contemporary high-performance loudspeakers like my Westminster Royal SEs, and they didn't disappoint!
When participating in the development of audio equipment, Dr. Stokowski refined their performance by comparison to live performances of the symphony orchestras he conducted, even doing live A-B tests in an adjacent room with his orchestra playing, and refining their audio performance based on what his talented and informed ears heard.
Considering Dr. Stokowski's methodology for developing audio equipment based on what he heard in live performances of his own orchestras, it's no wonder these nearly six decades old custom loudspeakers of Dr. Stokowski's are competitive with the best loudspeakers of today in terms of their live-like musicality and sonics, and are more than competitive in the way they provide a sense of musical engagement from an emotional standpoint.
The listening revelation that these grand old custom Altec's of Dr. Stokowski's were so very good in terms of musicality, sonics, and emotional impact, made the Duelund-Altec Project a particularly exciting audio adventure to be a part of!
Building the Duelund CAST Tinned-Copper Crossovers for the "Stokowski" Altec's
The vision for the Duelund-Altec Project was to replace the stock N-500-D Altec crossovers of the "Stokowski" Altec's with crossovers built utilizing the latest Duelund CAST tinned-copper components in a Hiraga-inspired circuit, both to demonstrate the Duelund CAST tinned-copper crossovers' performance, as well as to find out how much the Altec's already excellent musical & sonic performance could be enhanced by doing so (it was a dramatic improvement, as you no doubt gleaned from my introduction).
As I describe the process of building and voicing the Duelund CAST tinned-copper crossovers, I'm only going to touch upon the high points at each step rather than going into detail about each step, as you can read all the details I reported over time at my Jeff's Place blog if you wish.
Here are the nine main steps for building the crossovers:
- Breadboard the crossovers with the Duelund CAST tinned-copper components.
- Give the components adequate run-in time, refine the Hiraga-inspired crossover circuit, and finalize it.
- Choose gauges of Duelund DCA tinned-copper crossover and driver internal wiring that best complements the musical & sonic performance.
- Design the plinths for the crossovers, and have the plinths built.
- Transfer the Duelund CAST tinned-copper components to the completed walnut plinths from the breadboards inside the high-frequency cabinets, optimize their position, and secure them into position.
- Wire the components together using custom terminal strips from Santos Oropel at Troy Audio.
- Test the crossovers to make sure everything was working correctly.
- Mount the completed crossovers back into the high-frequency horn cabinets of the "Stokowski" Altec's.
- Pop the cork on a bottle of Champagne and celebrate success!
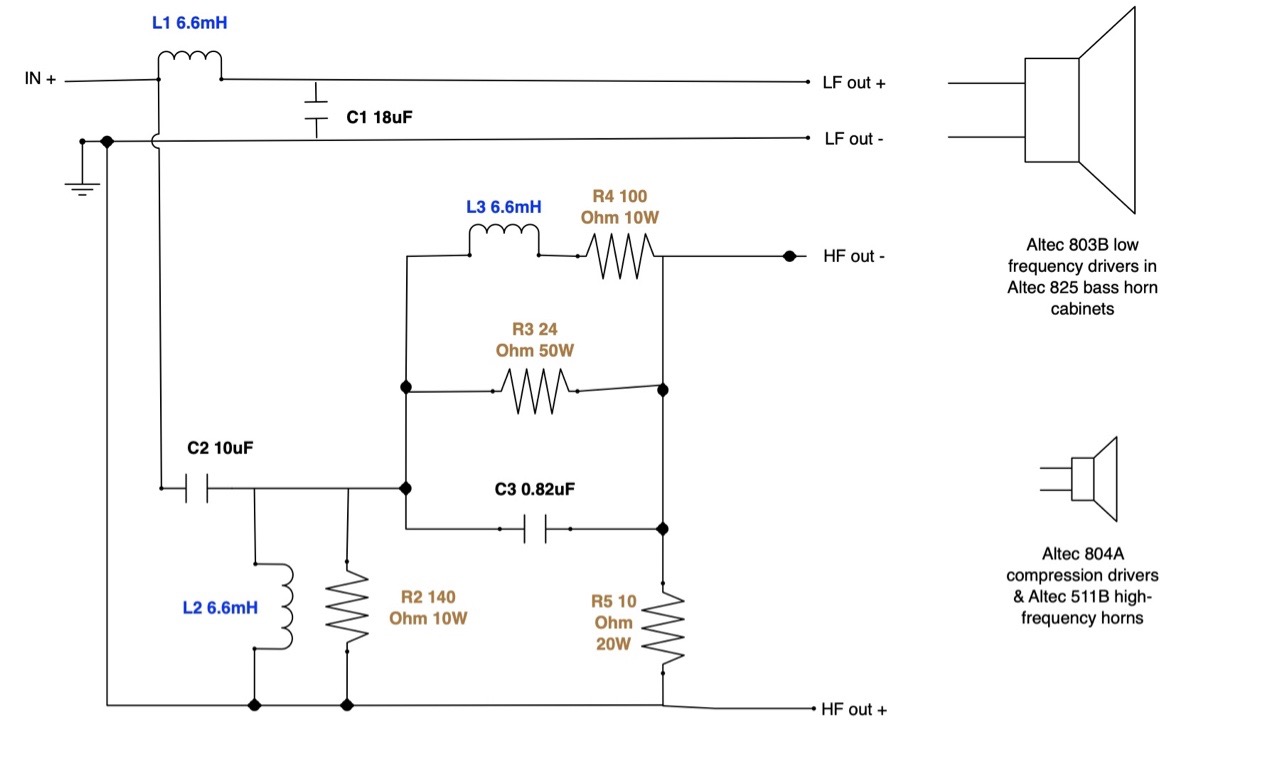
As I mentioned earlier, here are the Duelund CAST components that make up one crossover (double the amounts below for a pair of crossovers):
Low-Frequency Circuit
- One 6.6mH Duelund CAST tinned-copper inductor at L1.
- One 18uF Duelund CAST tinned-copper capacitor at C1.
High-Frequency Circuit
- Two 6.6mH Duelund CAST tinned-copper inductors at L2 and L3.
- One 10uF Duelund CAST tinned-copper capacitor at C2.
- One 0.82uF Duelund CAST tinned-copper capacitor at C3.
- One 140 Ohm 10W Duelund CAST "Jeffistor" resistor at R2.
- "One" 24 Ohm 50W Duelund CAST "Jeffistor" resistor at R3 (comprised of five 4.8 Ohm 10W Duelund CAST "Jeffistor" resistors in series connection).
- One 100 Ohm 10W Duelund CAST "Jeffistor" resistor at R4.
- "One" 10 Ohm 20W Duelund CAST "Jeffistor" resistor at R5 (comprised of two 5 Ohm 10W Duelund CAST "Jeffistor" resistors in series connection).
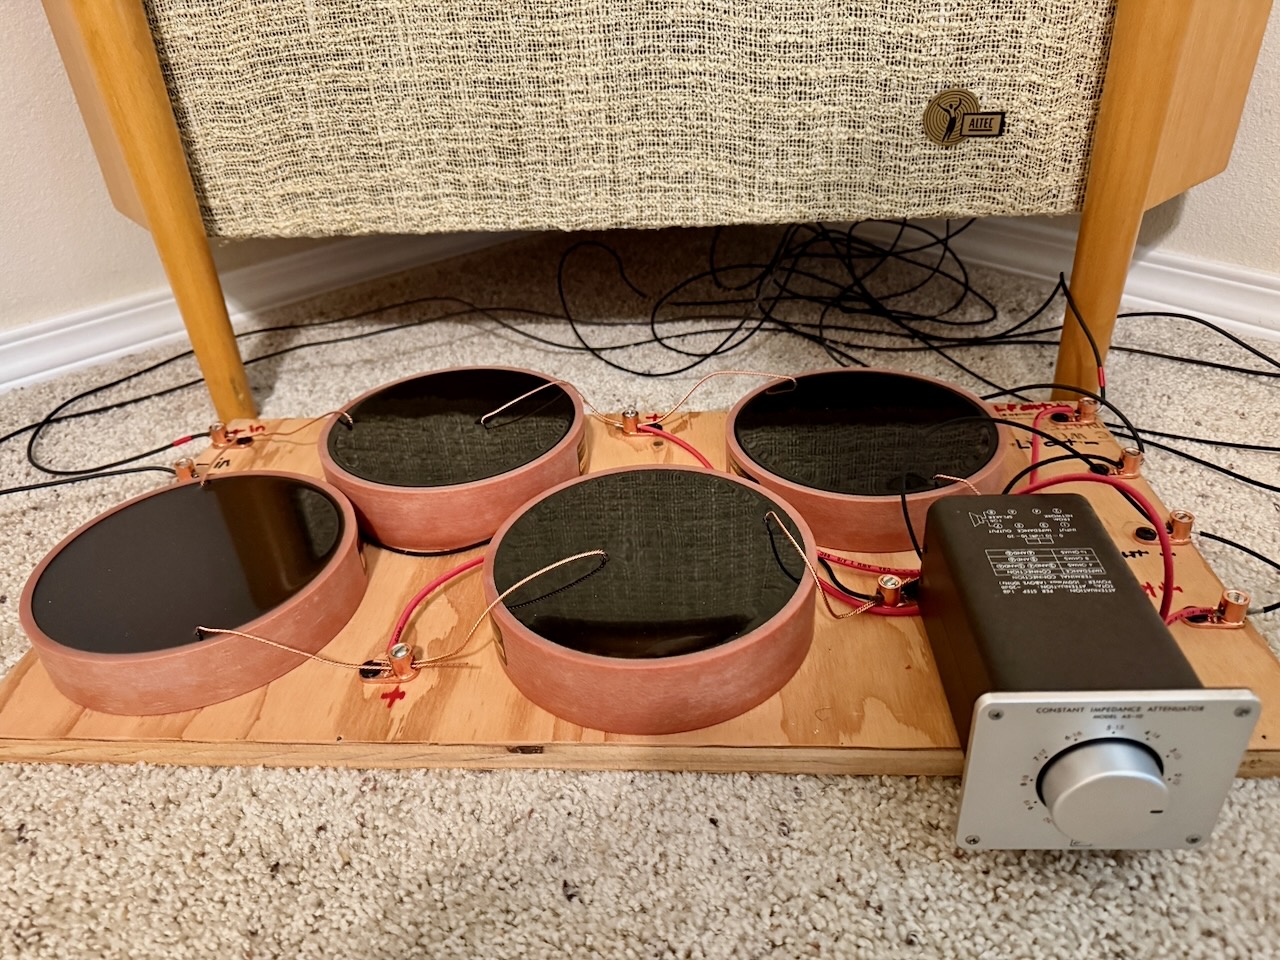
Step One – Building the Breadboards
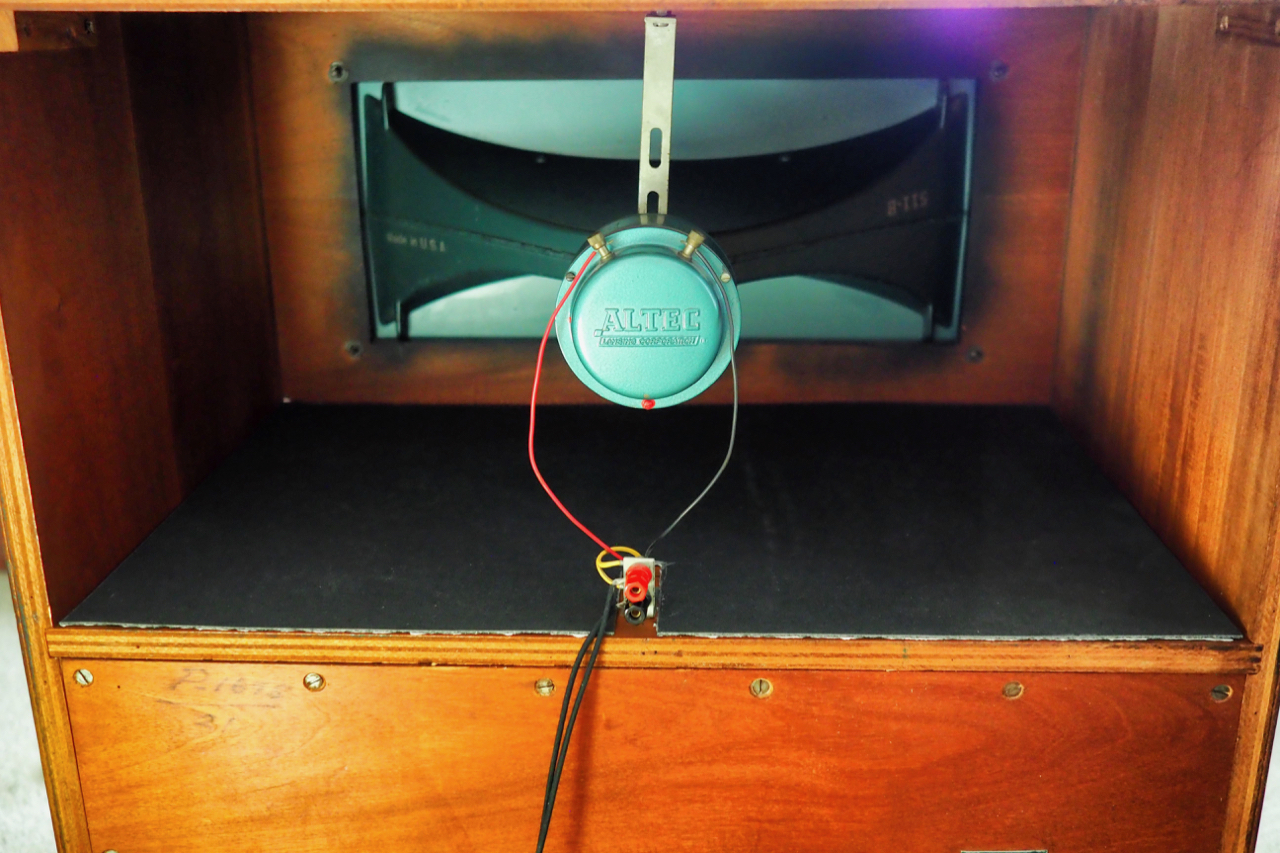
The first step was to "breadboard" the crossovers, which is to say I had to figure out how to lay out the Duelund CAST tinned-copper components for the low- and high-frequency circuits of the crossover in such a way as to get them all to fit into the space I had available to work with in the high-frequency cabinet enclosures, where I ultimately wanted to mount the crossovers.
It turns out that the 18 1/4 inches by 28 3/8 inches of space available on the inside bottom of the Altec high-frequency 511-B horn cabinet enclosures provided just enough room for the installing the Duelund CAST Sn-Cu crossovers—it was actually even a bit of a tight fit!

I laid the Duelund CAST tinned-copper components out directly onto Soundcoat GPDS damping sheets I had cut to fit inside the high-frequency horn cabinets.
As an aside, the Soundcoat Company, who has been providing specialized noise & vibration control solutions for aerospace, medical, and industrial applications since 1963, engineered the GPDS damping sheets to stop structure-borne noise and vibration, like you get in electronics components chassis, or in my case, the loudspeaker enclosures.
The Soundcoat GPDS damping sheets are about the thickness of cardboard, but are much denser and stiffer. The top of the GPDS sheets have a hard finish, which is the side that the Duelund CAST components were mounted to. The underside has a dense viscoelastic polymer material that damps vibration. The underside also has an adhesive covered by a peel-off backing, so I was able to just stick the GPDS to the cabinets' surfaces to secure it.
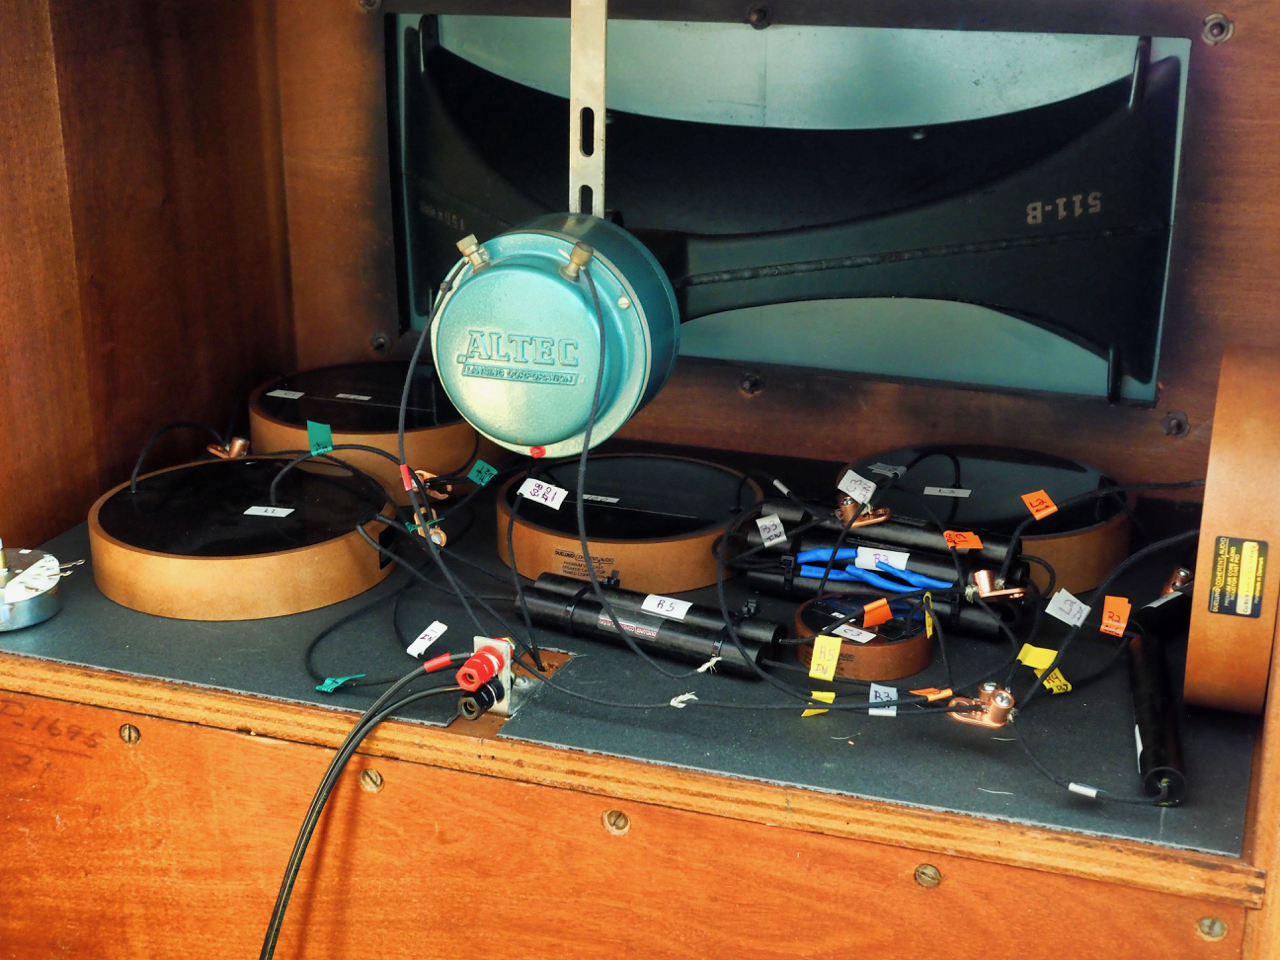
The breadboards were designed to be functional in terms of getting everything assembled and tested to make sure the crossovers were operating correctly, and were not intended to be "pretty" in industrial design terms.
Step Two – Running-In, Refining, and Finalizing the Crossover Circuit
Originally, I had intended to include L-pads in the crossover circuit to allow for the adjustment of the high-frequency to low-frequency balance of the drivers, like I had with the crossovers of my Altec A5 Voice of the Theatre loudspeakers (circuit below).

However, after getting the crossovers breadboarded and running them in, it became apparent that it was unnecessary to include the L-pads for the "Stokowski" Altec's, as the high-frequency circuit with the Duelund CAST tinned-copper components didn't need the additional equalization that my Altec A5 Voice of the Theatre loudspeakers did.
With the Duelund CAST tinned-copper components the high-frequency circuit performed best when run wide open without the L-pads, so I removed the L-pads from the circuit (circuit below).
Step Three – Choosing the Wiring for the Crossover Circuit and Drivers
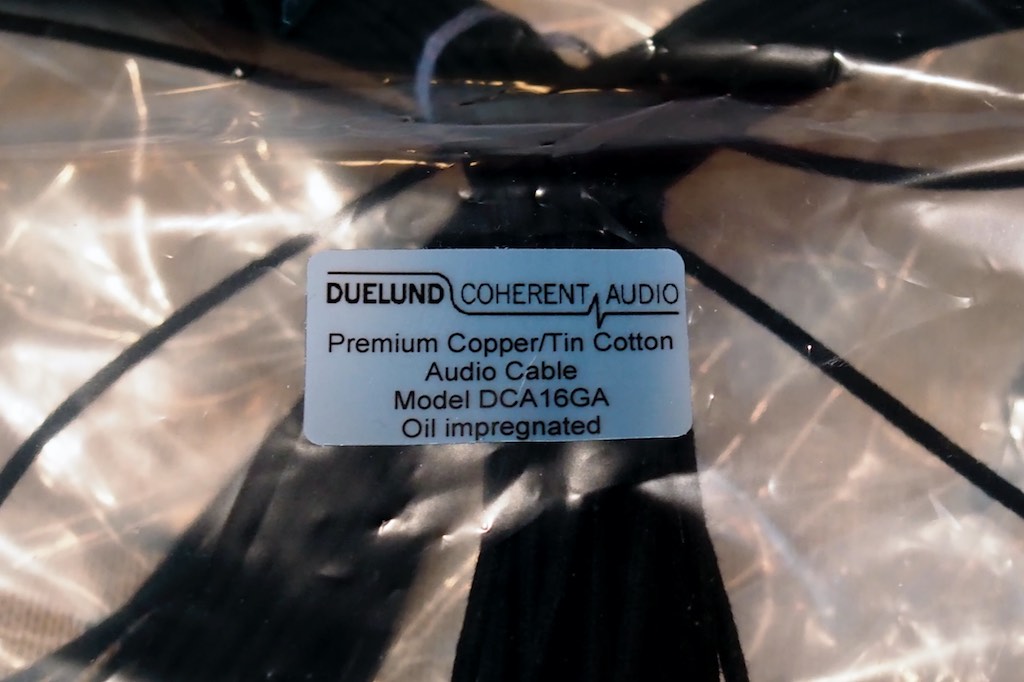
I wired the crossovers internally with Duelund DCA16GA tinned-copper wire, as well as connected the Altec 803B low-frequency driver to the crossover with DCA16GA tinned-copper wire.
I also used DCA16GA for speaker cables, which my "Stokowski" Altec's, Altec A5 Voice of the Theatre, and Altec 832A Corona loudspeakers all seem to thrive on.
For connecting the 804A compression drivers to the crossovers I tried both the original DCA20GA and new 600V DCA20GA with its CAST-like insulation, and the DCA16GA tinned-copper wires, and all sounded really nice, albeit with each providing a different overall blend of musicality & sonics.
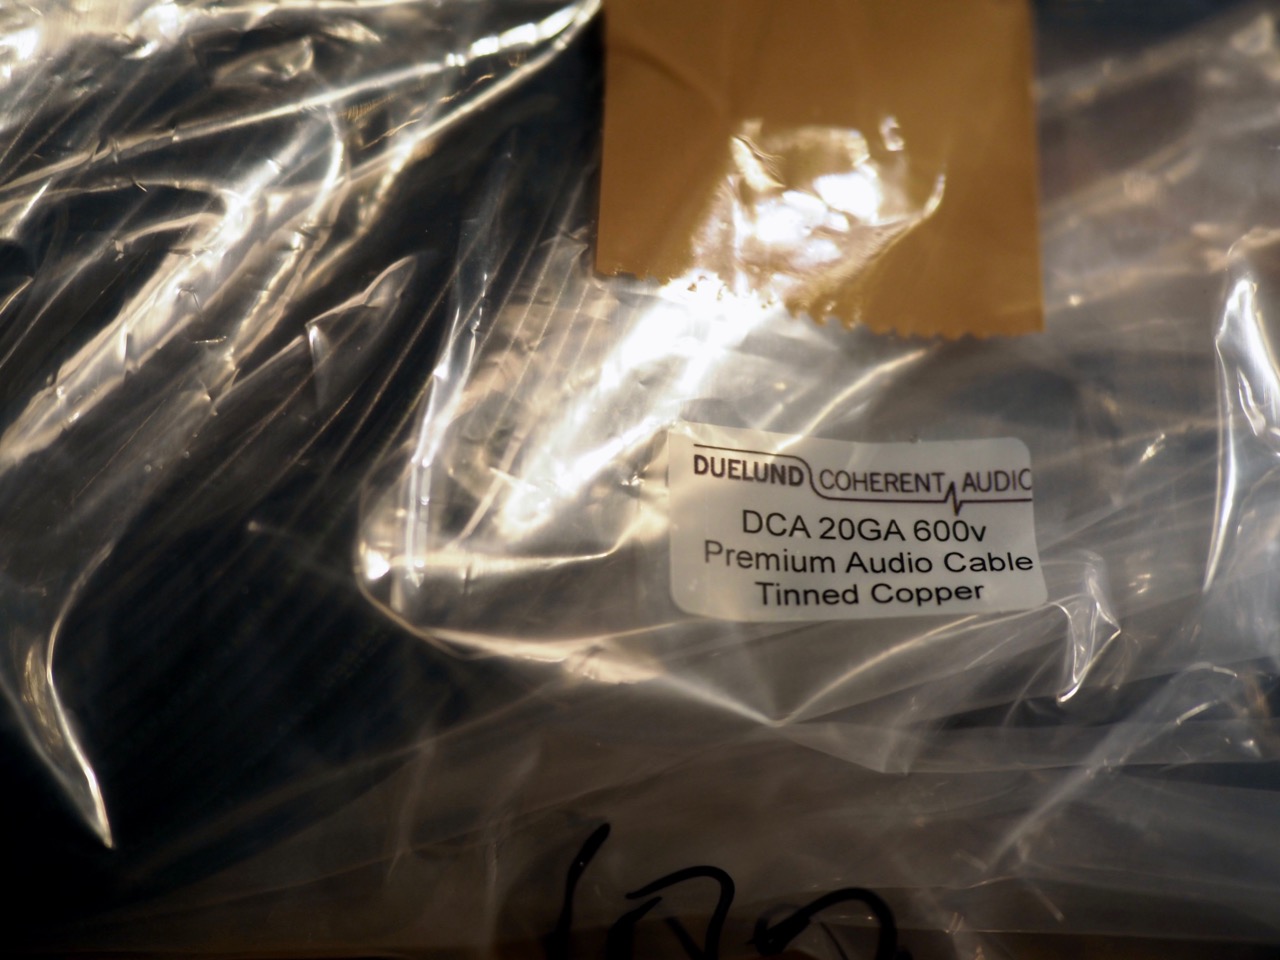
I'm using the new Duelund 600V DCA20GA to connect to the 804A compression drivers from the crossovers, and it's a nice match to the overall system voicing.
As an aside, as I put different review equipment into the system, I've found that being able to swap out the compression drivers' wires for the original DCA20GA, the new 600V DCA20GA, or the DCA16GA tinned-copper wires makes for a quick change that allows for a little complimentary voicing to get the best out of review equipment.