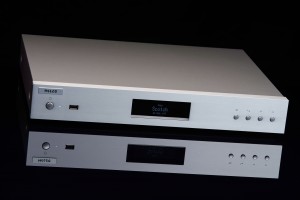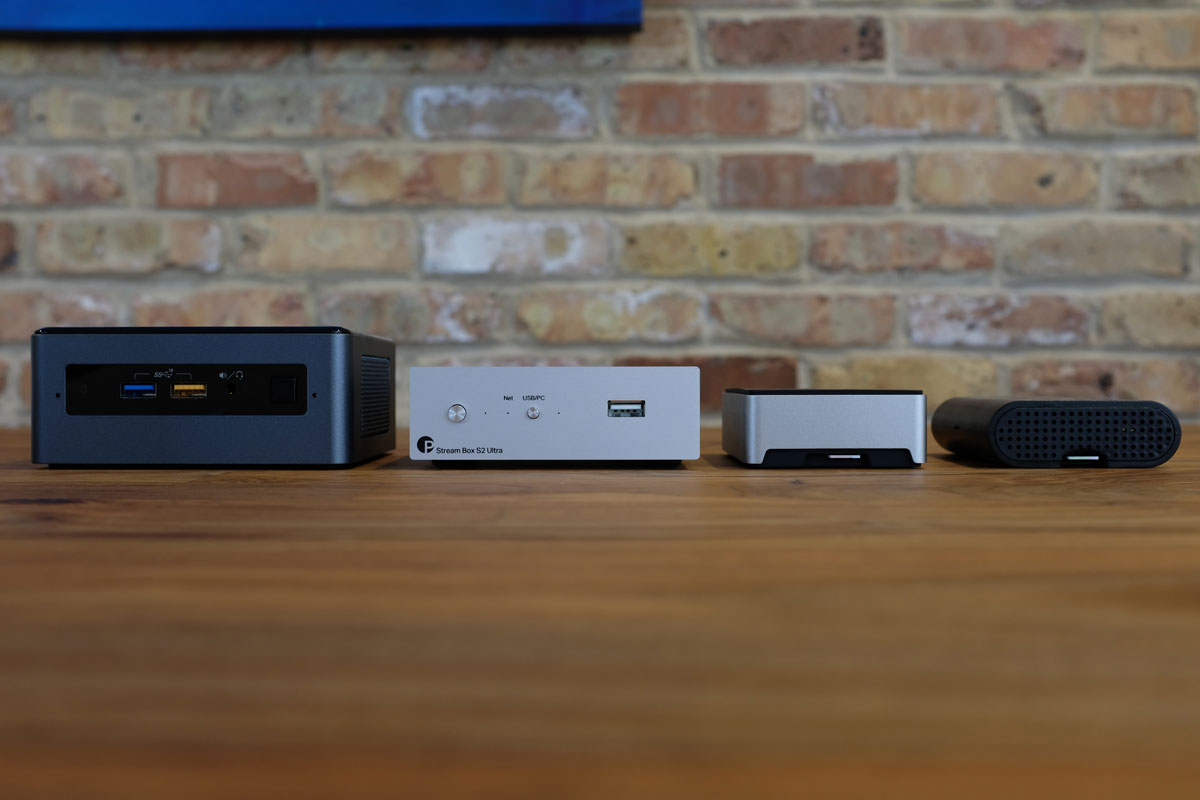
From left to right, Intel Nuc Roon Core, Pro-Ject Stream Box S2 Ultra, Raspberry Pi 3 B+, Raspberry Pi 3 B+
Over the past year I have spent a significant amount of time working on solving what appeared to be a simple problem. How do I distribute my digital music throughout my home in an easy to use, yet high fidelity manner? While the problem initially seemed like it should be simple, the reality was that there were many different paths I could pursue to get to digital audio bliss. However, each of these paths produced its own list of pros and cons. To help me determine the right path, I decided to write a set of requirements:
- The solution must be centrally managed. All physical music should reside in single place.
- The solution must provide a way to control playback in various "zones," and different music must be able to play in each zone at the same time.
- The solution must support bit-perfect playback and high resolution music.
- It must be easy to use, while I am an audiophile, my wife is not, and whatever solution I put in place needs to be just as accessible for her as it is for me.
- The control software must work on an iPhone, iPad, or computer. The user interface and visual presentation must be subjectively nice.
- The solution should preferably integrate with an online music service such as Qobuz or Tidal to provide a lossless streaming library in addition to my digitized CD library.
- The solution cannot be vertically integrated, what I mean by this is I must be able to buy components for all aspects of this solution from various manufacturers. For example, if I need a streamer, there needs to be multiple options on the market, and preferably even an option that I can put together myself.
With these seven high level requirements in mind, I started to look at options and I ended up narrowing down these down to Sonos, Bluesound, Plex, and Roon. Sonos met every requirement except for high resolution playback, which was a deal breaker for me. Bluesound looked very interesting; however their hardware prices and lack of strong partner hardware ecosystem caused me to keep looking.
This lead me to the final two options I looked at: Plex and Roon. Plex was the "easy" path for my current home setup. I already had a Plex server that managed my movies, TV shows, and over the air TV. At the time I was already using Plex to stream my digital music to my main speaker system. What caused me to evaluate other options though was that while Plex is an excellent media center software, it is not purpose built for music. It does not have a partner ecosystem of music streamers or music geared devices. I could go out and set up a computer for each one of my endpoints (to act as Plex streaming endpoints), but the solution felt a bit more hacked together, and less purpose built then I was looking for.
This left me with Roon. Using Roon I was able to satisfy all seven requirements from the list above. What I liked most about Roon was that they provided software and built excellent partner and do it yourself ecosystem around their software. The result was that I was able to set up a purpose built dedicated digital music streaming system with four zones, and a centrally managed dedicated Roon Server for under $1000. The vast majority of this initial system fell under the do it yourself umbrella. I built my own Roon ROCK server and my own digital endpoints based on the Raspberry Pi 3. The setup was surprisingly simple, and the result is digital distribution back-end that makes listening and enjoying music so simple that both I and my wife use it throughout our home.
How should I run my Roon Core?
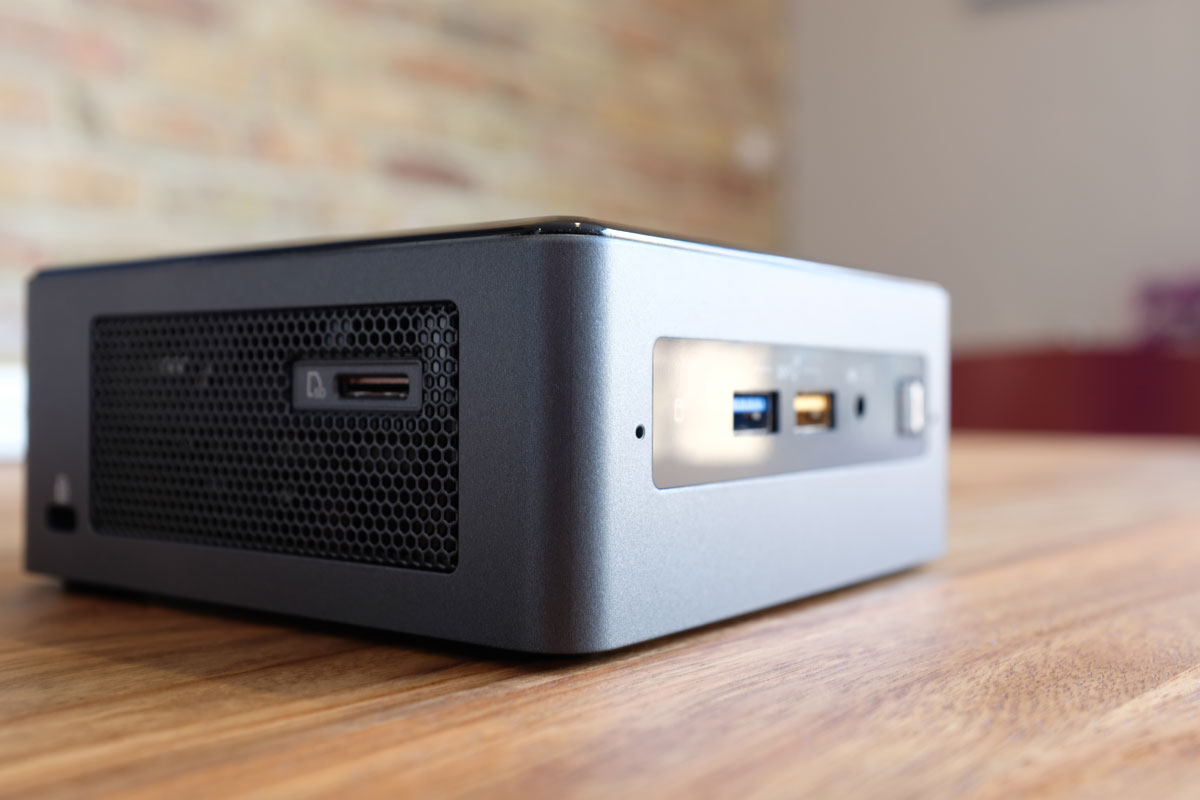
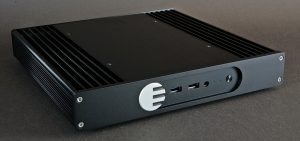
Intel Nuc Roon Core
For those who are not familiar with Roon, they have taken the approach of a hub and spoke model. Each spoke represents an endpoint (or zone) where music is played. The hub is called the Roon Core and is where your music is stored. Roon Core runs on Windows, Linux, Mac OS, and even on certain NAS hardware. Roon has also produced a dedicated device to run Roon Core called Roon Nucleus.
Based on my personal experience with media center servers, I am firm believer in the necessity of dedicated devices for serving media throughout a home. Having Roon run on a shared computer means that someone could restart the computer during a listening session, or if you are running your Roon Core on a PC, Windows may decide that it is time to update, and you could be without your music for up to 30 minutes while you wait for the update to finish. Neither of these cases are acceptable to me, so I went looking at my dedicated options.
Once again this is where Roon offers choices to the consumer. If you are someone without budget constraints you can simply purchase a Roon Nucleus. They are built around a fan-less case, and while I have not personally owned one, they are built like a tank, and look great in person. While these are not the cheapest options they come with both hardware and software support, which can be a life saver depending on how technologically savvy you are.
You can also build you own computer, install Linux or Windows and the Roon Core software, and be off to the races. This requires a higher level of technical skill though, and is honestly hard for me to suggest as the option below is simply a better option.
The third option, and the one I ended up going with, is to use Roon ROCK, the same operating system installed on the Roon Nucleus devices. Roon has been nice enough to make the ROCK operating system freely available for the DIY crowd, and greatly simplifies the process of building your own dedicated Roon Core device. Building your own ROCK sever sits directly in between option 1 and option 2 in terms of complexity and skill required. With this option you do not need to know how to configure Linux or fully assemble a computer. However, you do need to be able to follow instructions for placing a hard drive into a mostly assembled computer along with RAM, and you need to be comfortable flashing a computers BIOS. Doing this will allow you to get the vast majority of the benefits offered by the Roon Nucleus (minus the support and fancy fan-less case) for around half the price. Roon has done an excellent job documenting what ROCK is HERE. This documentation includes what hardware to purchase, and provides a step by step guide to building your own ROCK sever HERE. For my personal ROCK server, I used the following:
- Intel NUC NUC8i5BEH
- 8GB of Crucial RAM
- 250 GB Samsung 970 EVO (this is for the Roon OS and Library metadata)
- 4 TB USB 3 External Storage Drive
Understanding my Home Setup
My home consists of the following zones (endpoints):
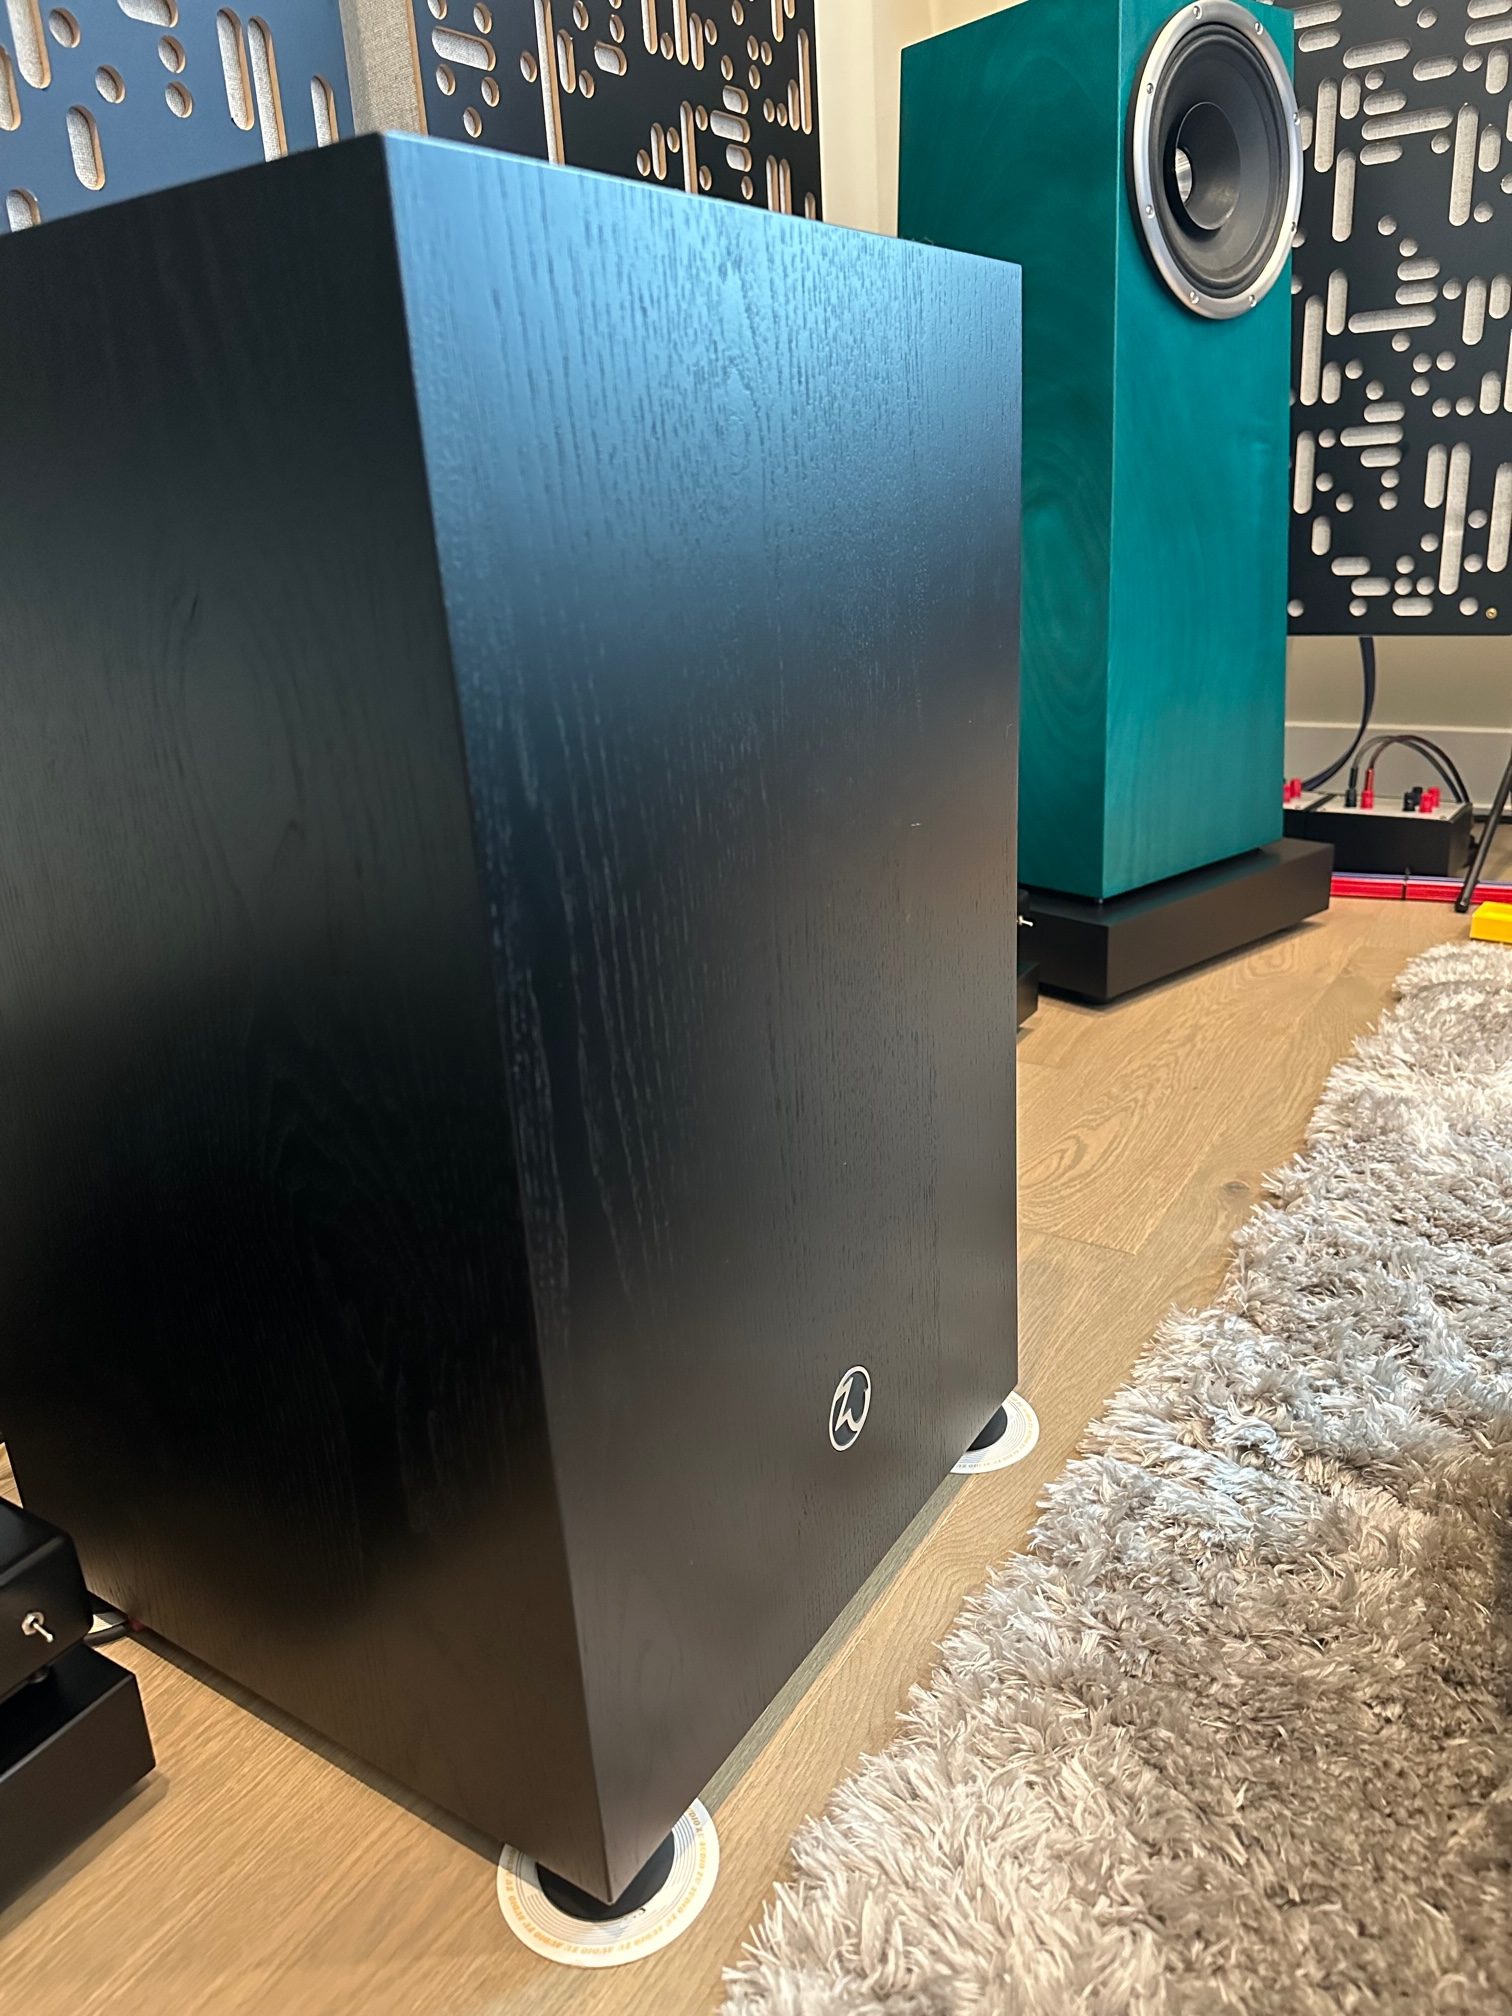
The first is my family room TV area, which consists of an Emotiva XMC-1 processor and Anthony Gallo Reference 3.1 speakers. This system is where I do my primary 2 channel speaker listening, as well as where my wife and I watch TV. To get a digital music stream into this system I have multiple choices, but I have decided to use the USB in on the XMC-1.
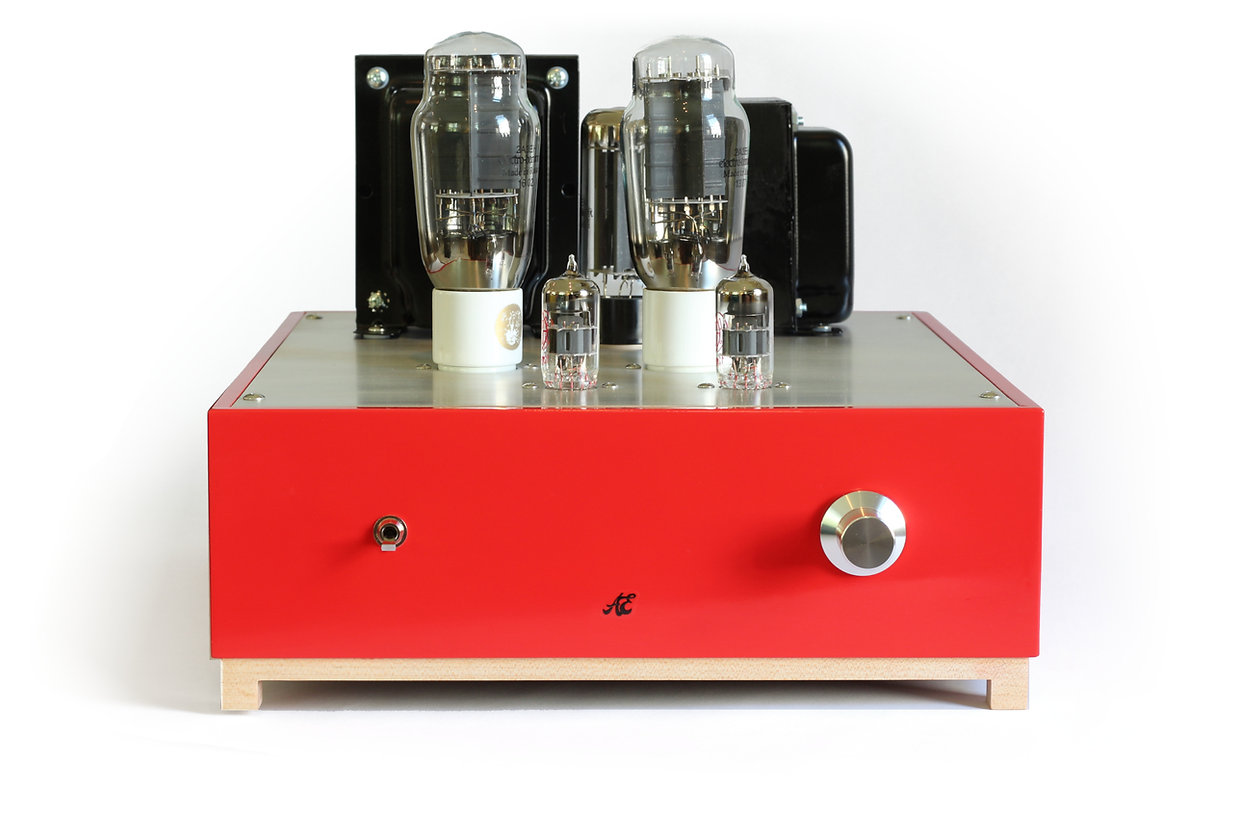
The second zone is on the other end of my family room. It is my reference headphone system, consisting of an AURALiC Vega G2 and Leo GX, which feeds my ampsandsound headphone amplifiers (both Mogwai SE and the Suolos Monos). For this setup the Vega G2 has built in support for Roon, therefore I did not have to do anything other than set the Vega G2 to its streaming input.
The third zone is a second headphone system in my office. This system consists of the Schiit Gungnir Multibit and a Massdrop Cavalli Liquid Carbon X. For this zone, USB was the preferred choice of interface.
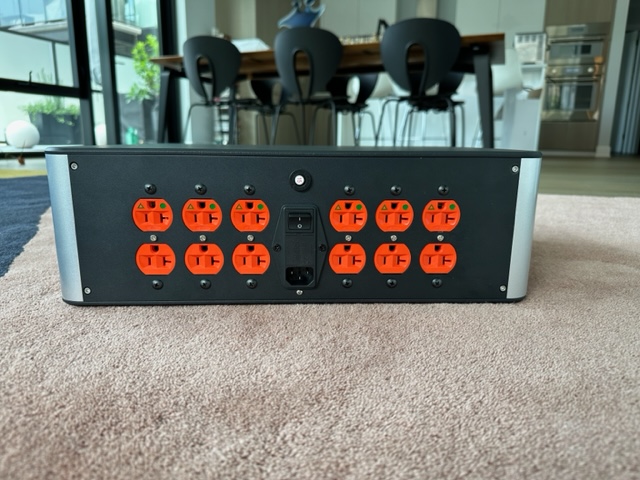
The fourth and final zone is my whole home audio system. It consists of six ceiling speakers, two in the kitchen, two in the master bedroom, and two in the master bathroom. Each room has its own master volume control built into the walls, and these speakers are primarily used by my wife to listen to music or podcasts. Behind the scenes, each pair of speakers are controlled by their own Emotiva Basx a-100 amplifier. While each set of speakers could have been its own zone, I decided to treat the ceiling speakers as a single zone. I use a smart power strip to turn on and off the amplifiers depending on which room we want music in. This allows me to only need a single endpoint for this zone instead of three (one for each amplifier). I happened to have an extra USB DAC (Schiit Modi) which allowed me to once again use USB as the preferred choice of musical interface.
Choosing the Endpoints for the Various Zones
Now that you have an understanding of where and how my various zones are set up and used, we must now choose the appropriate Roon endpoints.
It is the flexibility that Roon provides with their partner ecosystem and DIY ecosystem that caused me to choose Roon over all other options. My AURALiC Vega G2 already has Roon built in, which allowed me to use it directly as a streaming endpoint. As a consumer you have a wide range of choices for various streaming endpoints at essentially almost every price point. Need a simple endpoint for under $50? Look at a Chromecast Audio. Want an all in one endpoint that has analog out and MQA support? Look at the Bluesound Node 2i at $500. Want a reference quality streamer in a small package? Look at the Pro-Ject Stream Box S2 Ultra at $850. To put it simply, you have many different options, and at nearly every price point.
After going the DIY path with my Roon Server I decided to follow that same path with my remaining endpoints. Due to their availability and flexibility, I decided to build my endpoints using the Raspberry Pi 3 B+ for two of my endpoints. The results are the following:
- Family Room - Raspberry Pi 3 B+ via USB into my Emotiva XMC-1
- Family Room Headphone System - AURALiC Vega G2
- Office Headphone System - Raspberry Pi 3 B+ via USB into my Schiit Gungnir
- Whole home audio system - Roon Core via USB into my Schiit Modi

Raspberry Pi Roon Endpoint
I chose the Raspberry Pi endpoints because they were flexible and allowed me to connect any USB DAC to them. I could also build each endpoint for under $50. The endpoint would support PCM audio at pretty much any sample rate, and even DSD over USB. Some do argue that the Raspberry Pi 3 is not the best Roon endpoint as the Ethernet and USB share the same communication bus. While they do share the same bus, it is questionable how much this matters in the grand scheme of things for USB audio. I can hear a difference when comparing a device like a Pro-Ject Stream Box S2 Ultra and a Raspberry Pi 3, but the differences are only apparent on very transparent systems, and the differences are still subtle. I will end my discussion of the debate about whether the Raspberry Pi 3 makes a good USB source for a USB streaming DAC here. If you would like to read more about the Raspberry Pi 3 and USB induced jitter, please see this article as it helped me form my point of view on the issue.
With two out of my four endpoints being built or purchased already, it is now time to assemble the Raspberry Pi endpoints.
Raspberry Pi Roon Endpoints
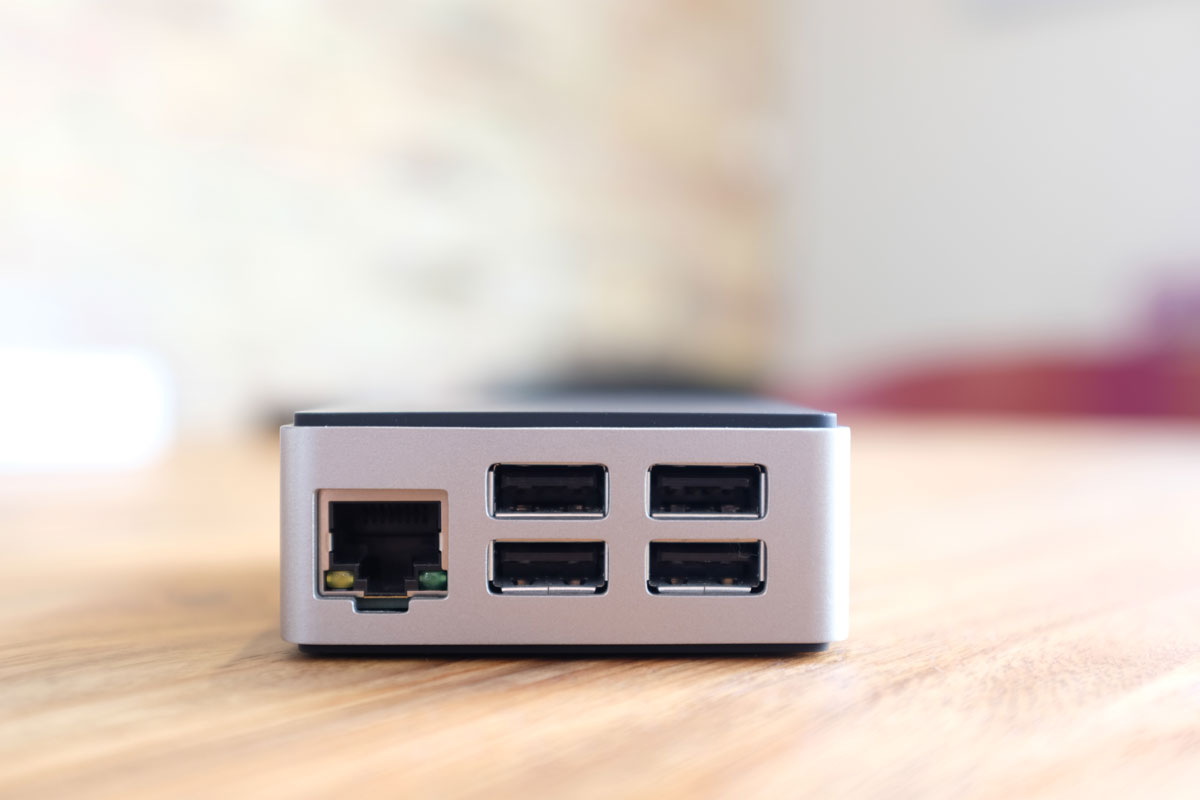
Raspberry Pi ports
Assembly of a Raspberry Pi is relatively simple, if you are comfortable with a screw driver (which is only needed to mount the Pi into the case). The most important thing to do is to choose which software the Pi should run. Once again you have several choices. I wanted something simple and turn-key. The software had to just work, receive updates, and provide a web interface for administration. After looking around and trying a few option out, I settled on Ropieee. It offers all of the functionality I described above, plus it is dead simple to setup. Instructions for installation and setup of Ropieee can also be found at the link above.
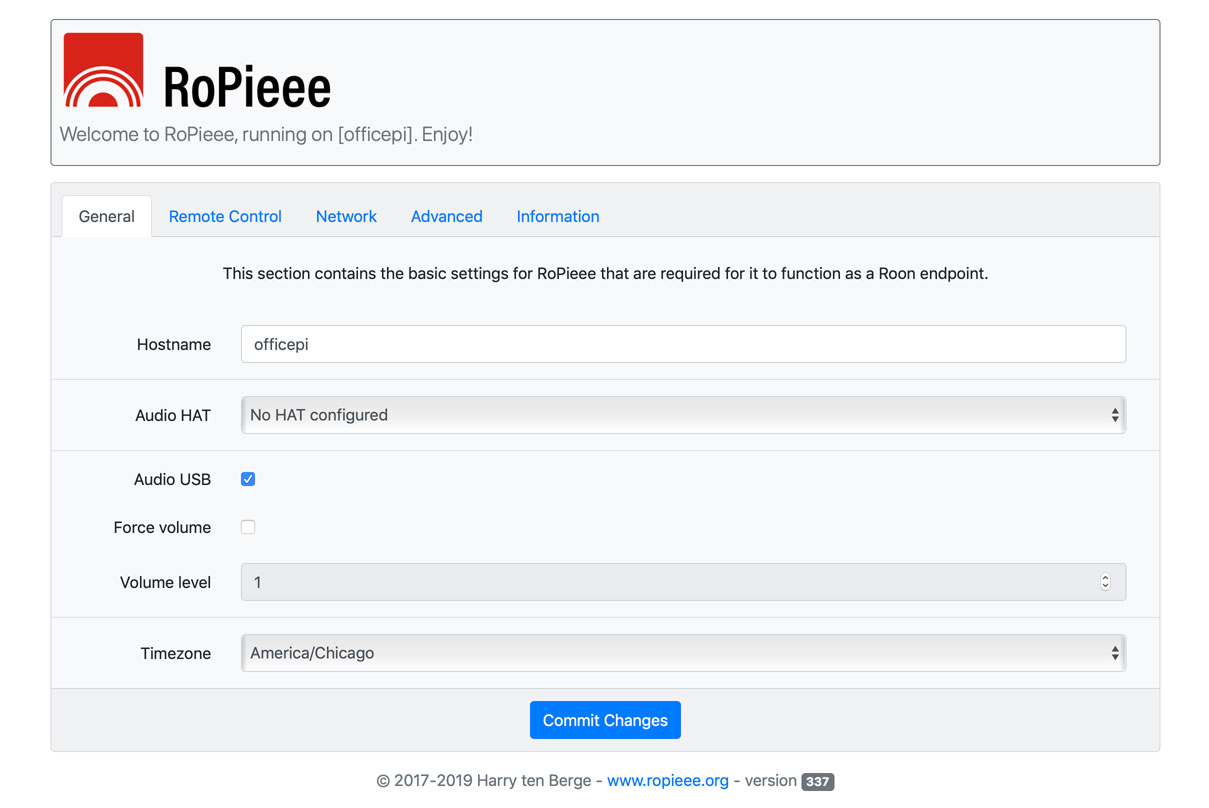
Ropiee web interface
For each of my Raspberry Pi endpoints I used the following:
- Raspberry Pi 3 B+
- Flirc Raspberry Pi Case Gen 2
- Apple 12W USB Power Adapter
Concluding Thoughts Six Months Later
It has been over six months since I began setting up my Roon System, and three months since setting up my dedicated Roon Core using ROCK. The results speak for themselves; my wife and I both have played and consumed more music since the completion of this setup then we did previously.
The ease of having one app and one interface to control music playback across all of my systems has greatly simplified the experience of both enjoying, and collecting music. The icing on the cake is Roon’s seamless integration with Qobuz and Tidal, which allows my wife to use the system to listen to the music she likes, not just the music I like.
During the last six months I have also had the pleasure of experimenting with other Roon endpoints (both homemade and store bought). In the future I plan to share my thoughts on how those endpoints perform and enhance the audio experience. Until then, I am just going to keep listening to music.
Sources