Several years ago, I sold a very nice, expensive, music server to free up funds for better speakers, and sought a more cost effective one to manage and serve my digital recordings, streamed high res services like Qobuz and quality internet radio stations. It wasn't long until I discovered the Intel NUC. Dialing it in with Roon Optimized Core Kit (ROCK), which eliminates nonessential programs and delivers Roon Labs' premium music player and management software to NUCs and other customized, dedicated hardware solutions. I was quite pleased with the results.
However, there remained the issue of its tiny fan noise; though hardly noticeable, it popped up now and again—and I knew it was only going to get worse over time. My friend, Joe, confirmed that fear; the fan in his Intel NUC (that's a little older than mine) was running longer and louder. And what would happen when the fan finally fails?
Scouting options, I soon realized that a number of servers that cost thousands more really weren't better at delivering the music—just a little different, if anything—and I decided that I did not want to replace my NUC, but simply find a good, fanless case for it. By going fanless, I would have less moving parts, thereby enhancing its longevity while addressing the noise issue. I then began scouring the internet for cases suitable for my Intel NUC10FNH model.

This search brought me to the Akasa Turing FX, a reputable fanless case that, at $149, was a nice budget fanless server case, and it reportedly did a fine job with tenth generation (i.e., it supports the following Intel NUCs: NUC10i7FNH, NUC10i7FNK, NUC10i5FNH, NUC10i5FNK, NUC10i3FNH, and NUC10i3FNK). According to their website, it is suitable for Core™ i3, i5, and i7 Frost Canyon NUCs up to Intel's specification of 25 watts of Thermal Design Power (TDP). It was time to find out for myself, so I reached out to the people at Akasa and less than a week later, one arrived at my doorstep.
Images courtesy of of akasa.co.uk
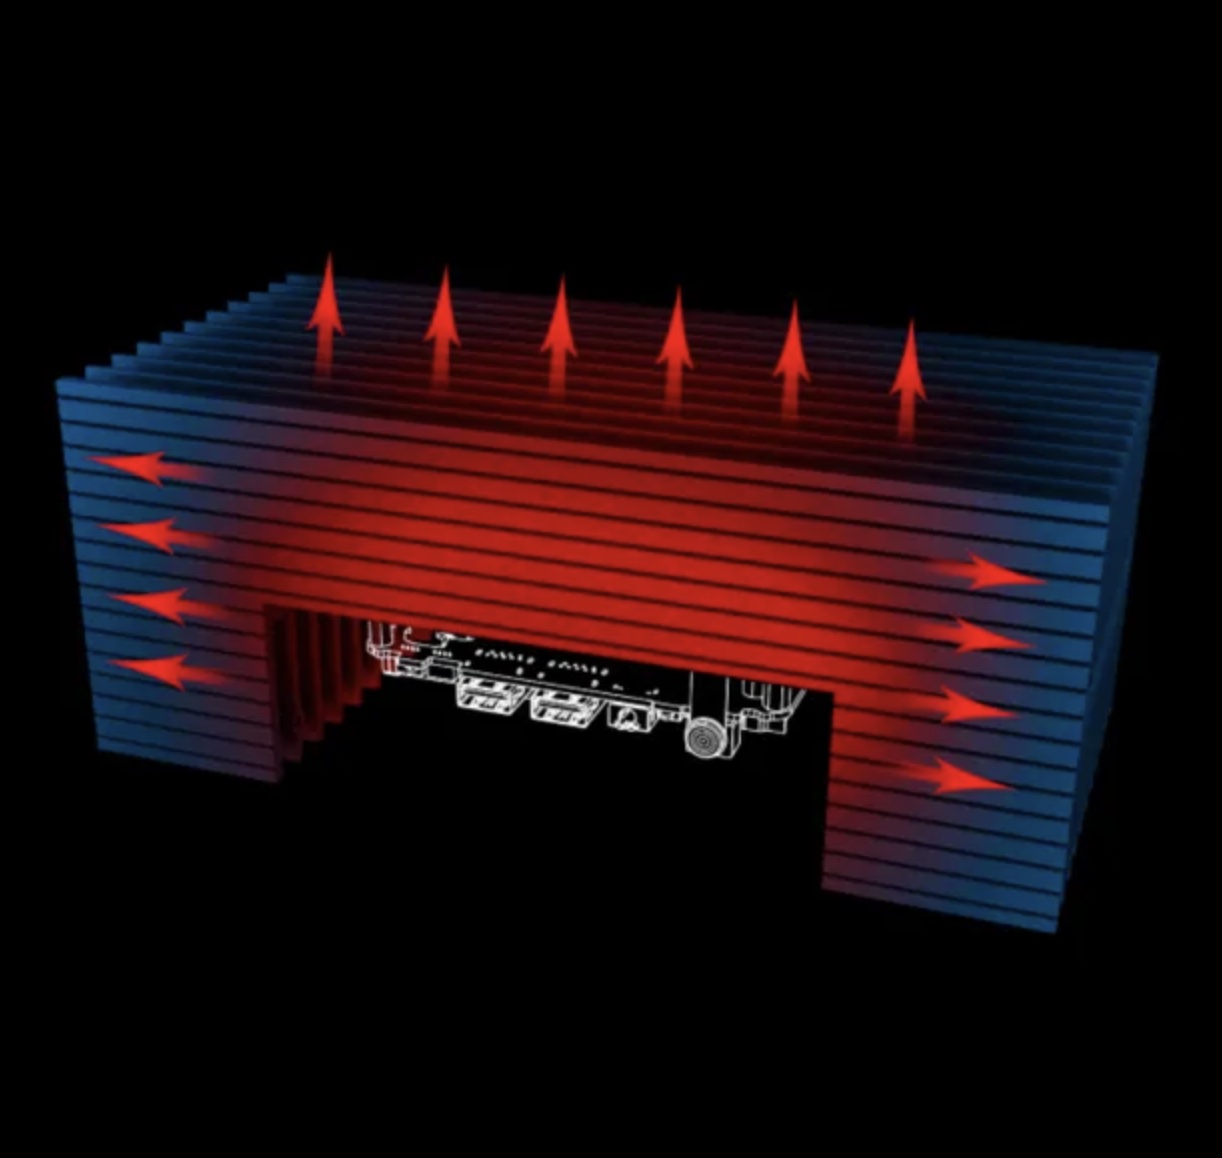
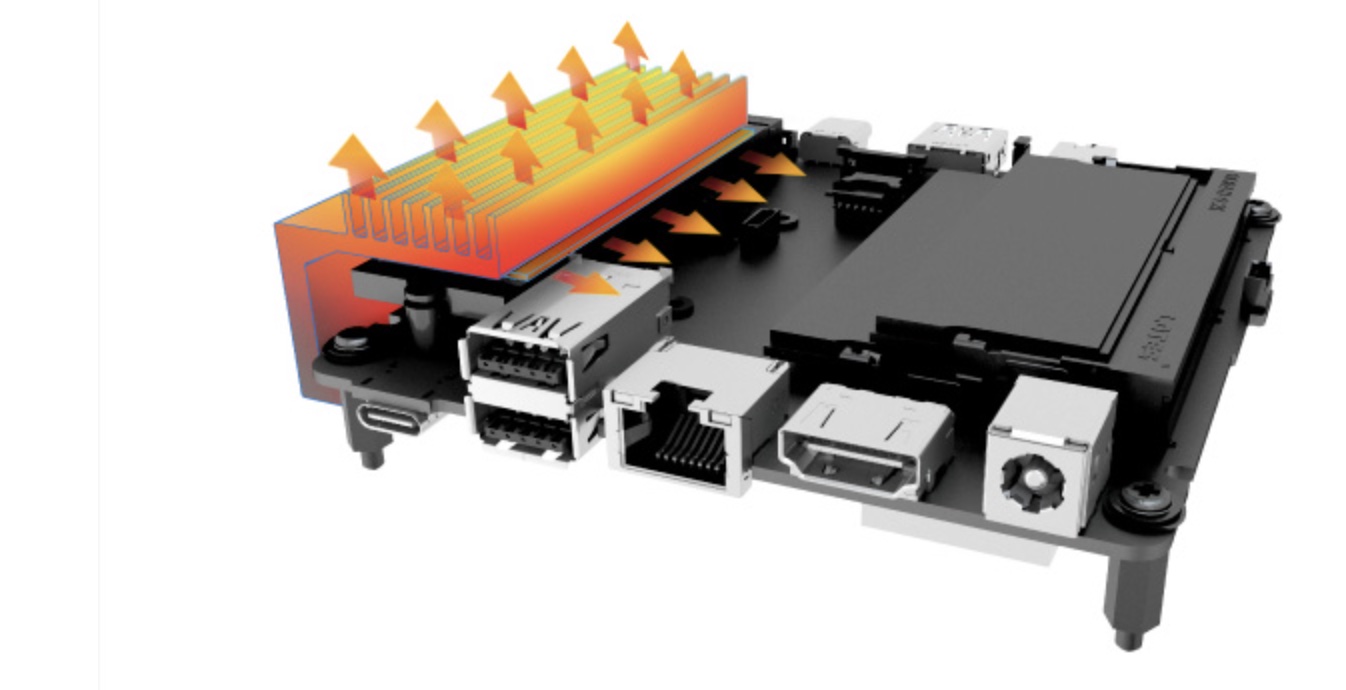
At 9.5mm W x 113.5mm D x 247.9 mm H(3.74" x 4.47" x 9.76") and roughly 5 1/2 lbs., the long and deep heat fins of its aluminum chassis serve as virtual heatsinks, wicking heat away from the CPU to the finned exterior and out using thermal compound without the need of a fan (akasa-tech.medium.com). An internal M.2 SSD heatsink also reduces heat and enhances performance. It can be positioned horizontally (like I chose to fit inside my media cabinet) or vertically.
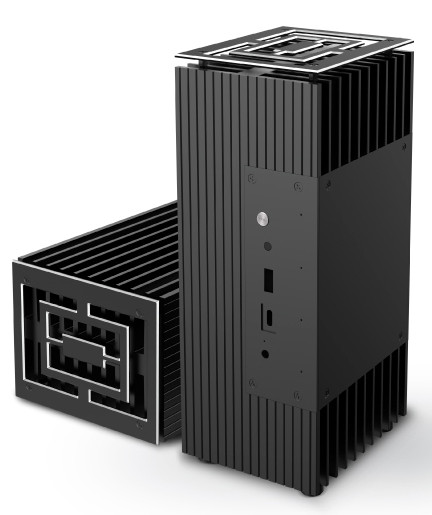
Image courtesy of of akasa.co.uk
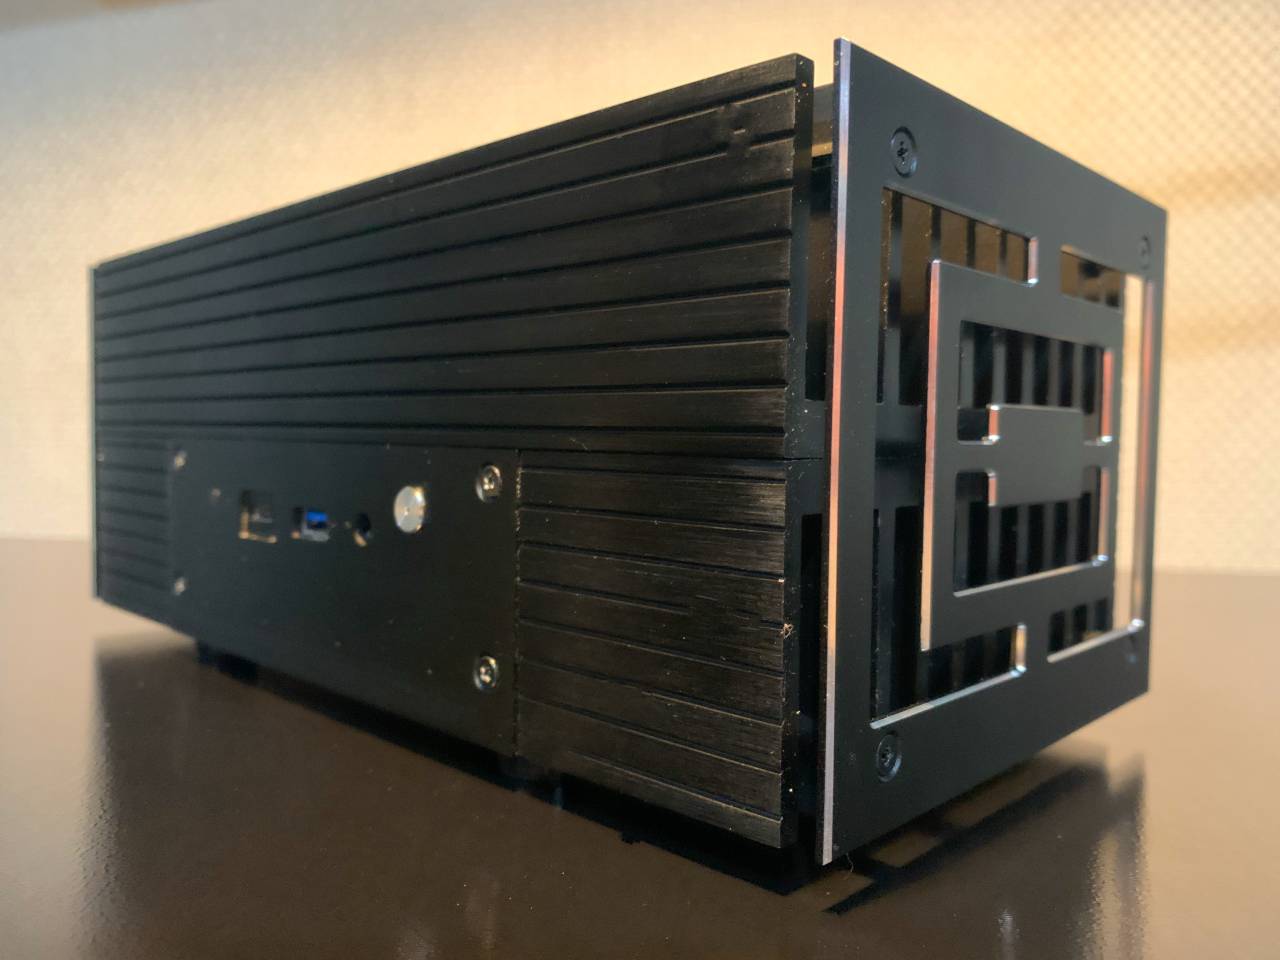
Up front, it has a power button, power and HDD LED, IR receiver opening, USB Type-A, USB Type-C, HD audio in / out, and in the rear it sports, left to right, a 19-volt power adapter power cord receptacle, an HDMI port, ethernet port, two USB ports, a USB Type-A and C port (I believe!). It also has to receptacles for optional WIFI antennas.

Price does not include assembly or Advil tablets
Opening up the box, it appeared that this process would be a snap, as the case came largely preassembled. "This shouldn't take long at all," I thought. As you will soon learn, I was a bit mistaken!
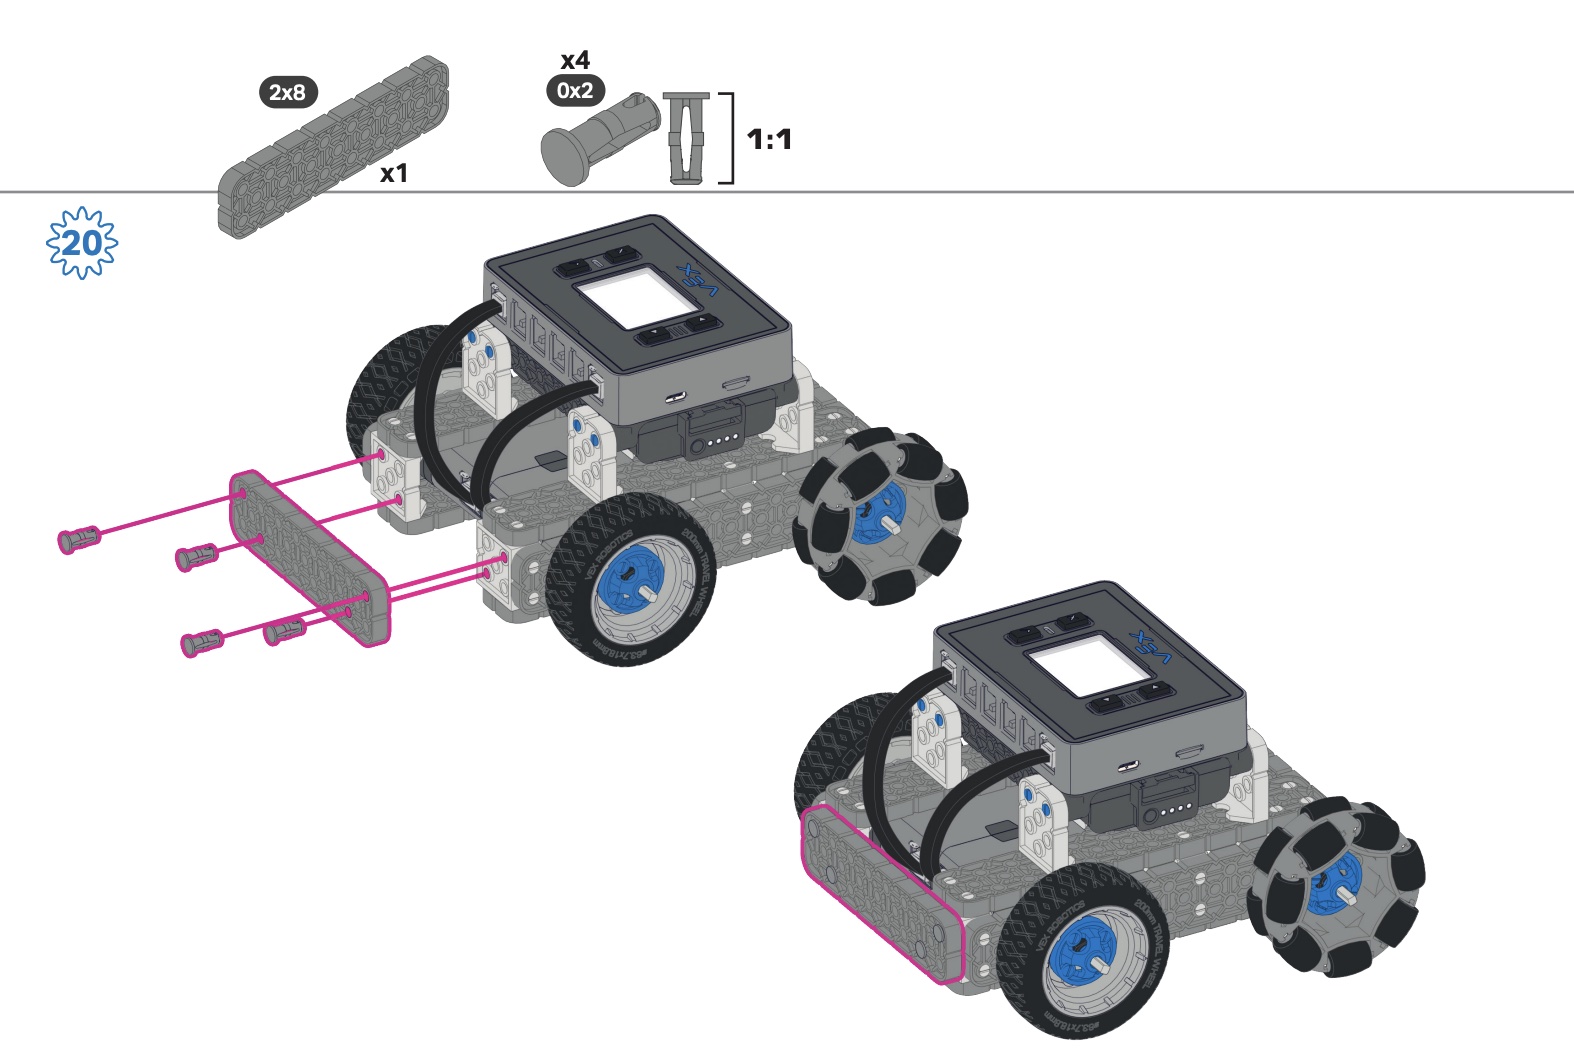
Still image captured from an instruction manual on Vexrobotics.com
A cursory glance at the instructions revealed that it followed an annoying trend I've observed in consumer items ranging from a STEM Robotics kit to an Arians Classic 24 Snowblower—manuals long on precise drawings with arrows, but short on written directions. As with these other experiences, this led to some hand wringing and headaches!
To ease my stress, I turned to another popular trend: look it up on YouTube! There, I found two helpful guides for extracting my motherboard from the NUC and installing it into the Turing FX case (see them below).
Although these videos sometimes moved too fast and required repeated viewings of some segments, they proved invaluable in making this a successful build (note: there is also an excellent resource article at nucblog.net HERE).
If You Build It (Right), the Music Will Come...Eventually
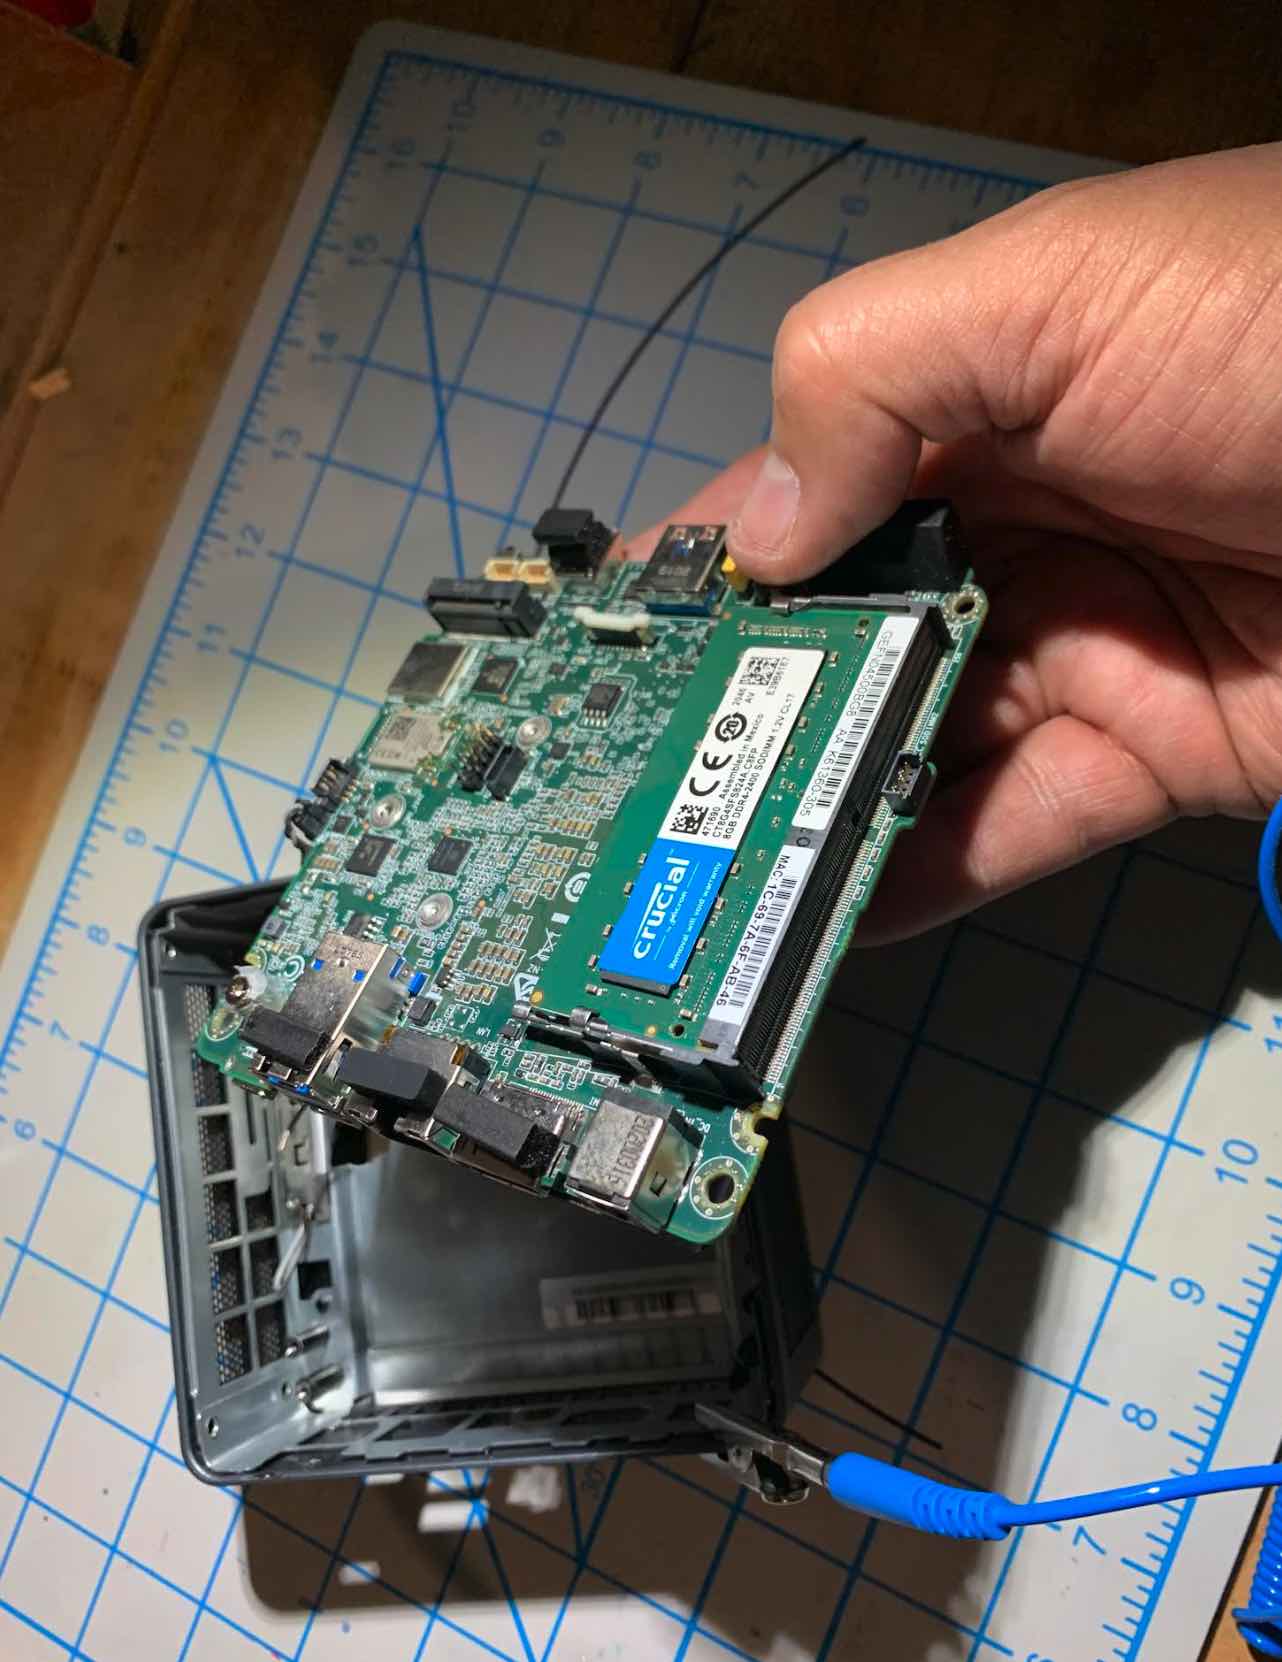
What follows is not a step-by-step instruction guide, but some highlights and observations from my process of retrieving the motherboard from the NUC's case and building the Akasa Turing FX fanless case.
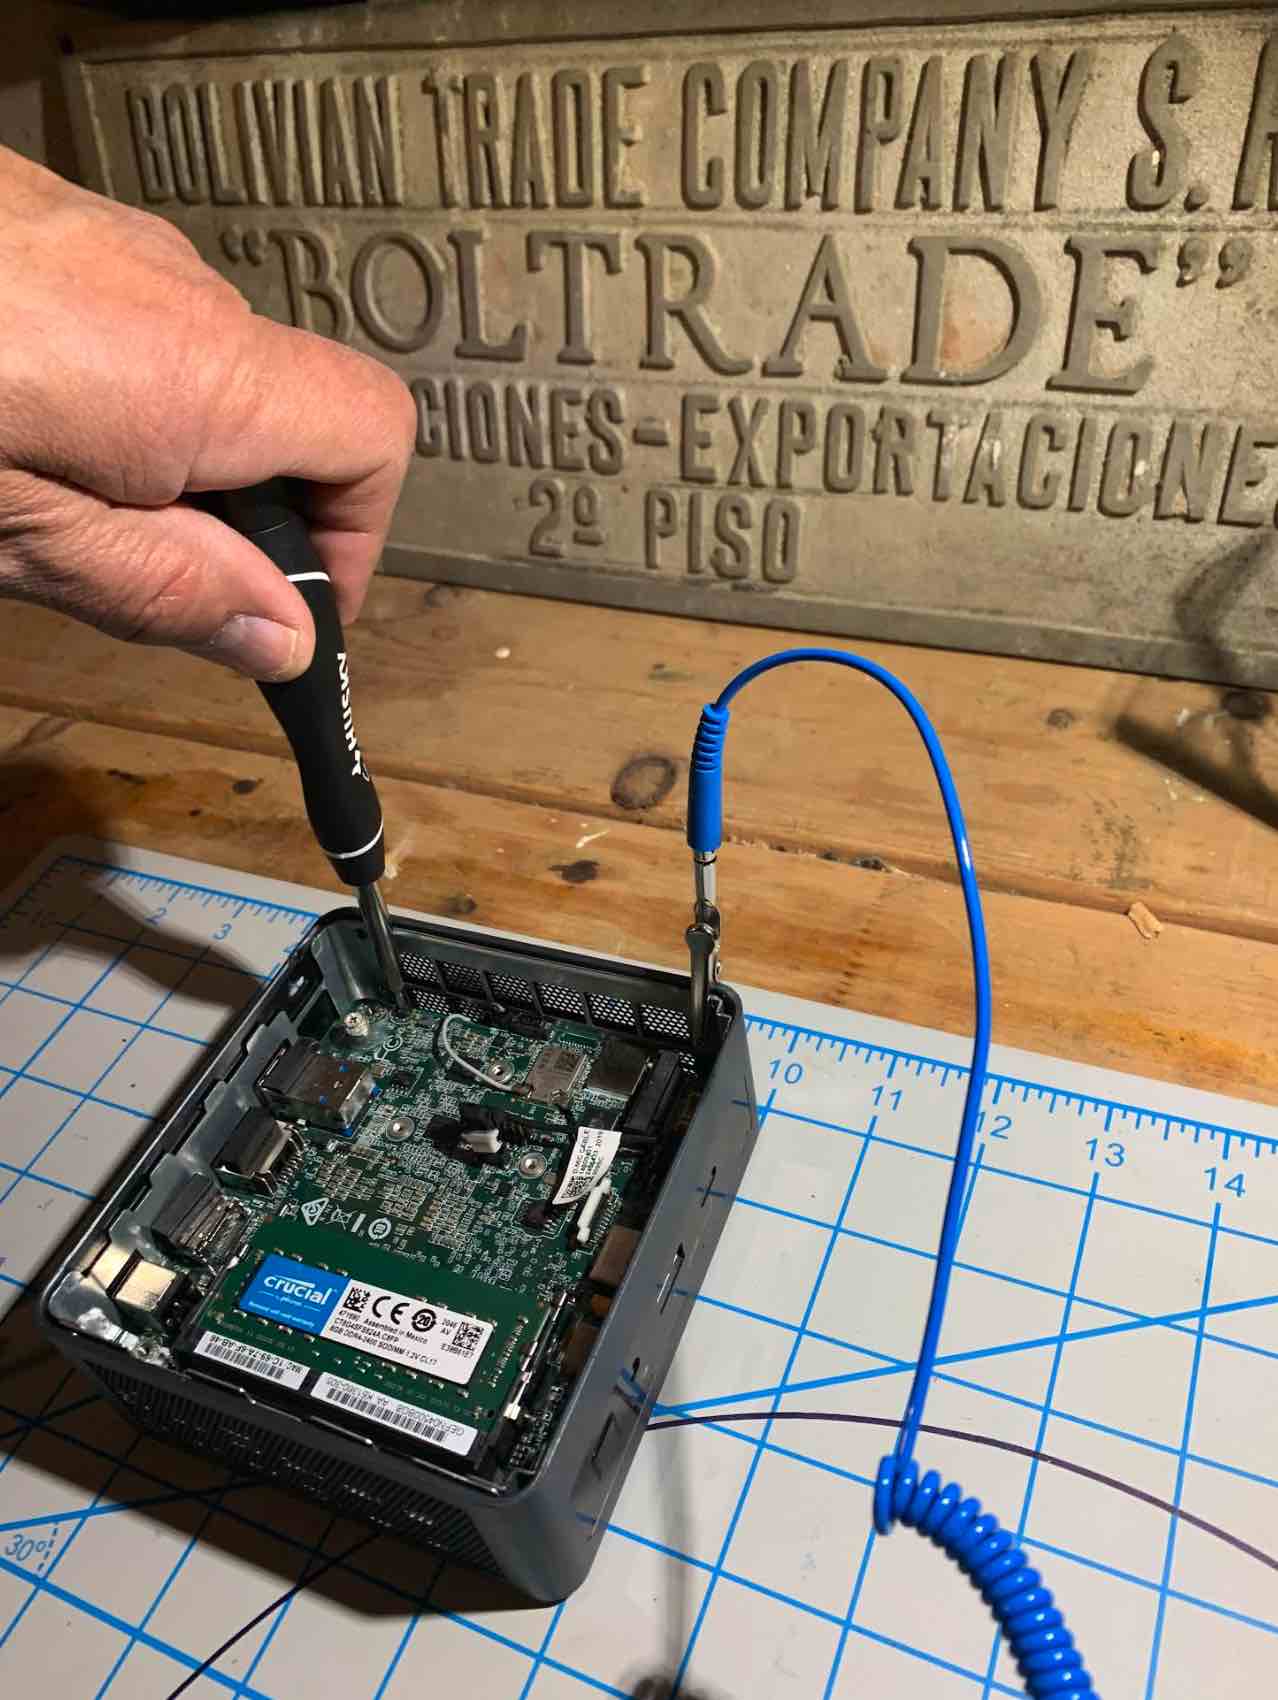
Tip Number One: When attempting to extract the motherboard from the NUC's case, don't use a jeweler's screwdriver to remove the tiny screws holding it in place. It won't work, and you will get aggravated! Apparently, its assemblers use Loctite, an adhesive applied to their threading in drops that harden to a plastic, locking the threads together to keep them from loosening. And after I repeatedly held a heated soldering iron to the head of one of these recalcitrant screws and failed to budge it (a YouTuber suggested it to melt and release the Loctite) I called my computer programmer, industry, and audio friend, Joe Jurzec, and asked for help.
"What you need is a larger screwdriver so you can really bear down and torque on it," he assured me.
Tip Number Two: Use a larger precision screwdriver instead. Grabbing the jeweler's screwdriver for reference in regards to head size, I drove to a local Home Depot store and purchased a Husky "8 in 1 Precision Slotted and Phillips Screwdriver" for $8.97 plus tax. Use that and you'll feel as if you've been suddenly imbued with the strength of Hercules as, one after the other, the tiny screws turn with a little effort!

Image courtesy of homedepot.com
Tip Three: Play it safe and use an anti-static wrist strap. While scouring YouTube for tips, I also took heed to a suggestion that popped up several places and purchased an anti-static wrist strap with a grounding wire and alligator clip for little over seven bucks at a local Best Buy store, as apparently the risk of a static charge zap to your internal storage card is very real. Having spent several long hours installing the Roon Optimized Core Kit (ROCK) linux program to run my NUC server, I would hate to lose it due to an errant static electricity zap!

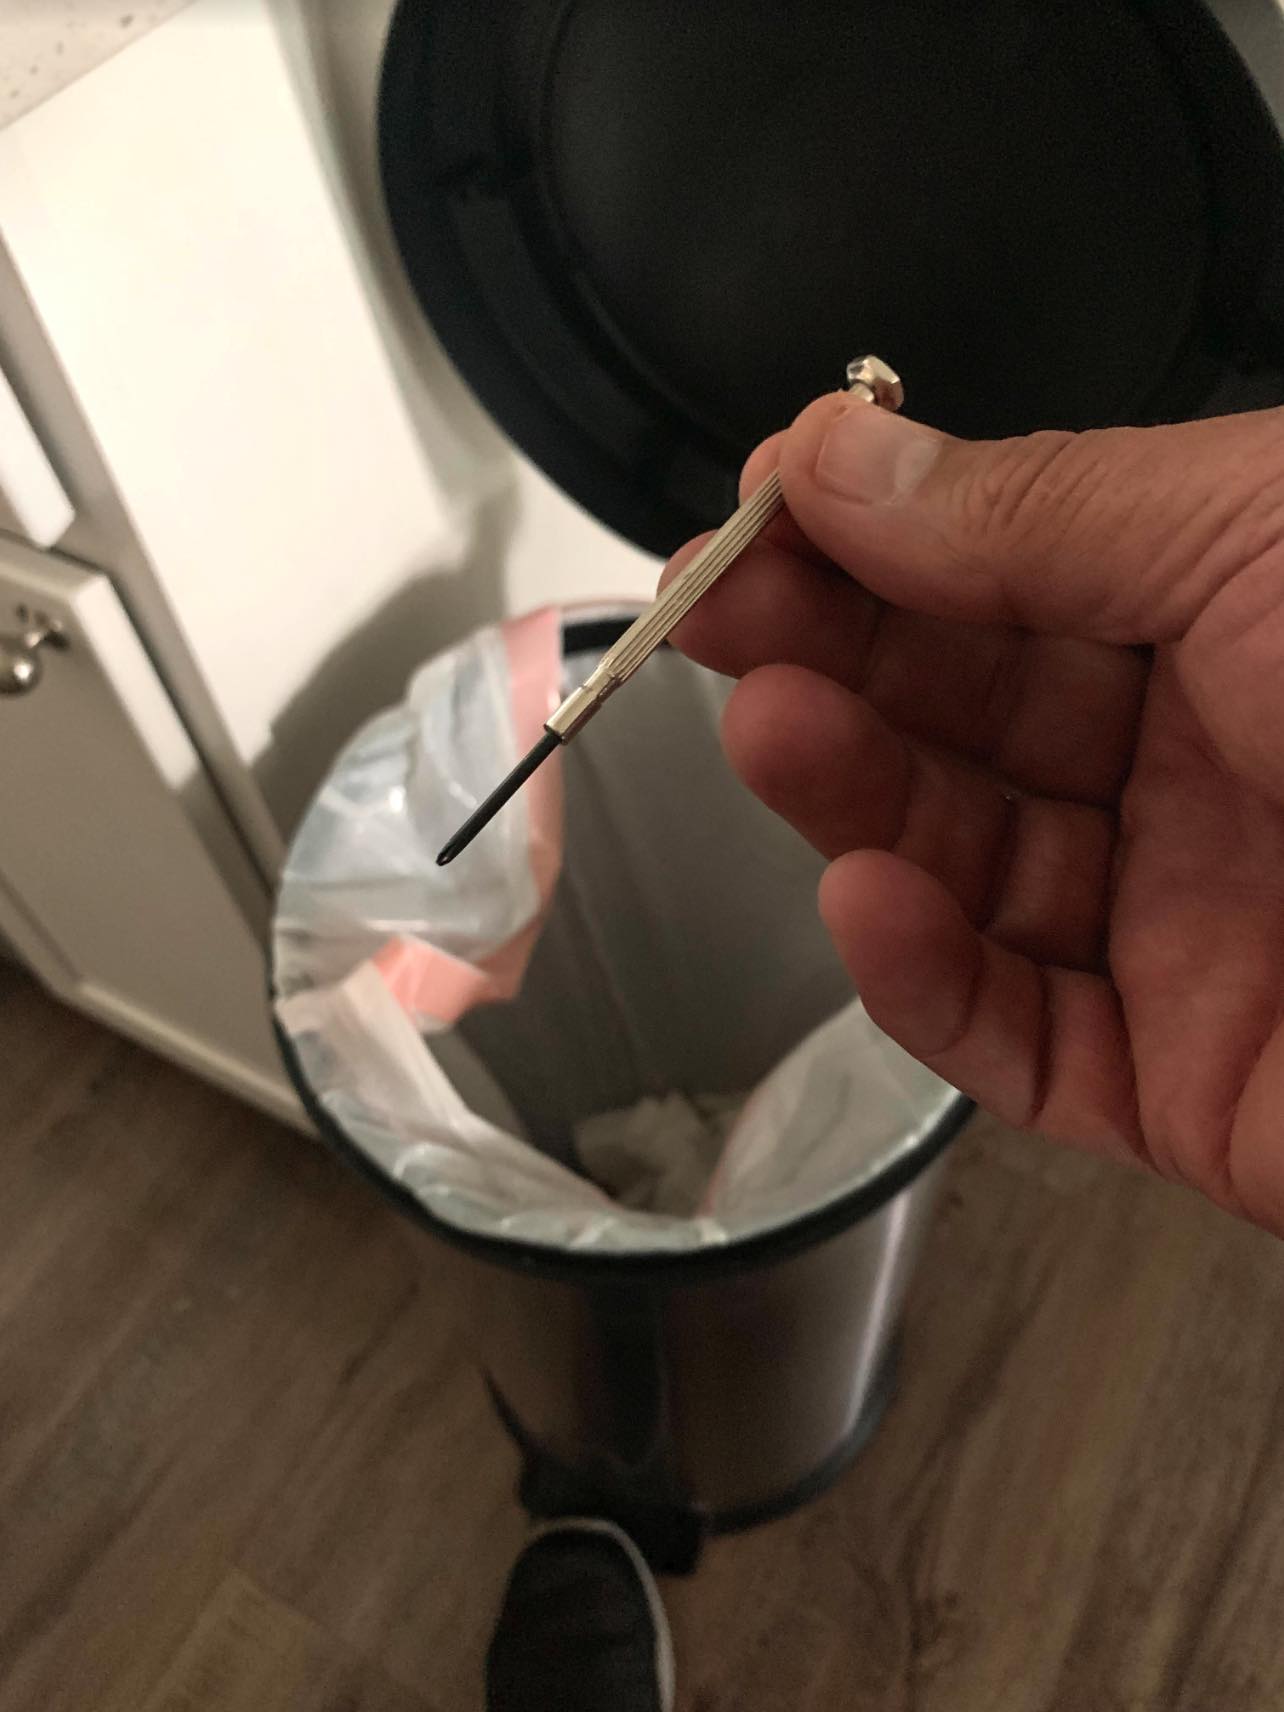
Tip Four: Use a disposable plastic knife as a handy substitute if you don't have a proper plastic pry tool. After removing the securing screws, the use of a plastic pry tool was called for to help remove the motherboard from the NUC case. I didn't have one, didn't want to drive to a hardware store or order one online—and I certainly didn't want to risk bending or damaging one of my ports with a steel screwdriver—so I grabbed a spare disposable plastic knife from our kitchen cupboard, and following YouTube instructions, after unplugging several connectors, I slipped it in between the HDMI connector in its port and the frame, pushed and leveraged the motherboard upwards and out. It took some finagling, and at one point, I carefully inserted a small screwdriver through one of the slots in the chassis and pushed it out so I could grasp the board and pull it out.
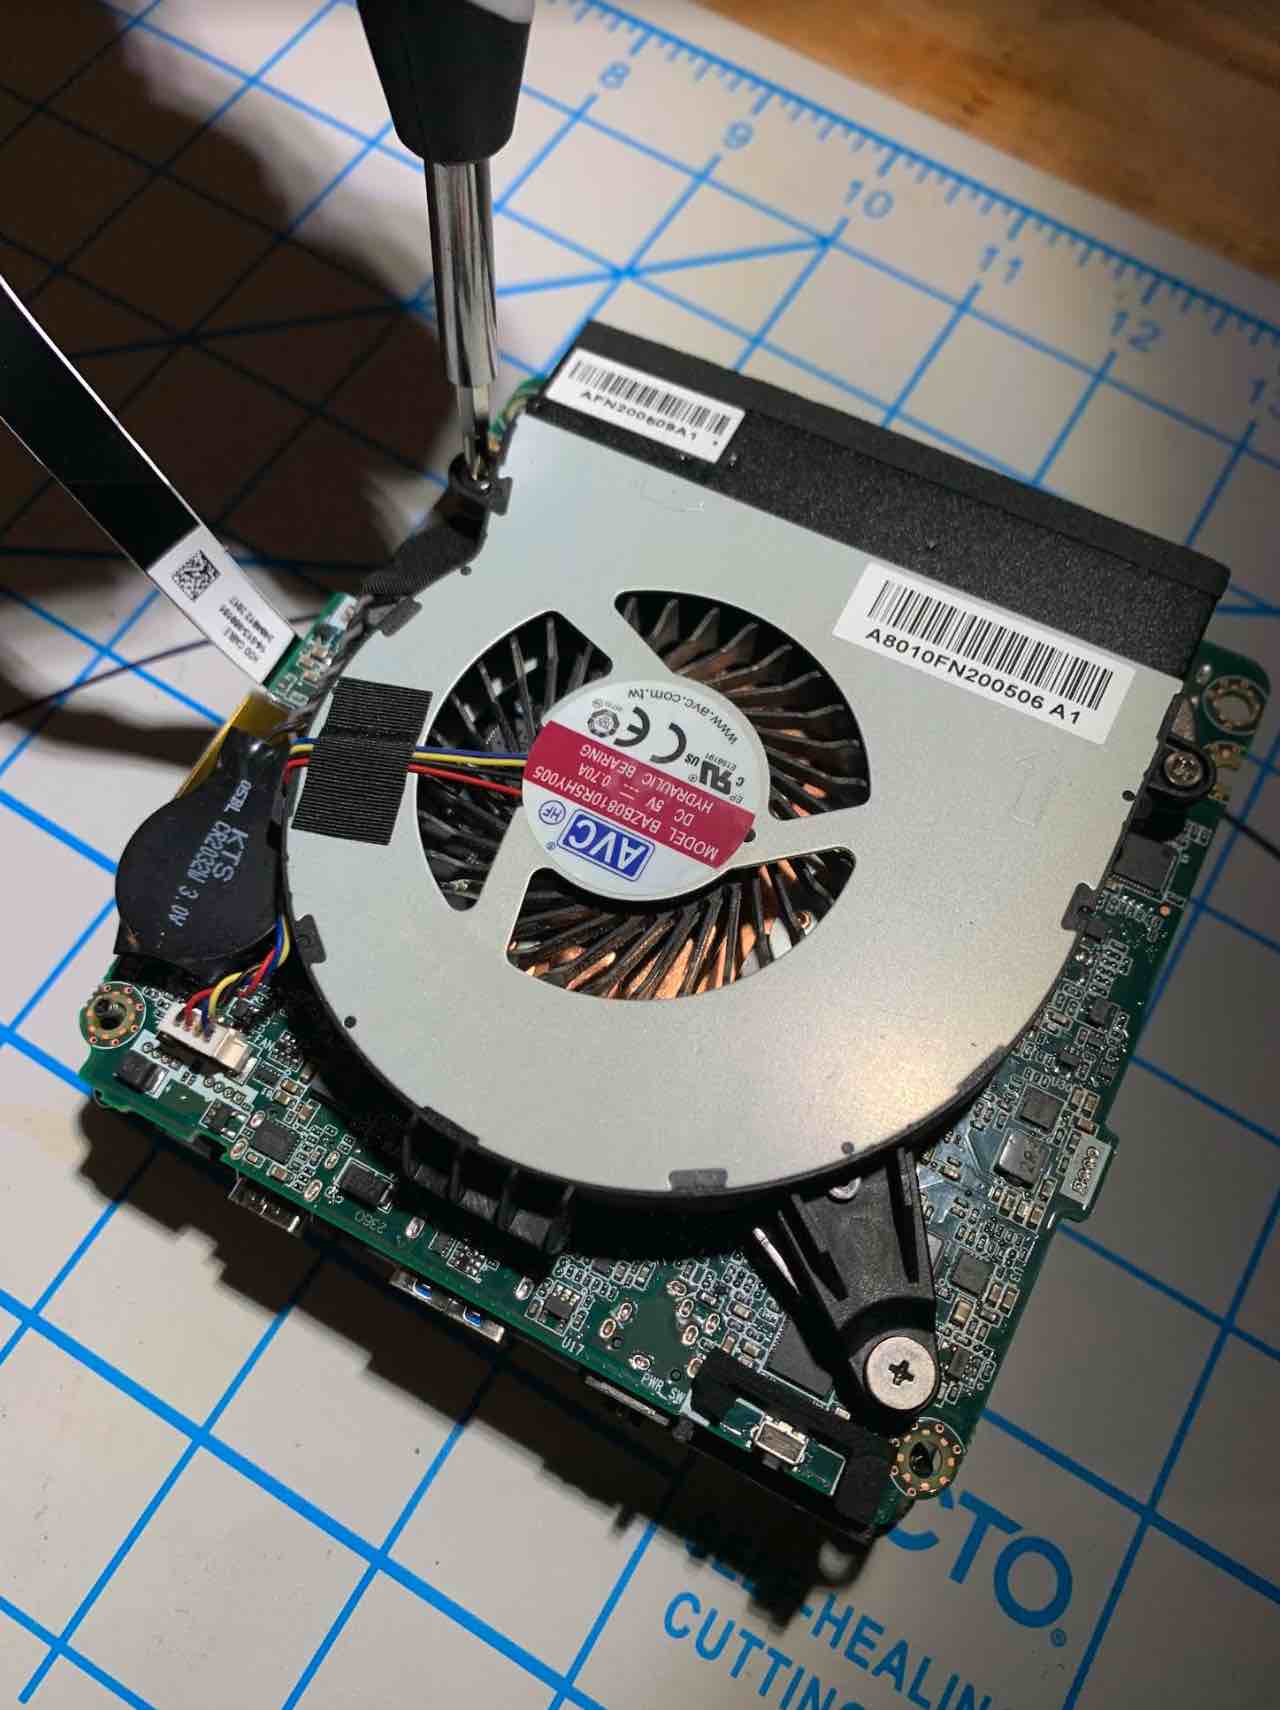
To my surprise, removing the fan wasn't particularly hard after I freed the motherboard from the NUC's chassis.
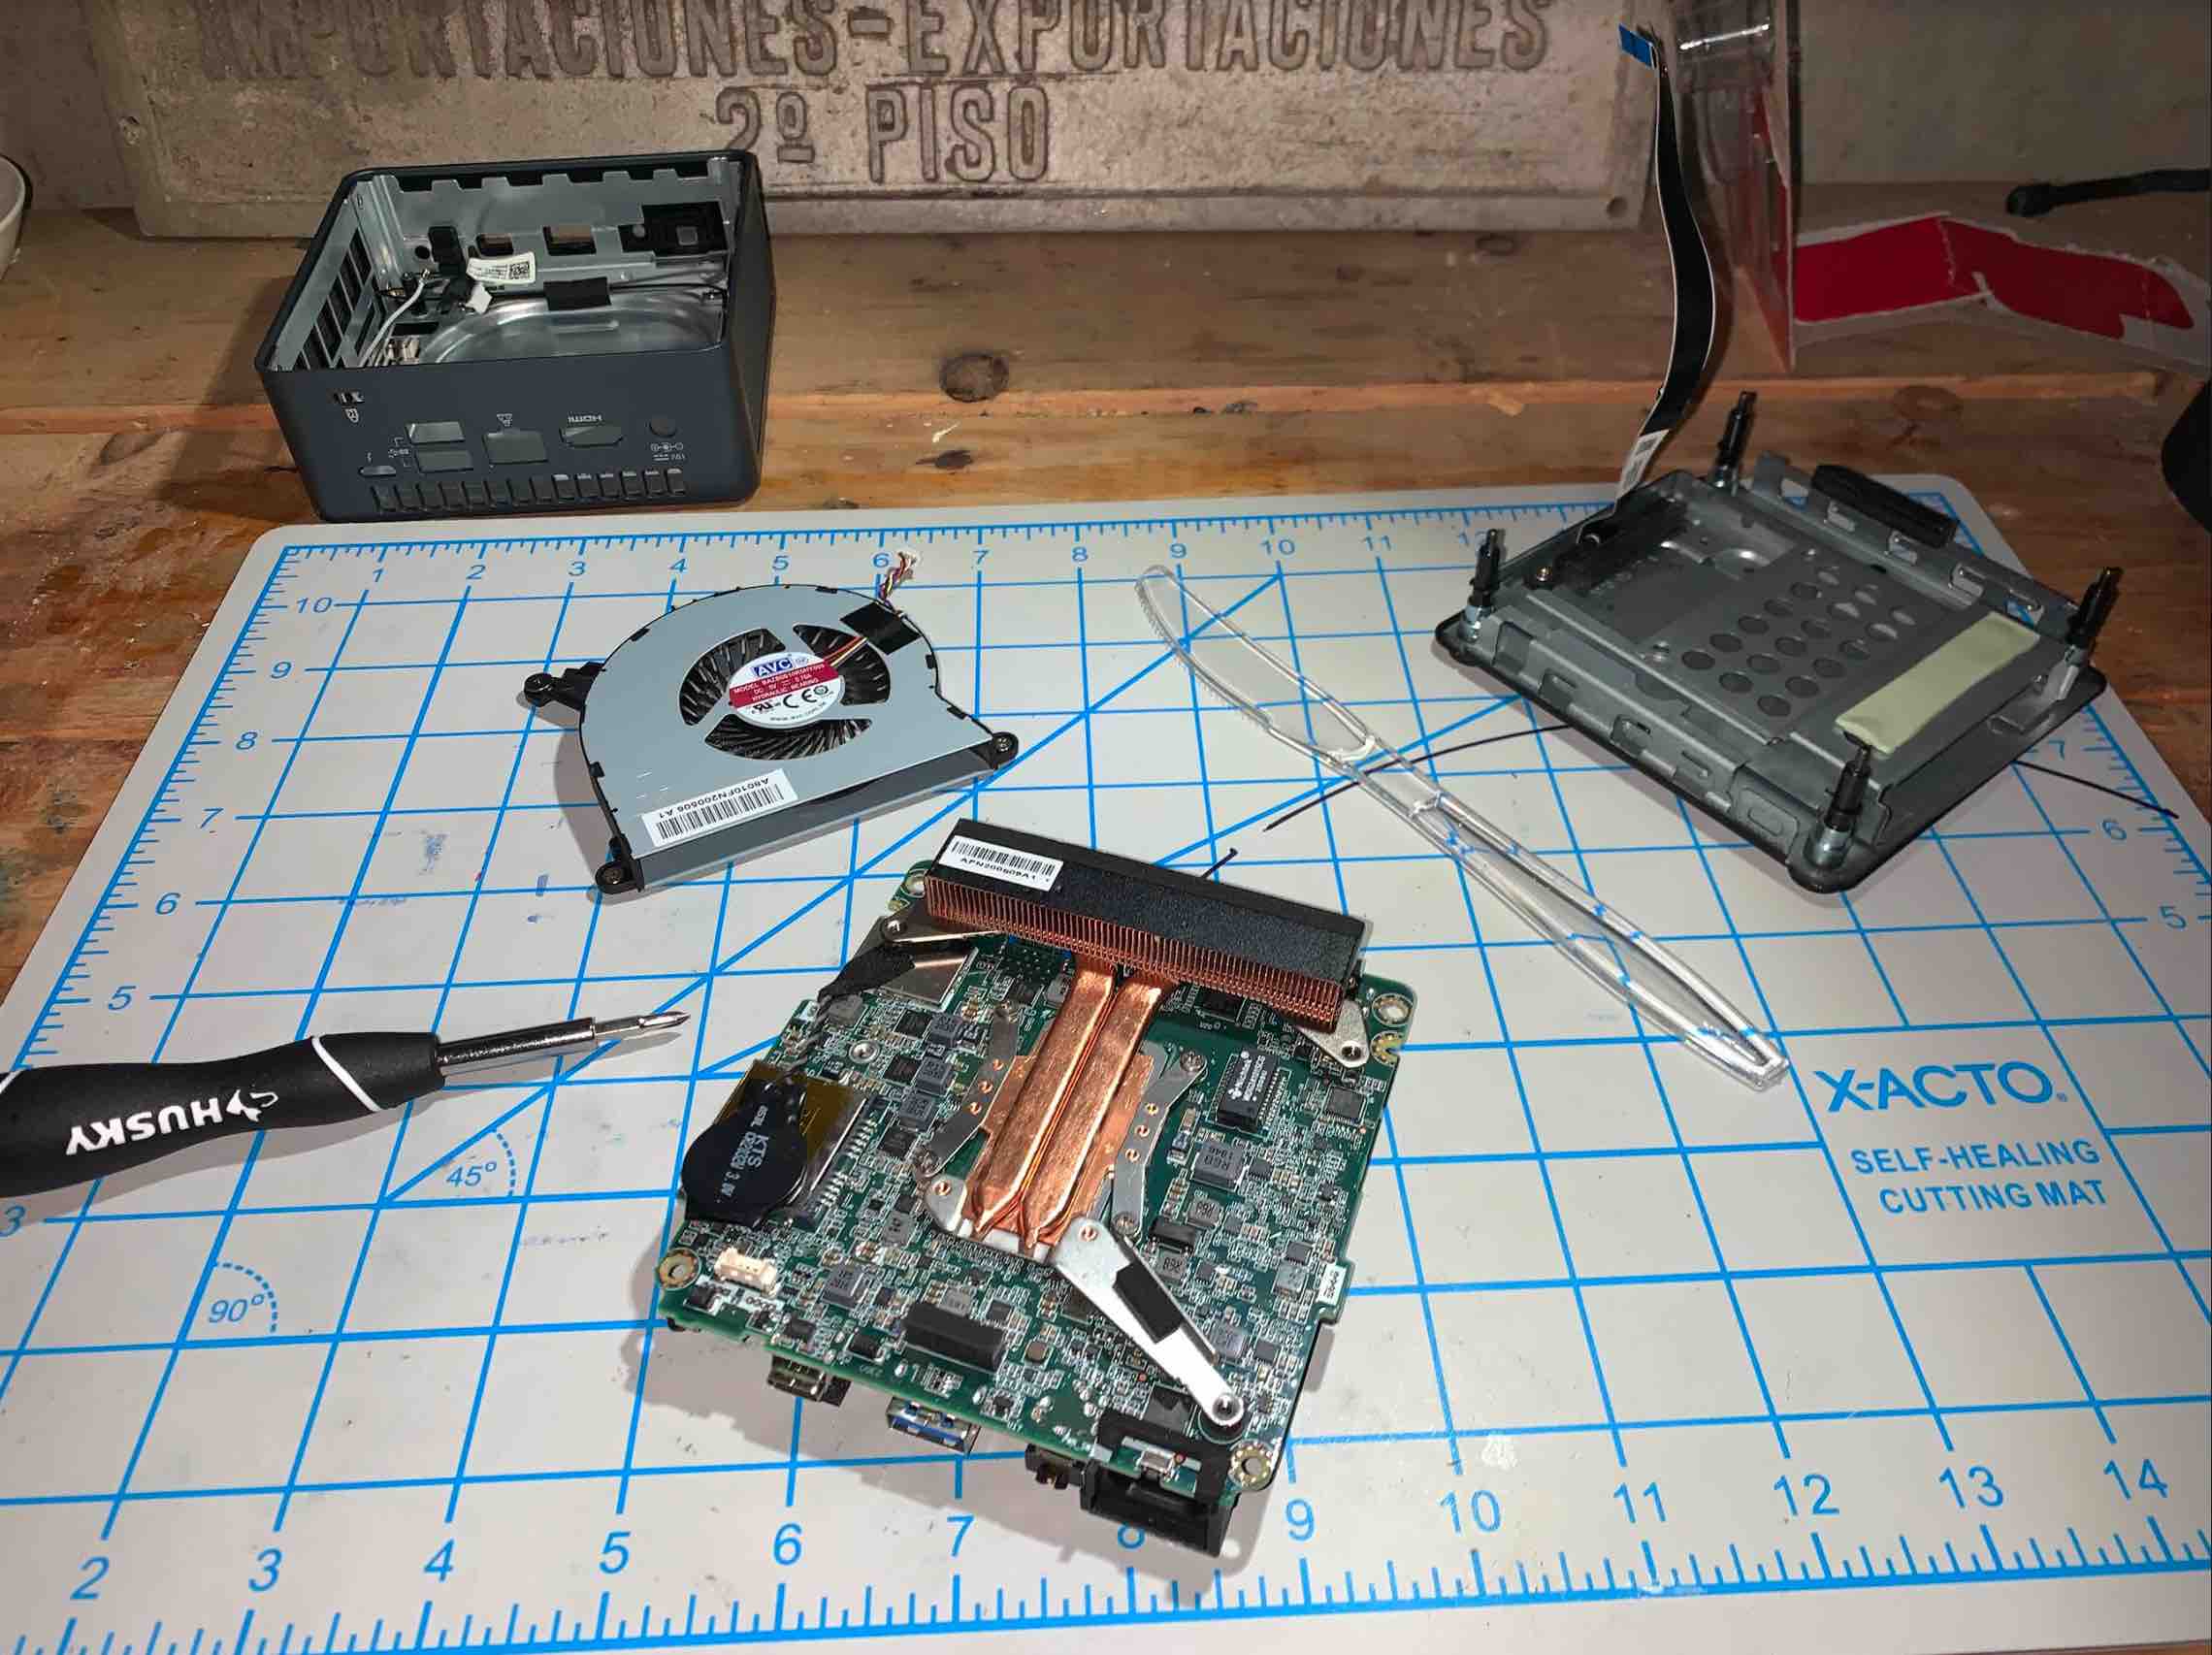
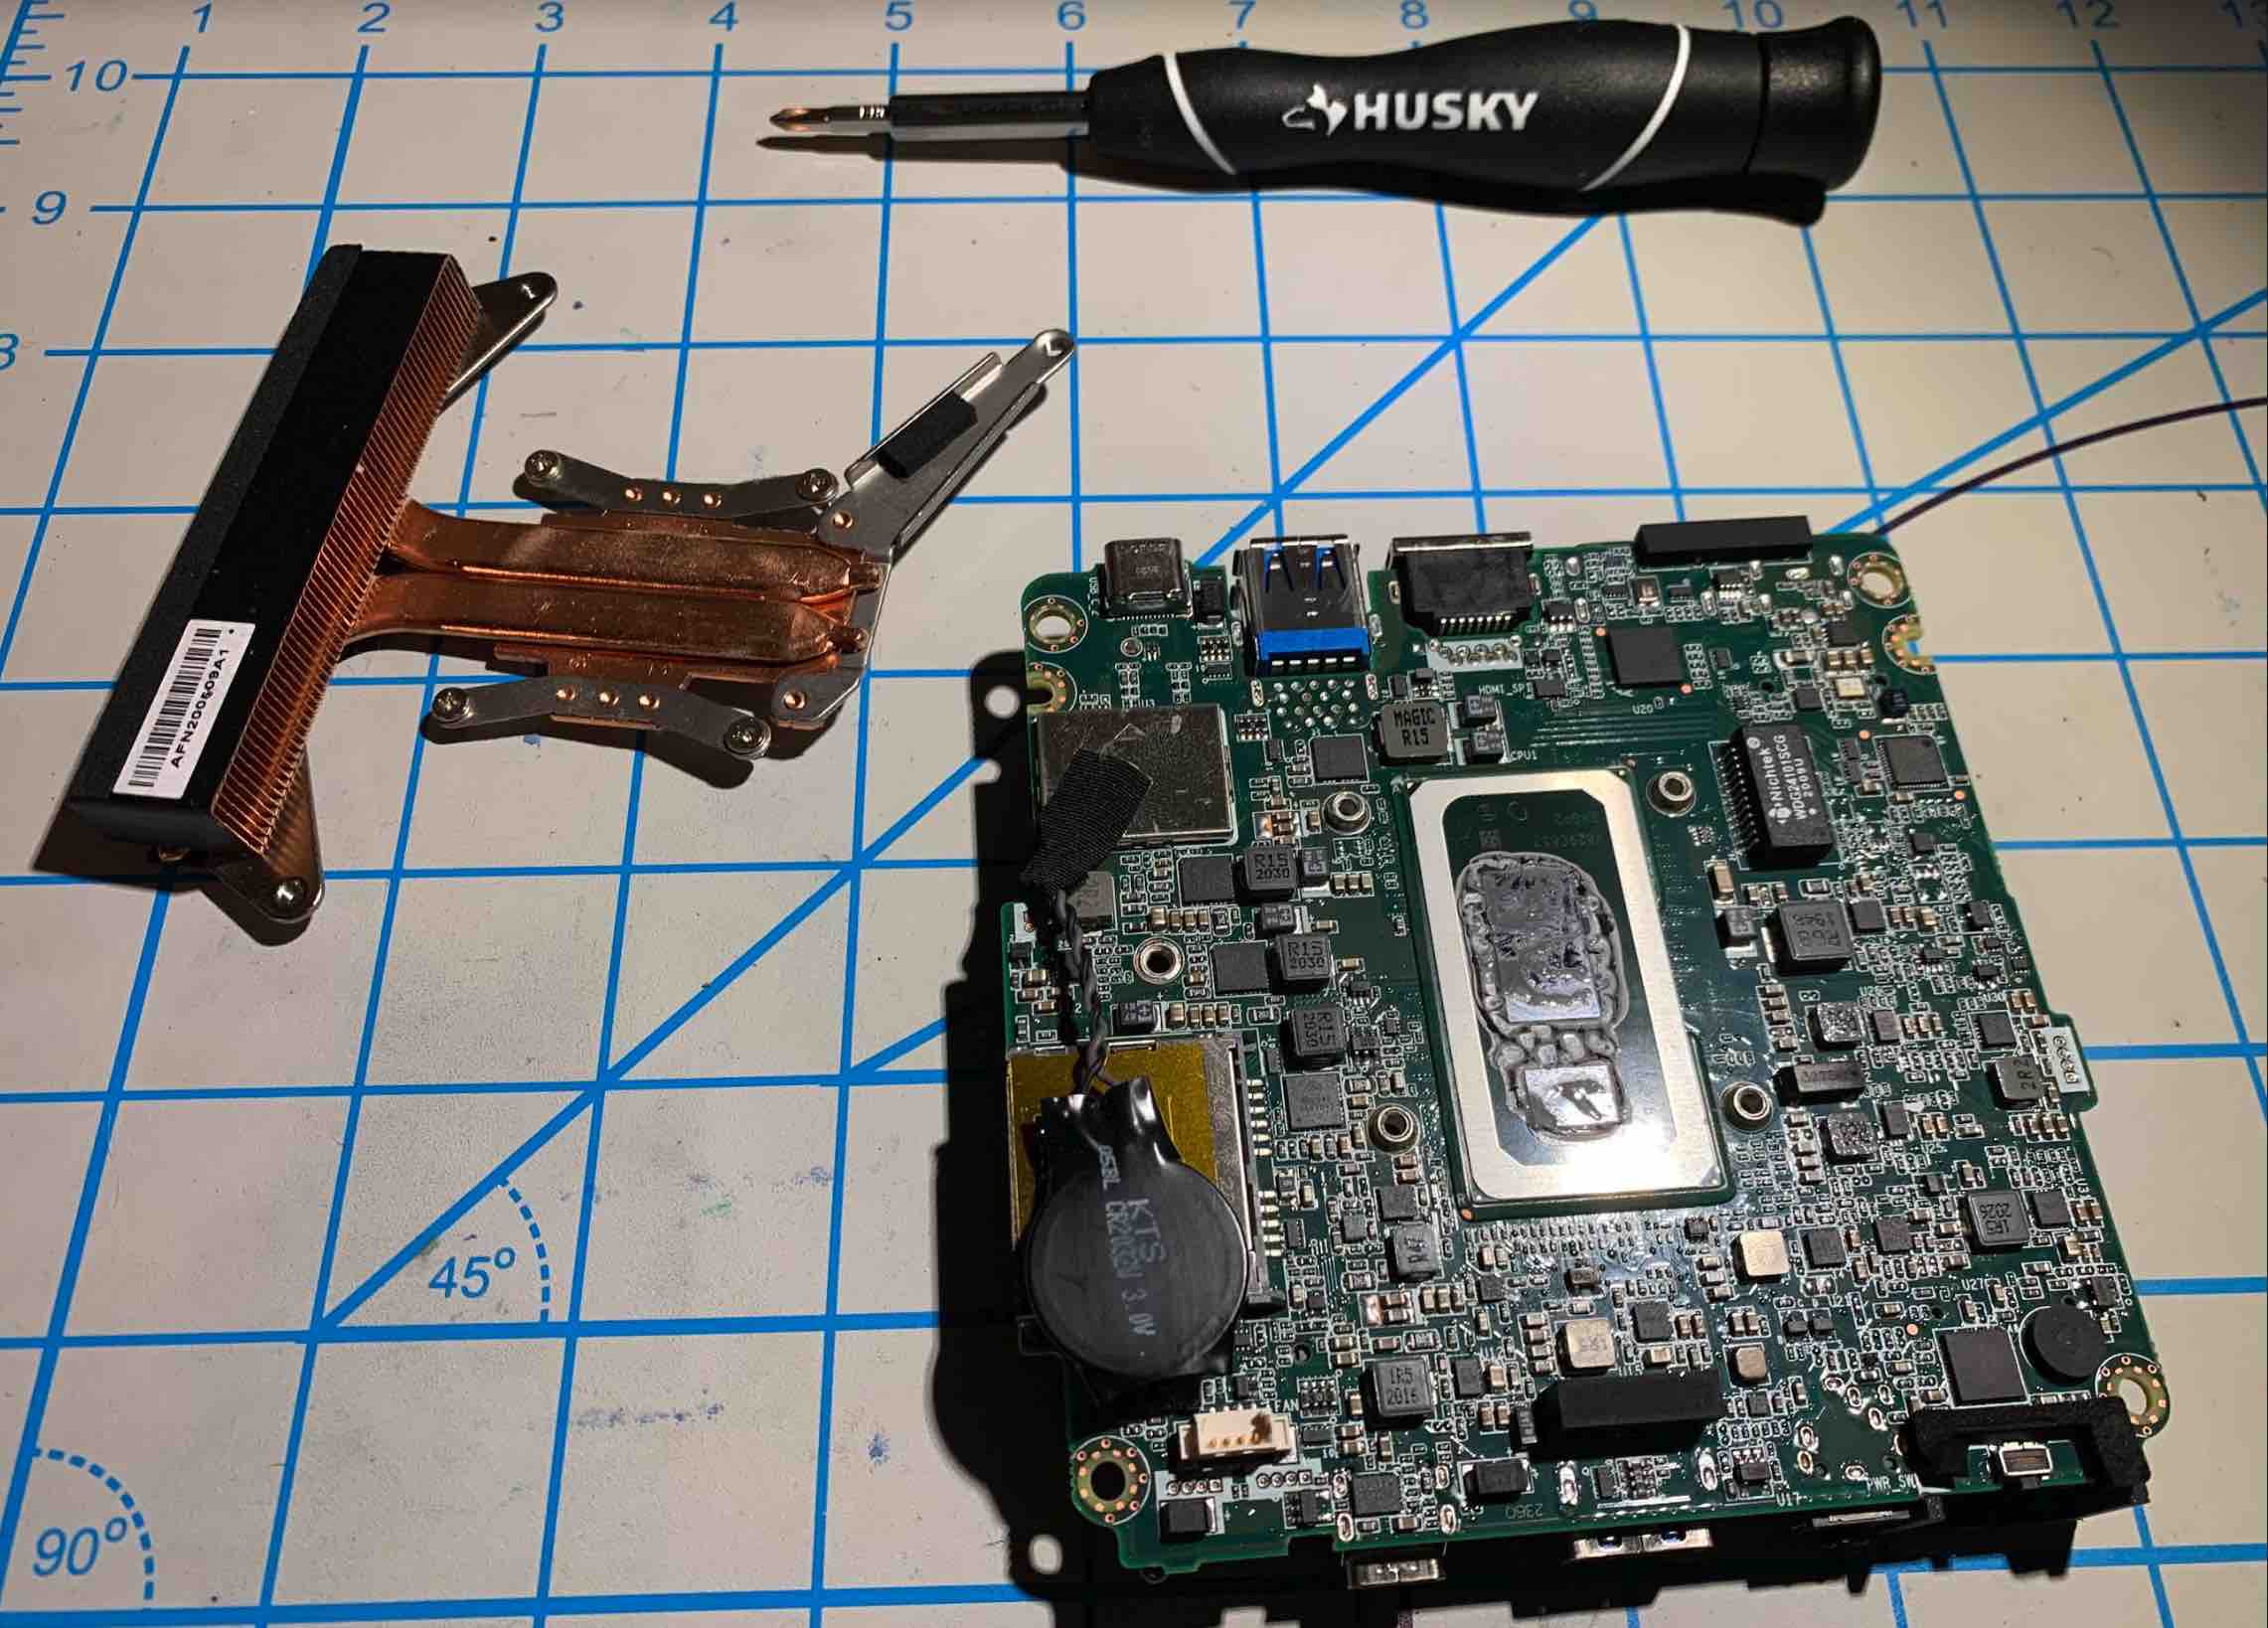
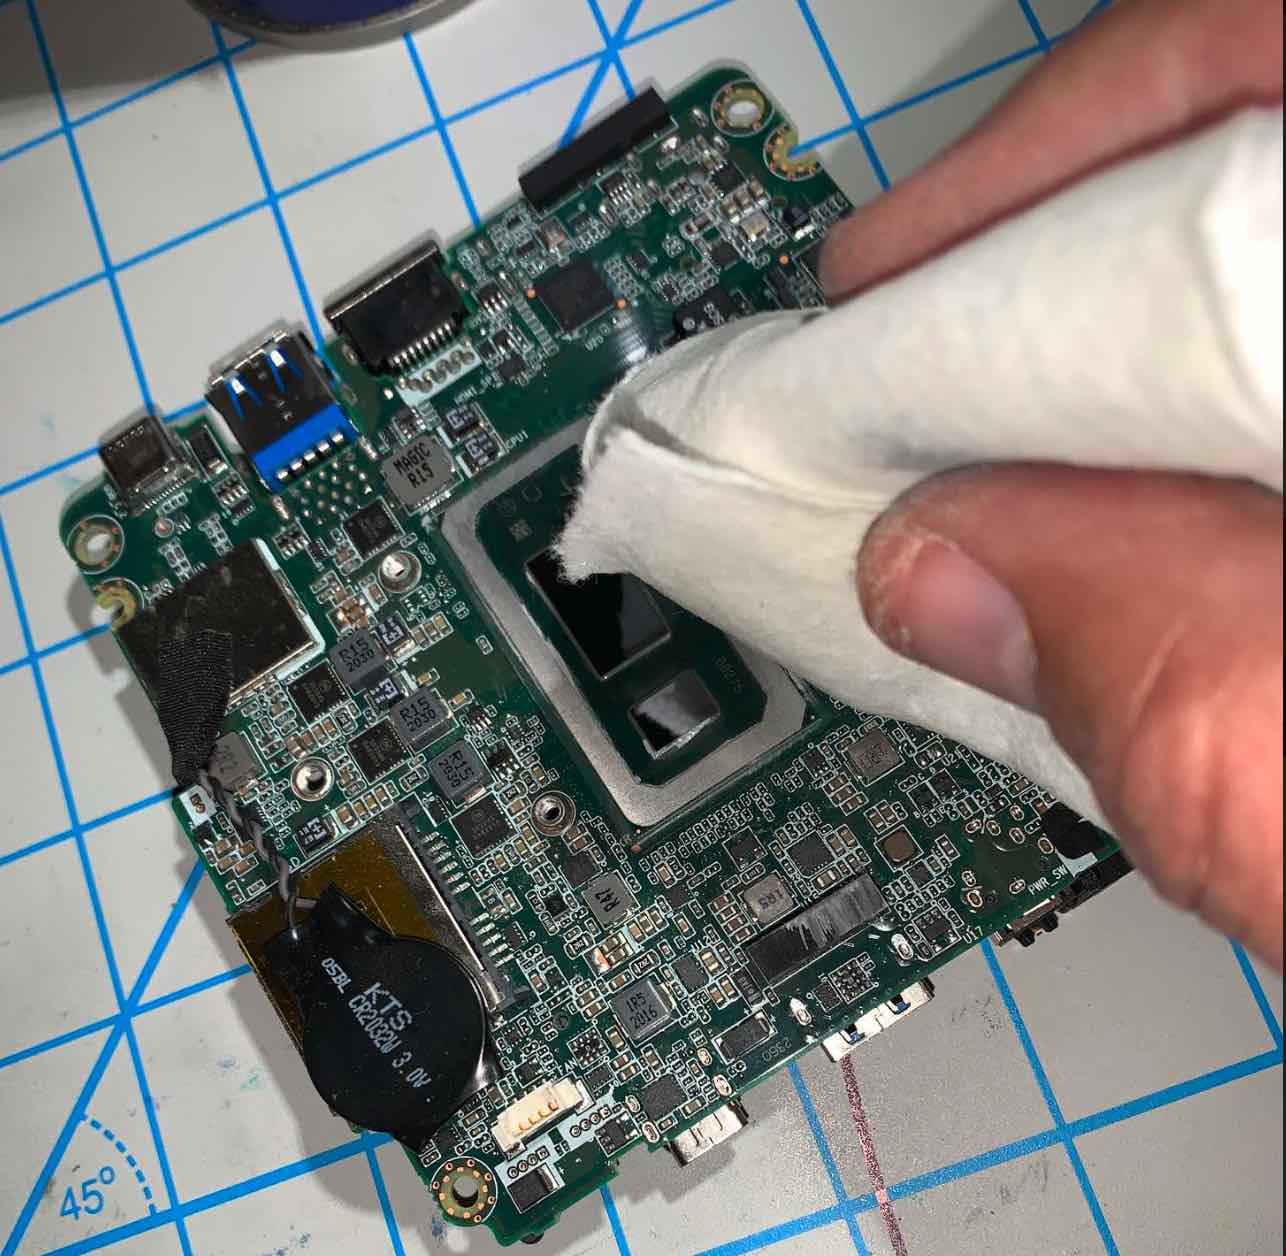
I applied some contact cleaner onto a paper towel and used that to wipe off and remove the old thermal paste from the CPU lid (isopropyl alcohol is recommended) and let it dry before moving on.
Installing the motherboard into the Akasa Turing FX case wasn't as difficult as removing it from the NUC chassis, however, there were several unique challenges.
For example, placing one of the tiny securing screws into very tight quarters was impossible using my fingers, so I improvised: I used the alligator clip at the end of my anti-static wristband to grasp, hold and place the screw into position, then bolted it tight with twists of the precision screwdriver.
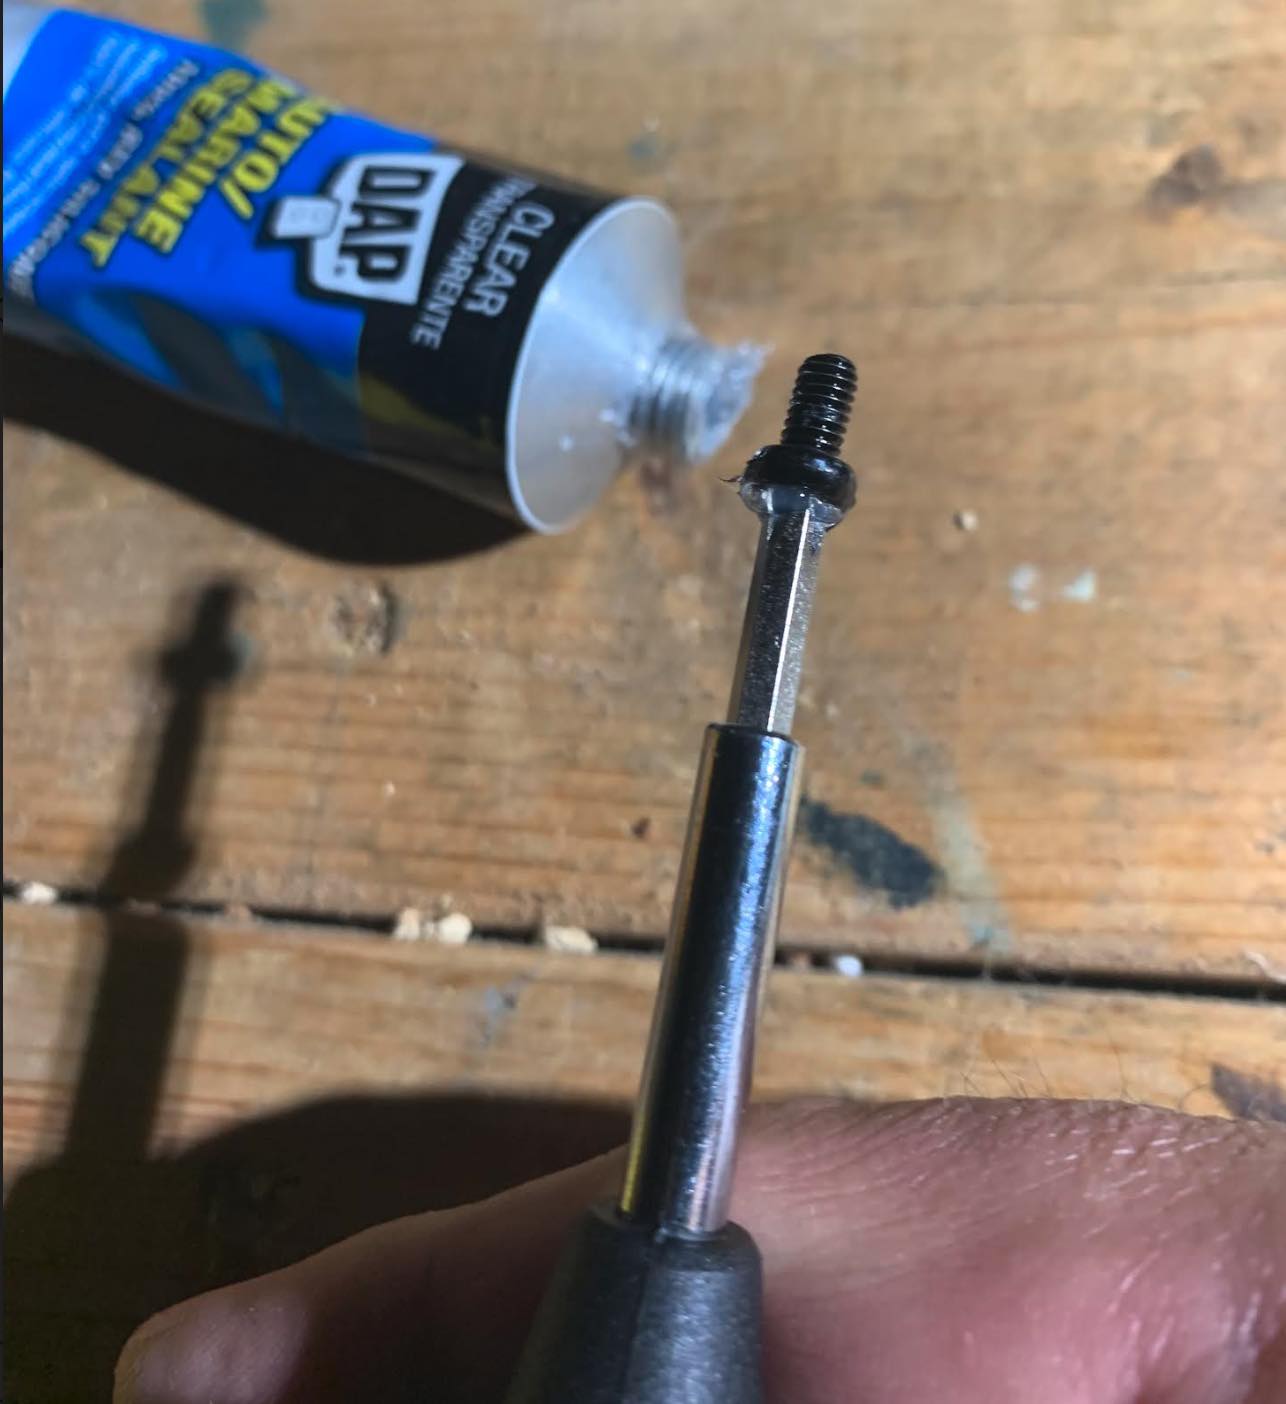
This brings me to Tip Five: Dab a little silicone glue on a small screw for difficult placement. I could not initially place two tiny screws down into the deep holes of the M.2 internal heat sink to tighten with my screwdriver. I tried in vain many times, but the screws tumbled awry and I'd have to shake them out.
I also did not have a magnet to magnetize my screwdriver (as my dad taught me by rubbing the screwdriver shaft back and forth with one), nor did I want to risk magnetizing the screwdriver with one because I feared erasing the content on the SSD drive below. Thankfully, it dawned on me later that I might dab a little marine/auto grade silicone glue on the tip of the screw head, place my Philips head screwdriver into its slots, wipe away the excess, gently lower it into place, and screw it in. That worked perfectly!
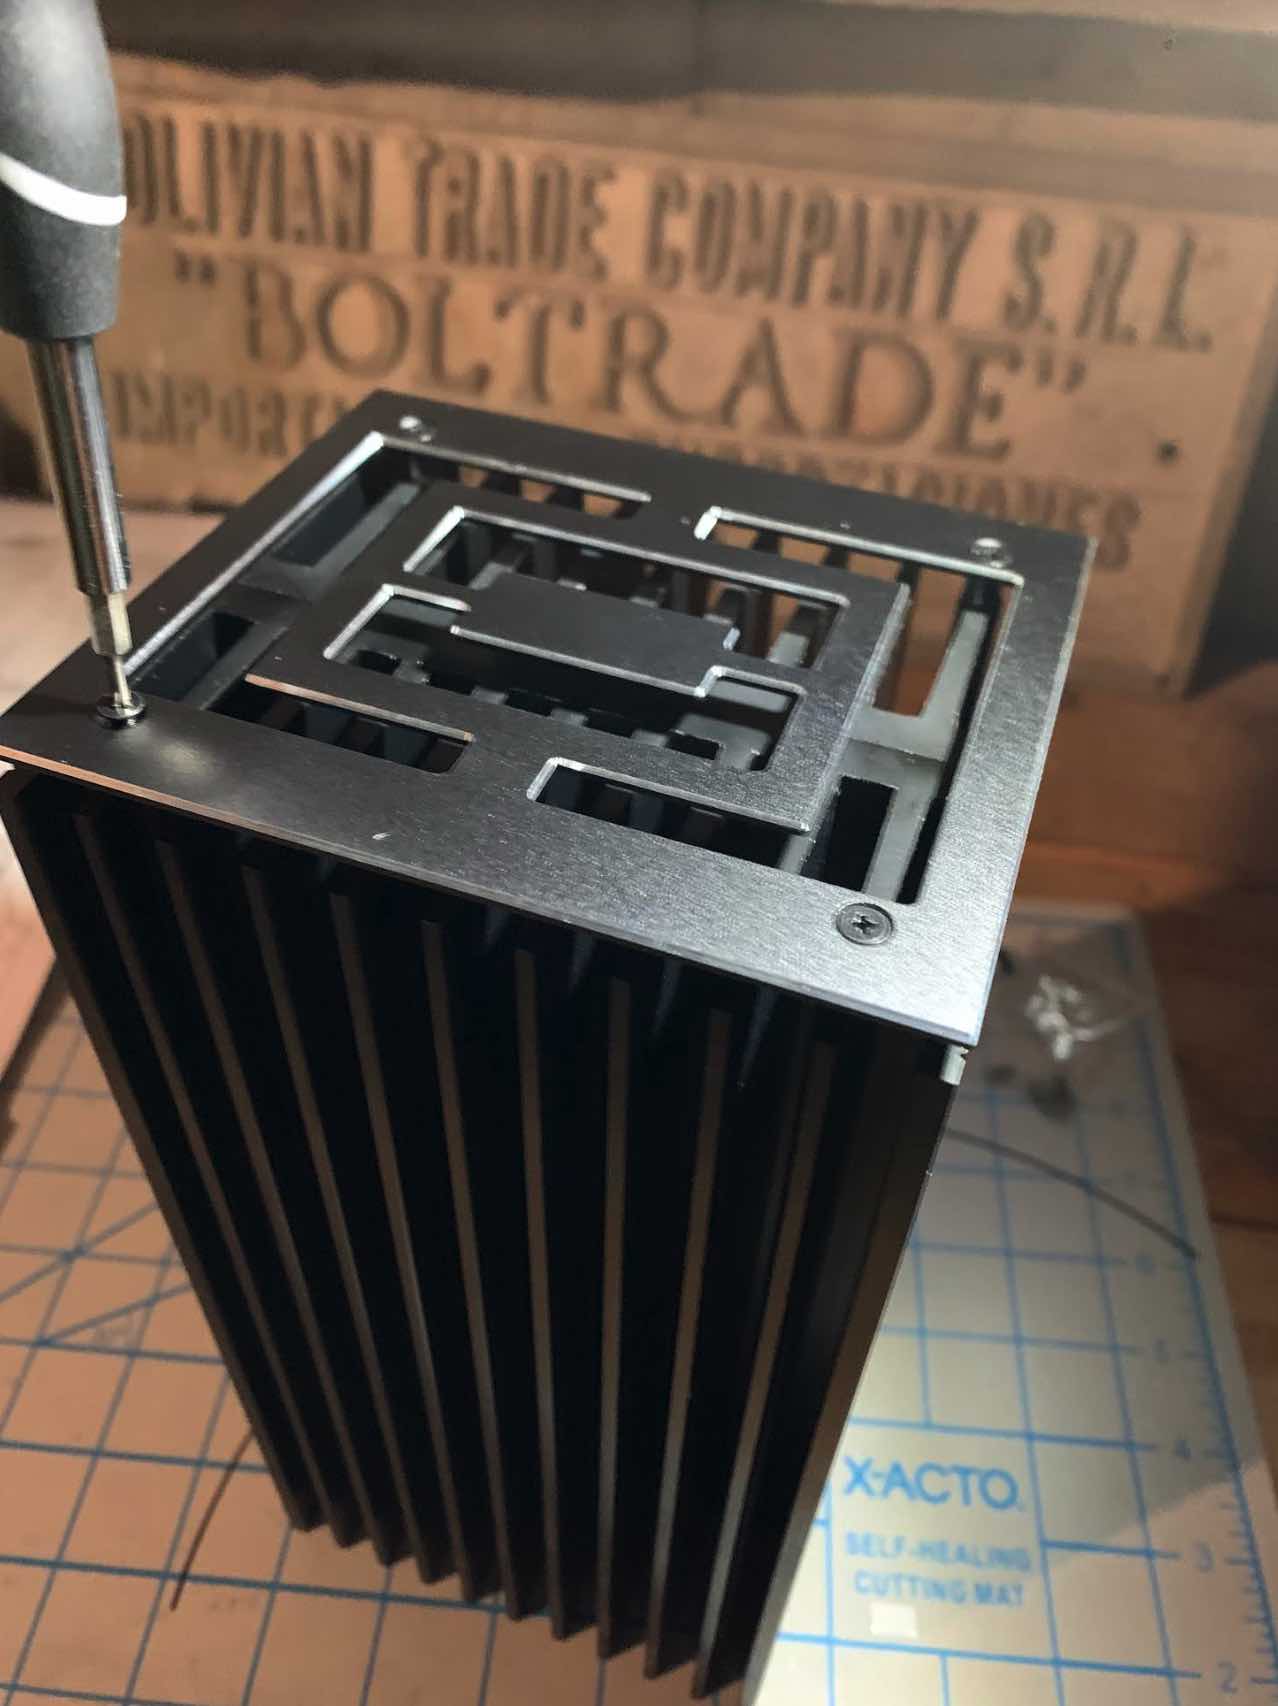
I installed the two decorative plates at either end and four rubber feet on the bottom of the case.
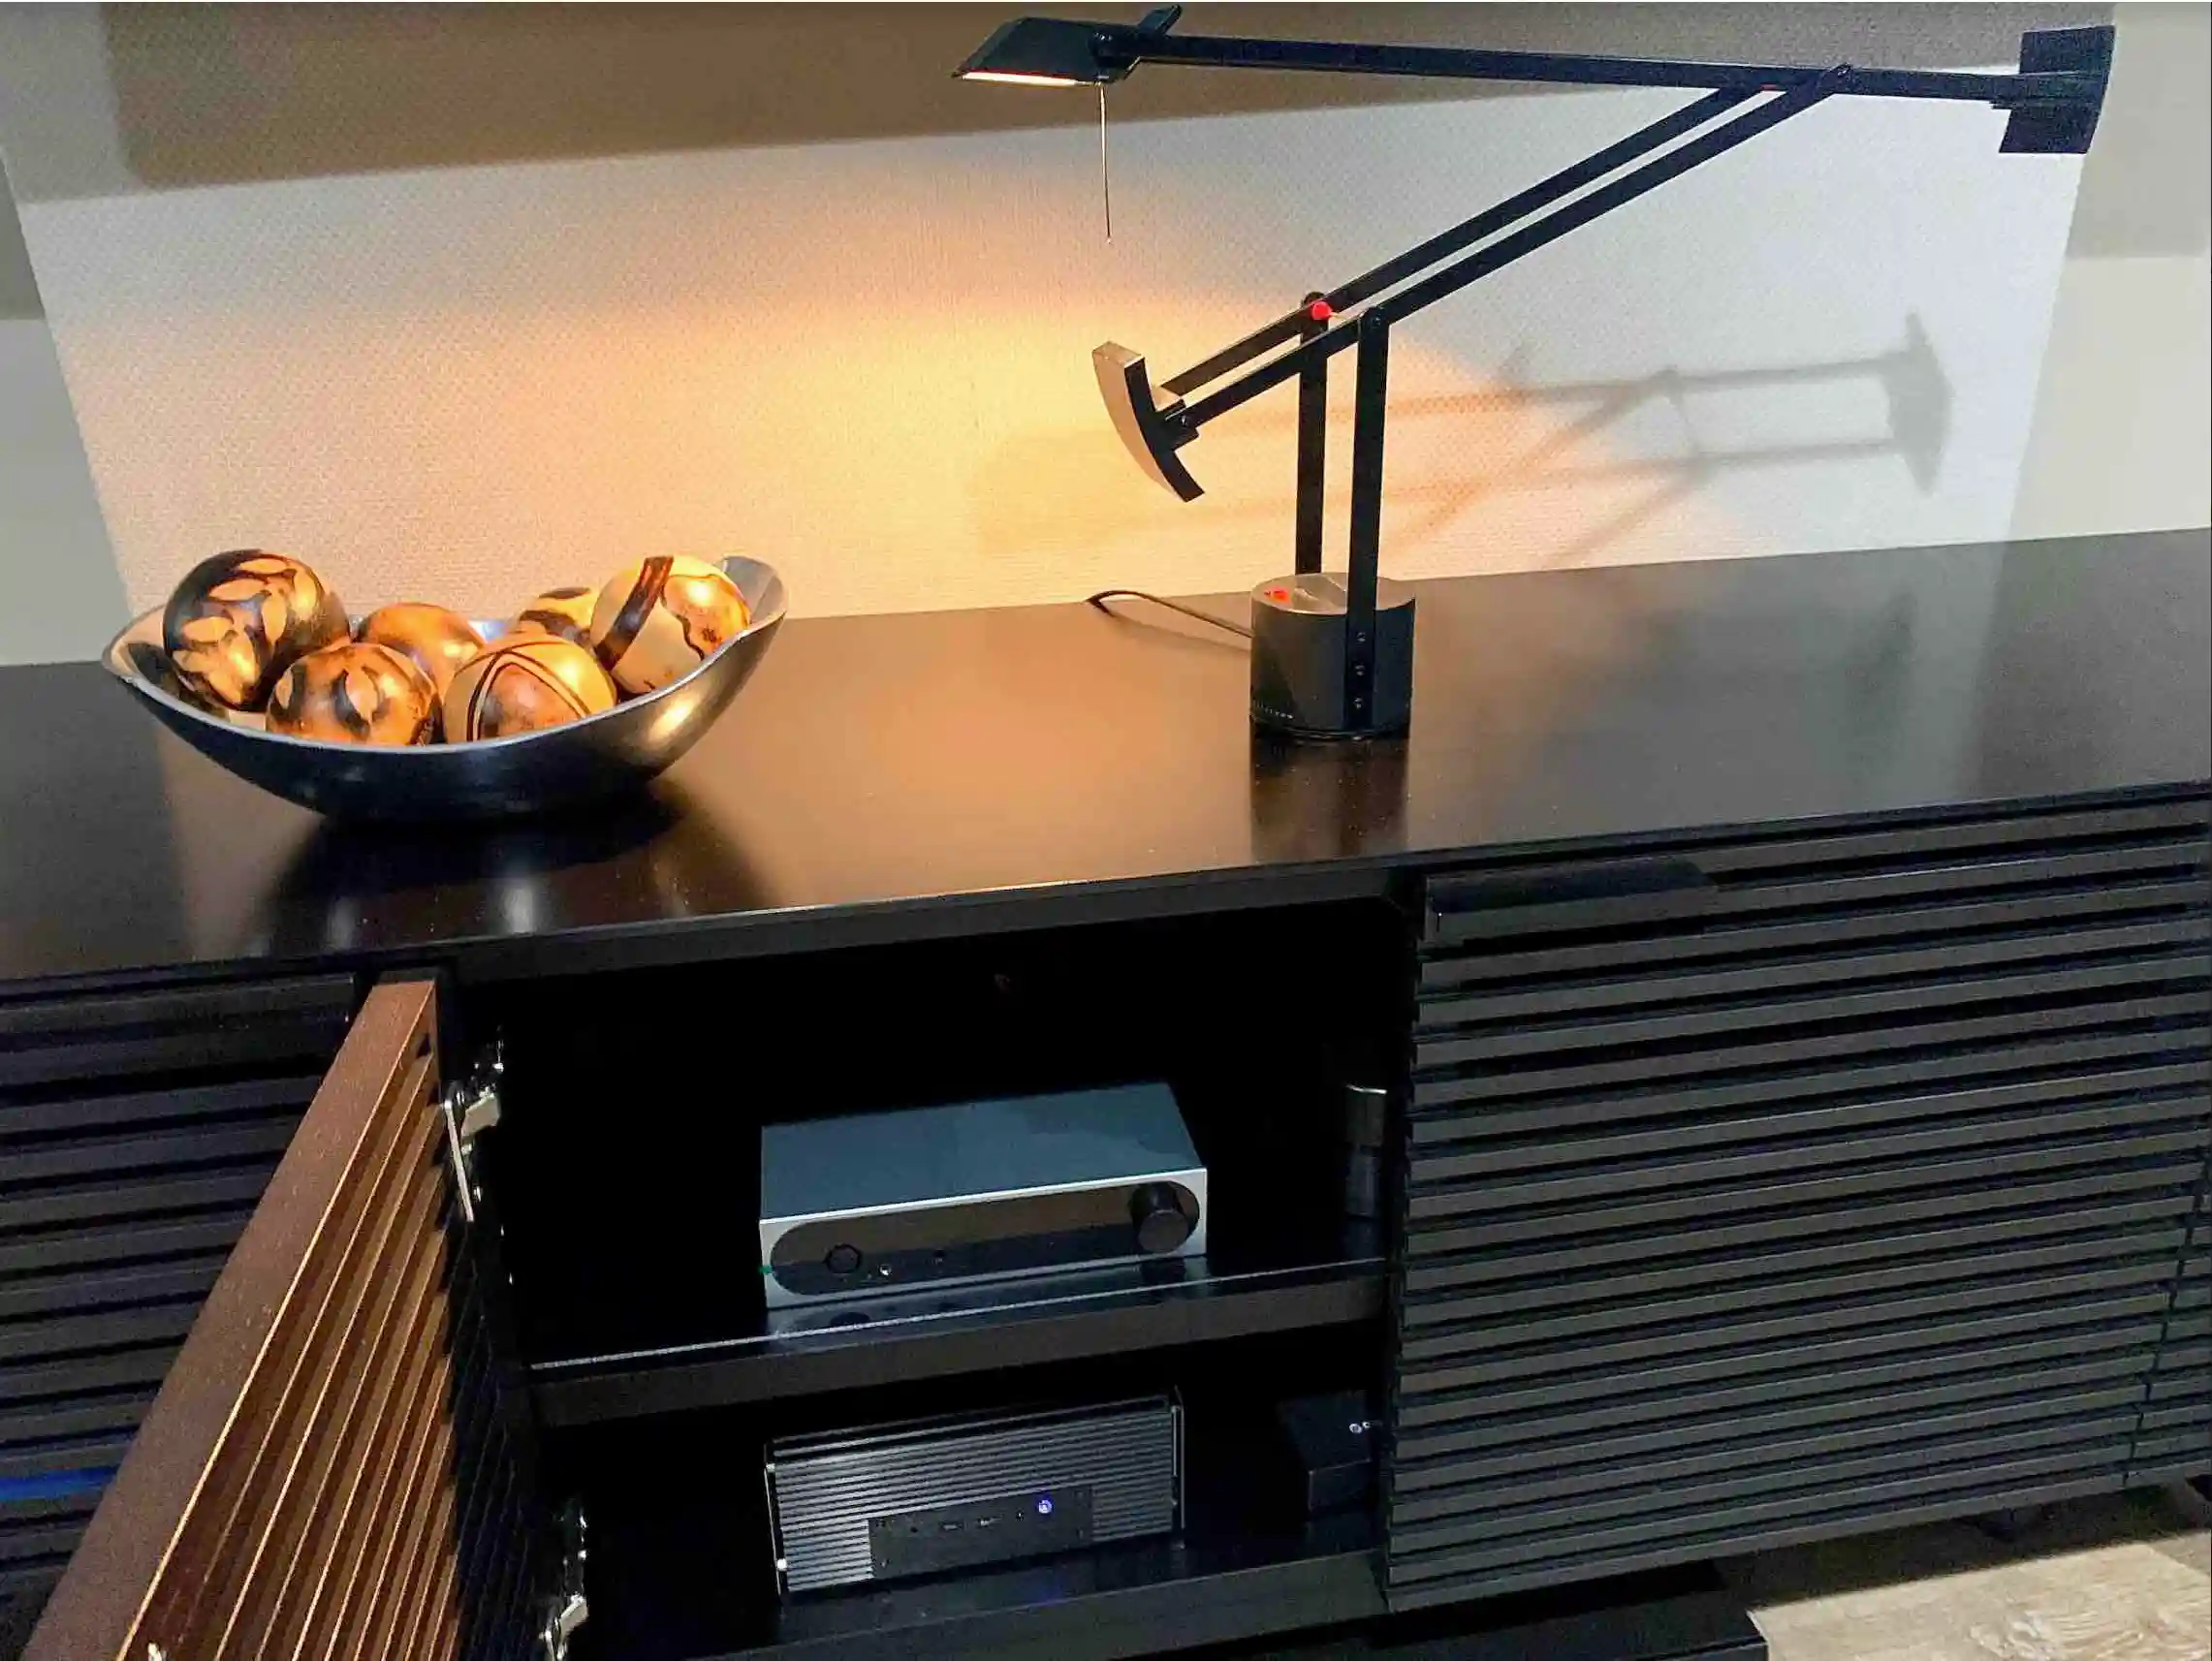
After securing the front plate, I noticed that the on/off button seemed frozen in place whereas, earlier, it easily moved in and out a millimeter or two when the screws holding the plate weren't tightened. I chalked it off as a machining error and seeing that it turned on and off fine, I ran my server that way. However, it also inadvertently turned off several times. That wasn't good. So, I revisited the installation process, checked my connections, removed the front plate, repositioned it and found that really torquing the right side face screws tight, as I had previously, locked up the on/off switch, but by not tightening them as hard, it operated much better. Problem solved, and with no more hiccups since then, I have enjoyed excellent high fidelity music playback, sans the fan noise!
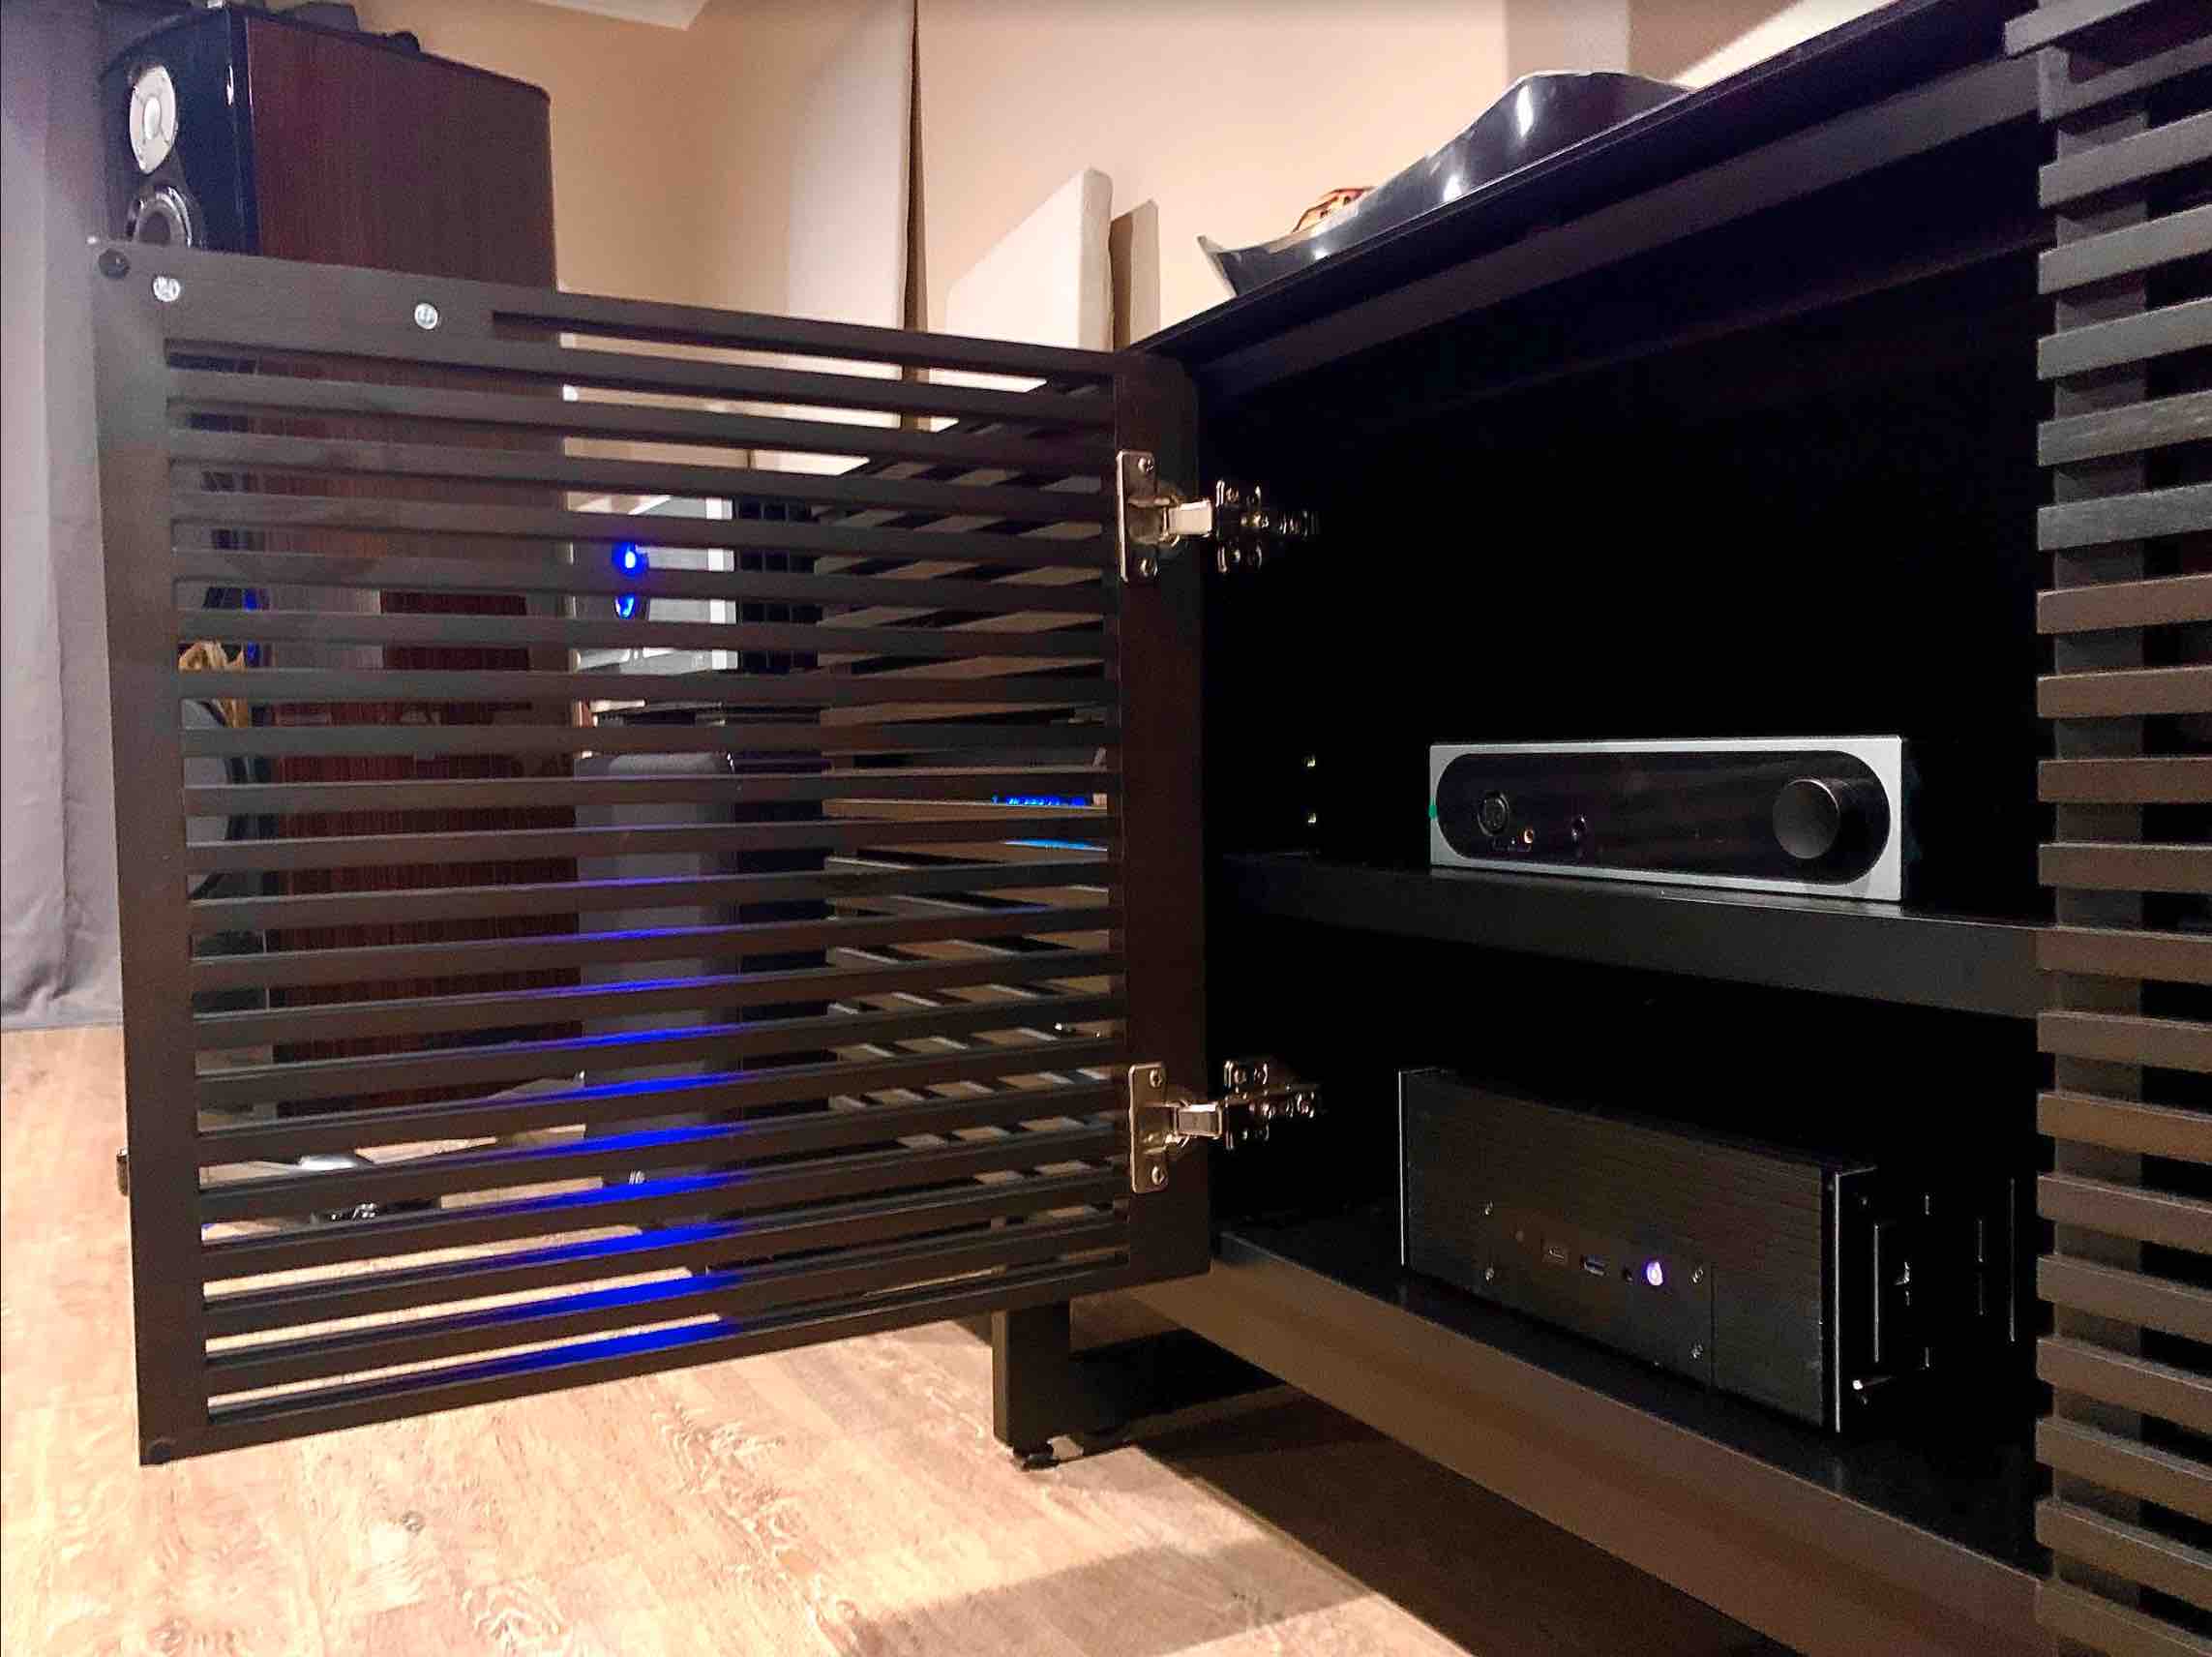
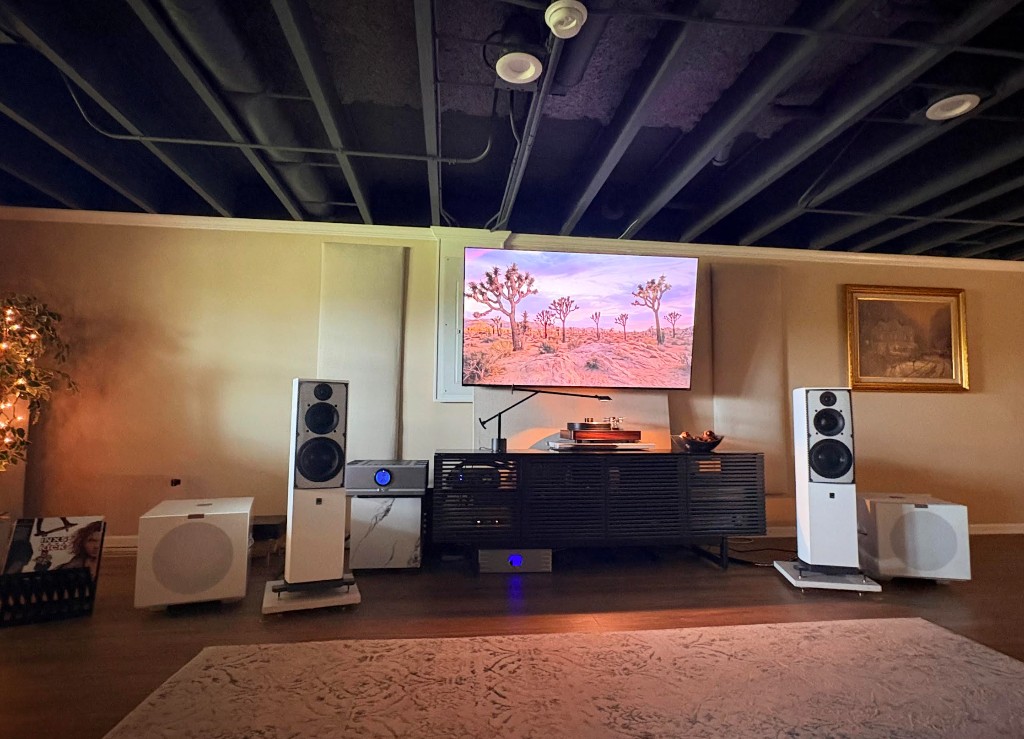
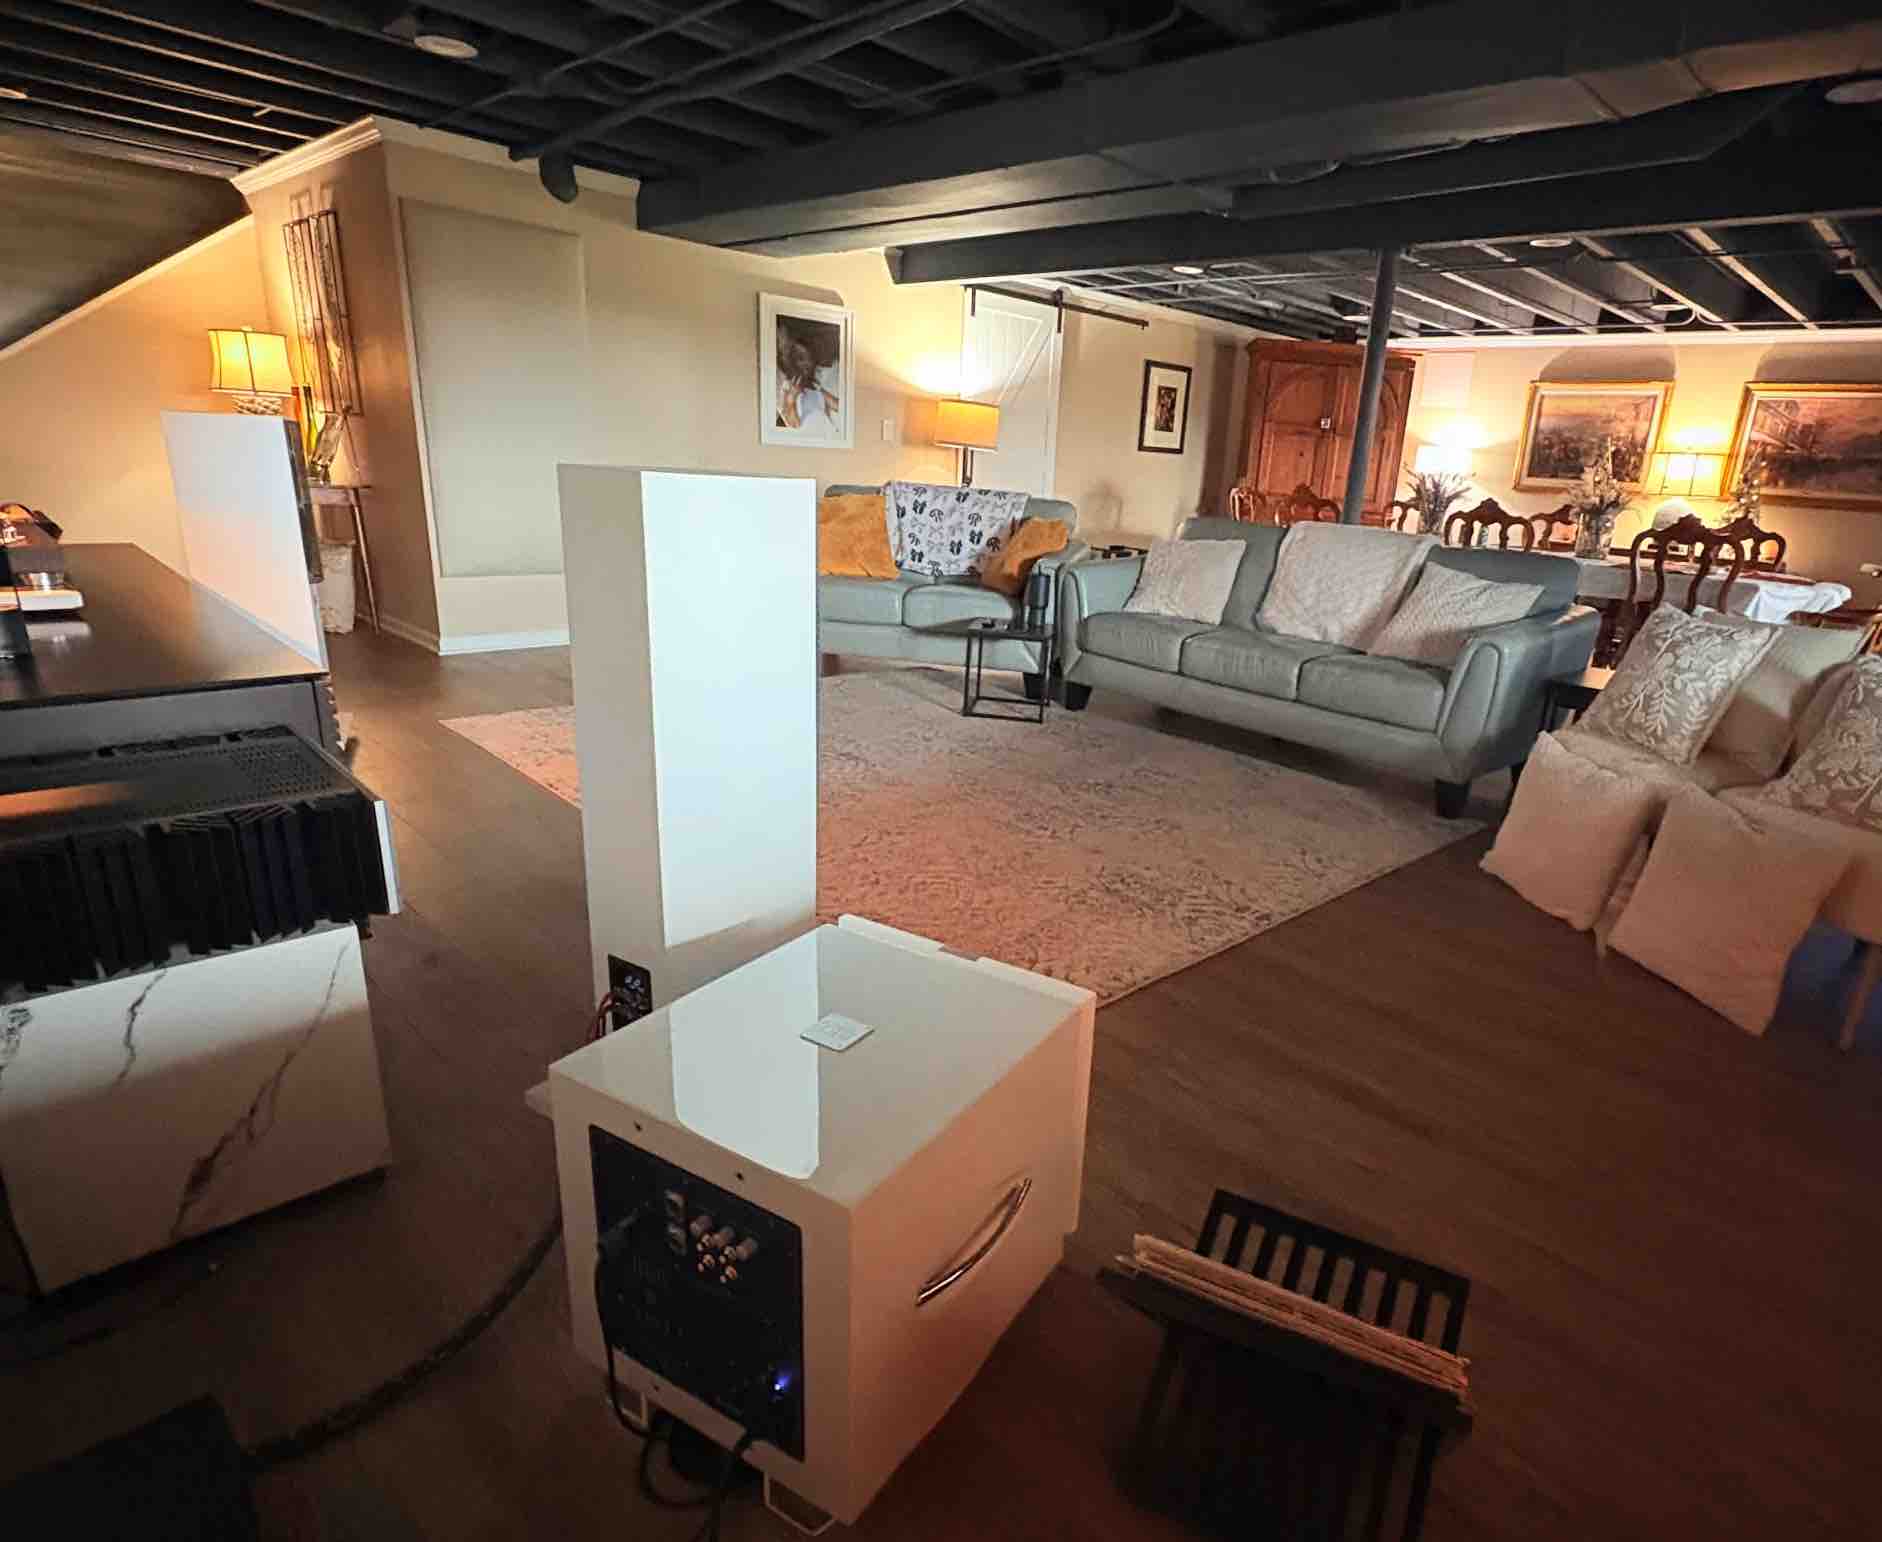
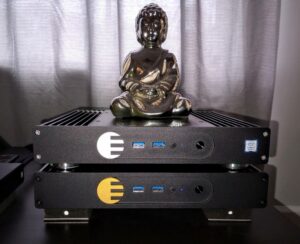
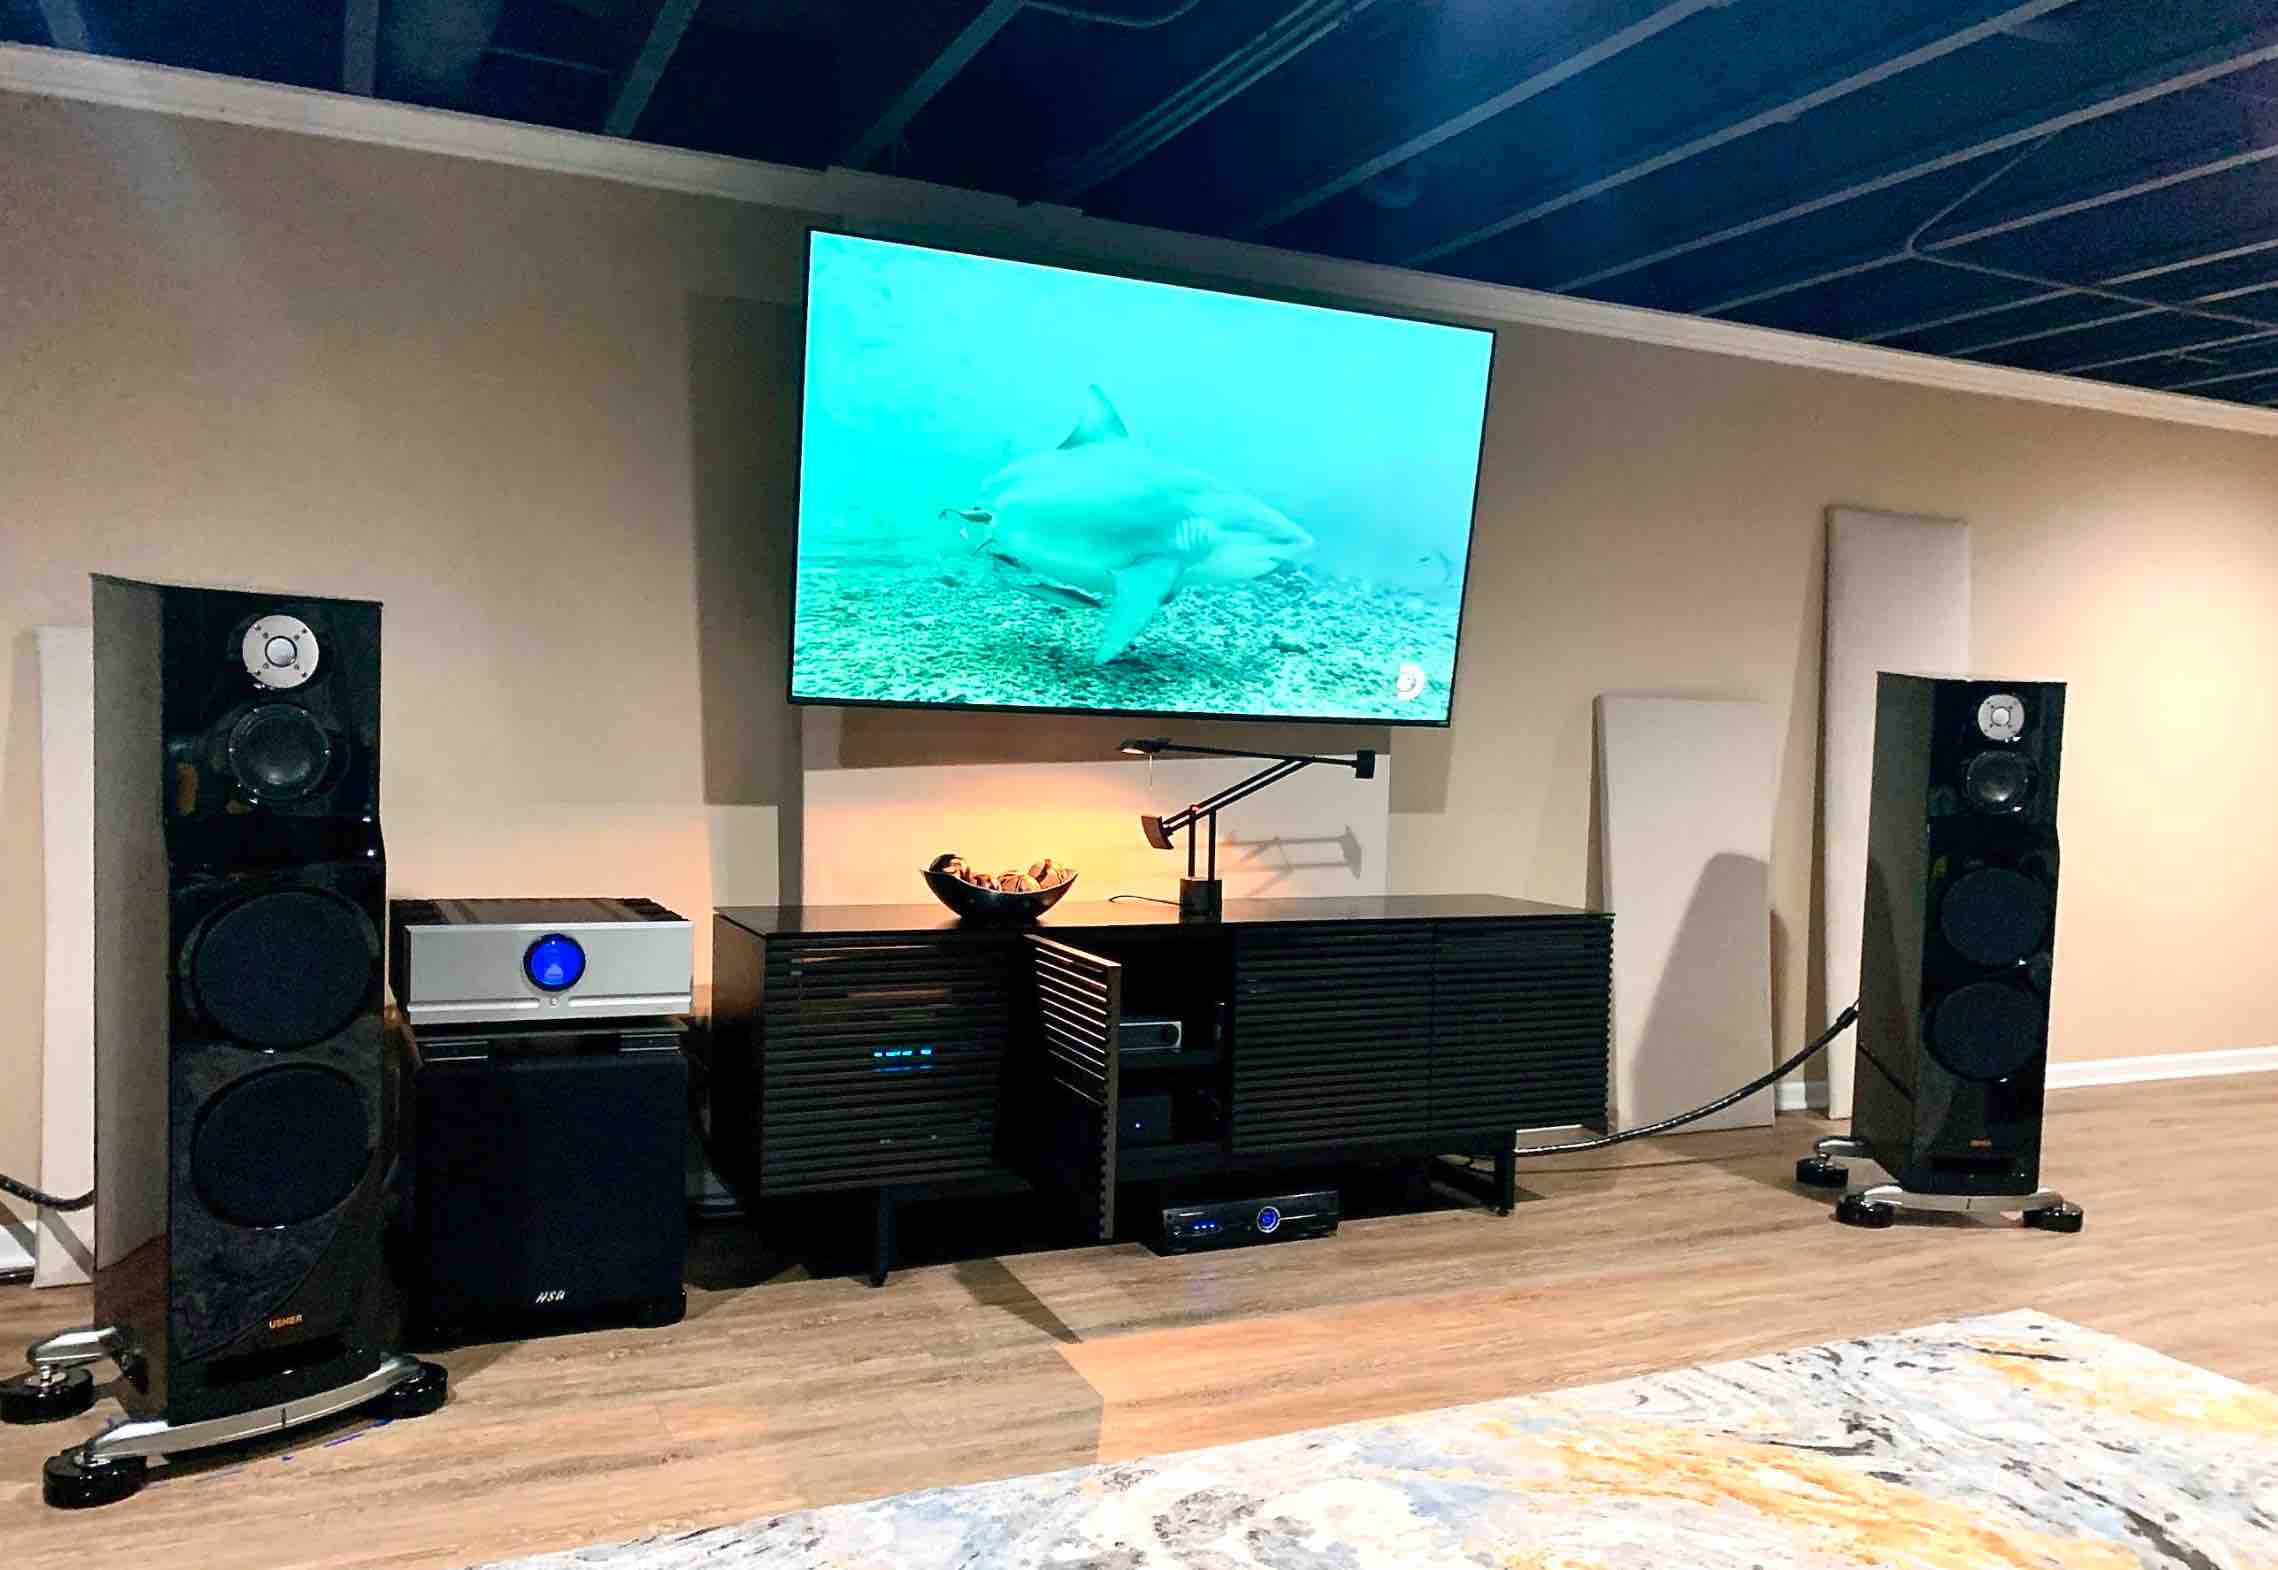
"Congrats, it looks nice," Joe texted after he saw photos of the Akasa Turing FX serving up music from my media console. It delivers exactly what it promises and, at $149, does so with a little panache! What's not to like about that?
Turing FX Compact Fanless case for Intel 10th Generation NUC (Frost Canyon)
Retail: $149
Akasa (Asia) Corporation
Akasa Asia Corporation is a computer supplier and manufacturer of fanless thermal management, including coolers, heatsinks, filters, guards, DC fans, compounds, storage and cable.
Akasa Turing FX