"Dean Waters: Portrait with Cigar." PAF 2023, SeaTac, WA
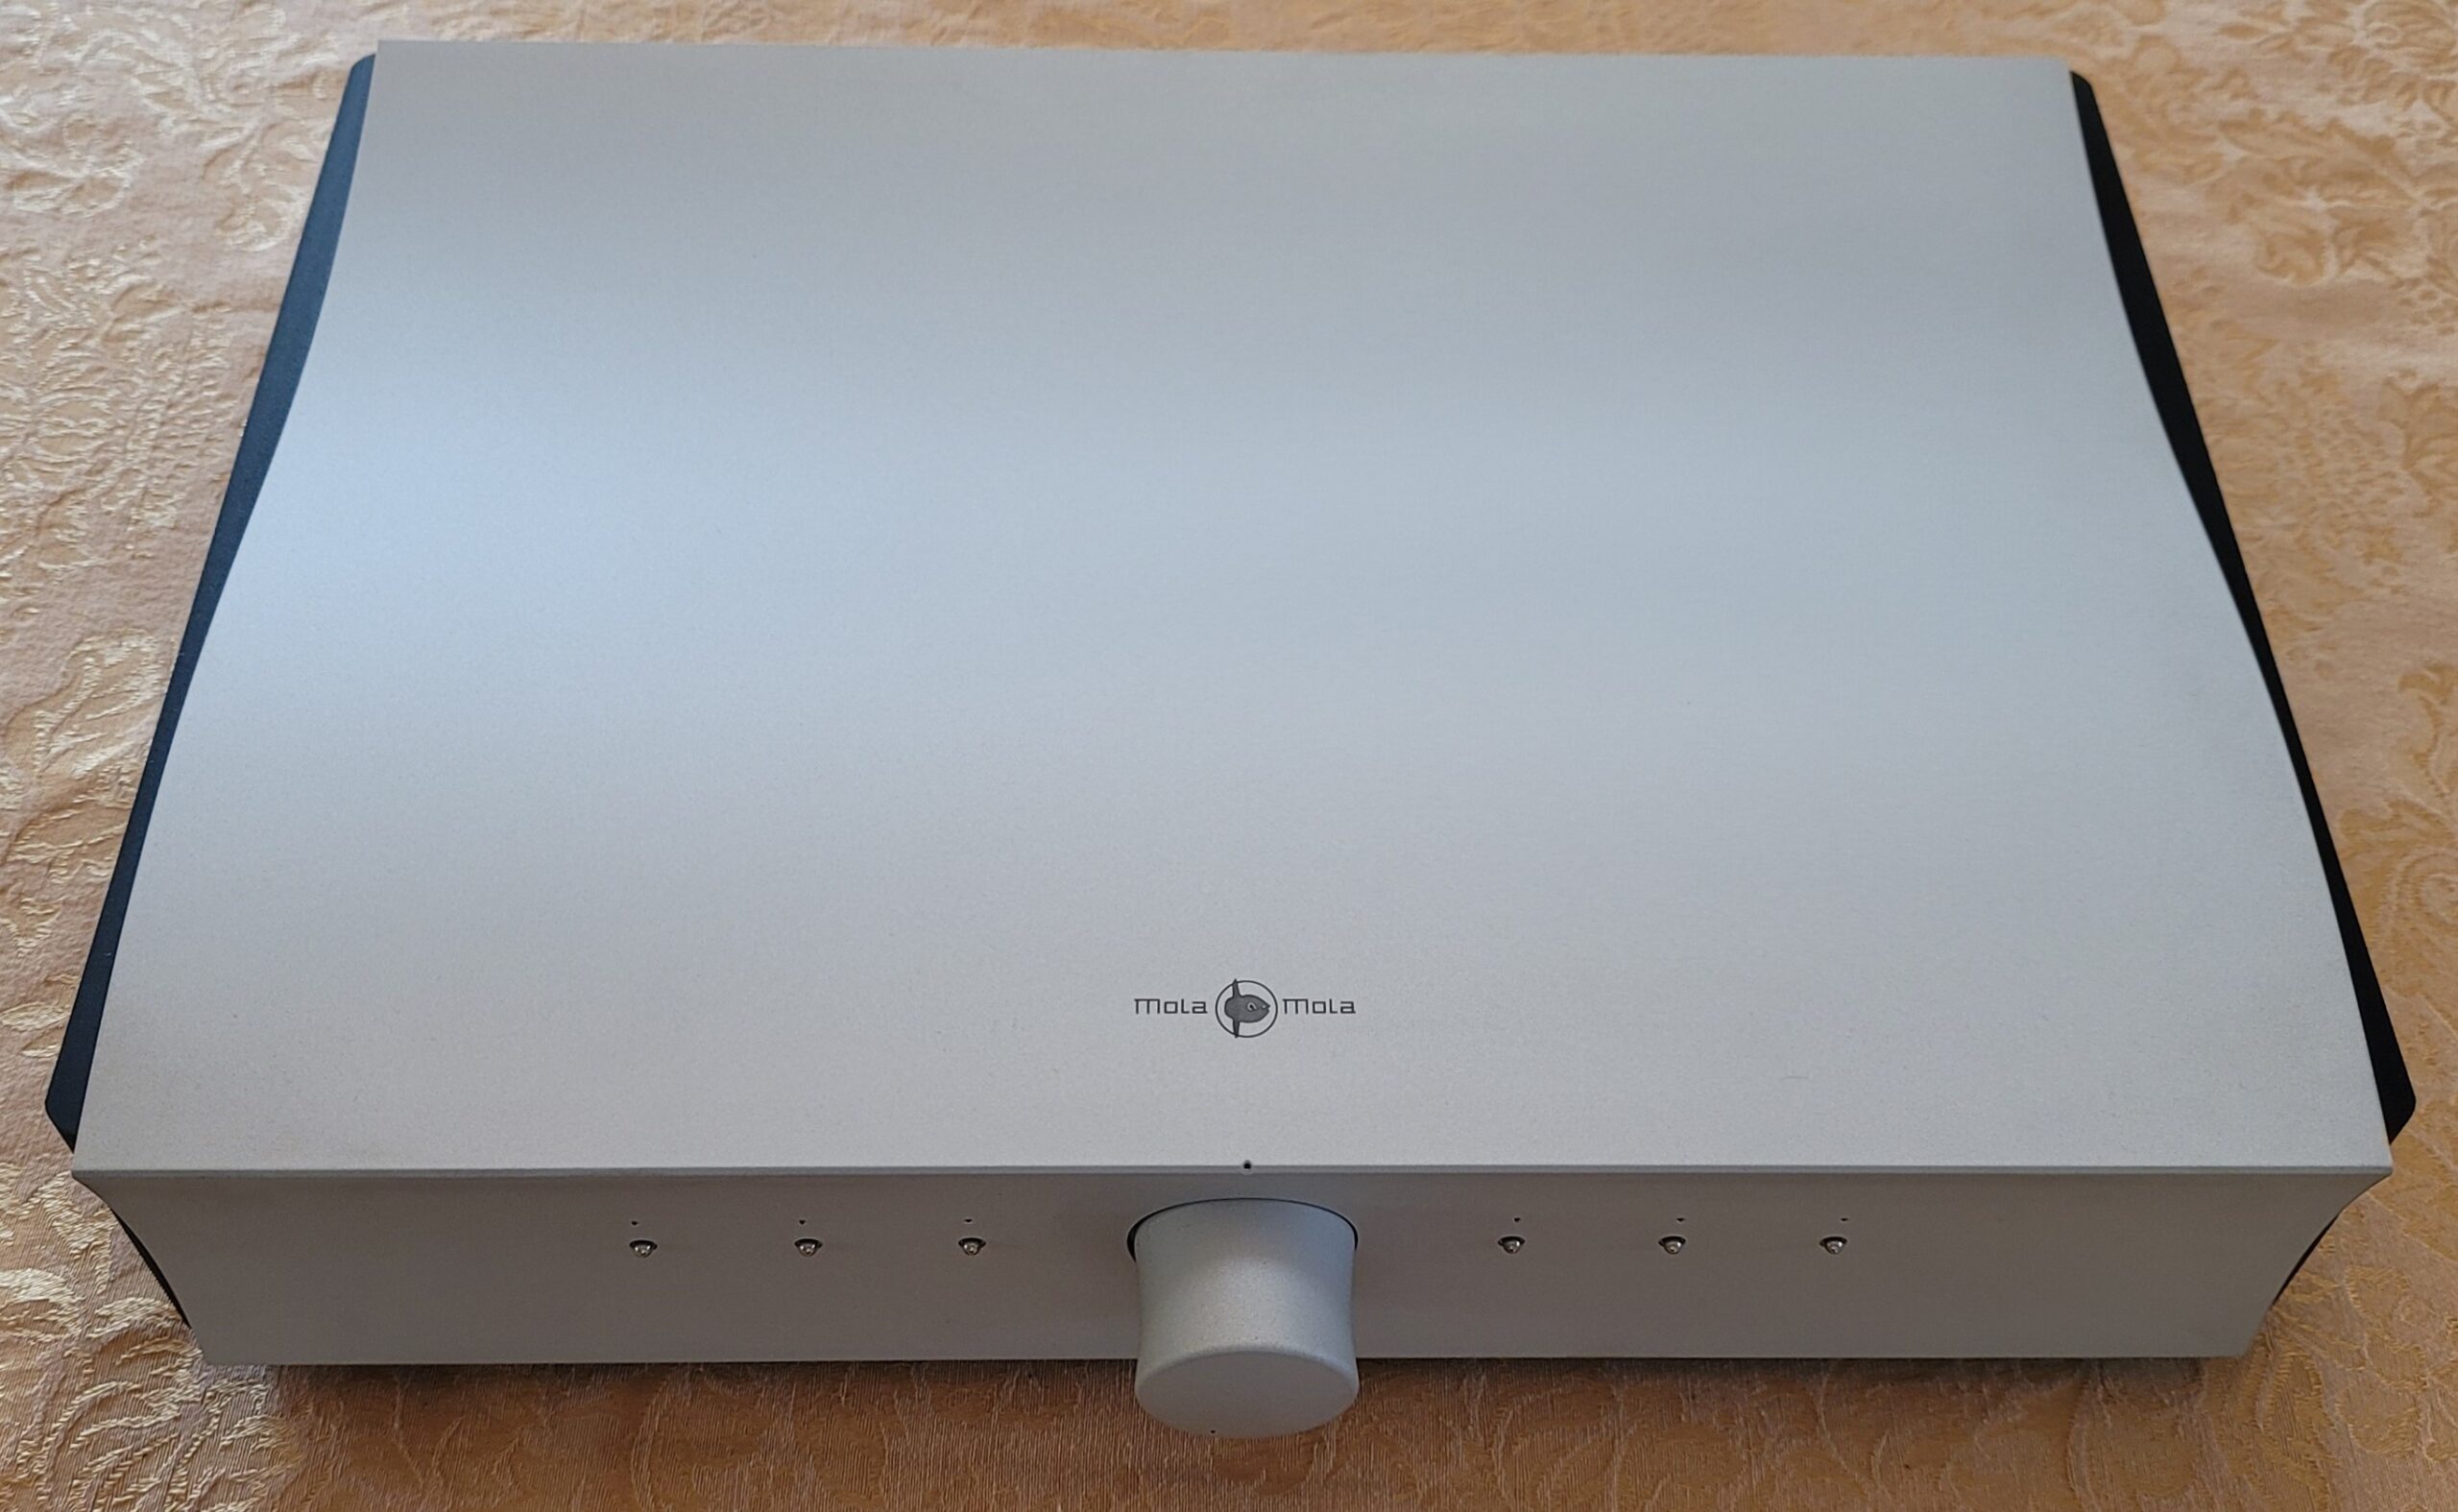
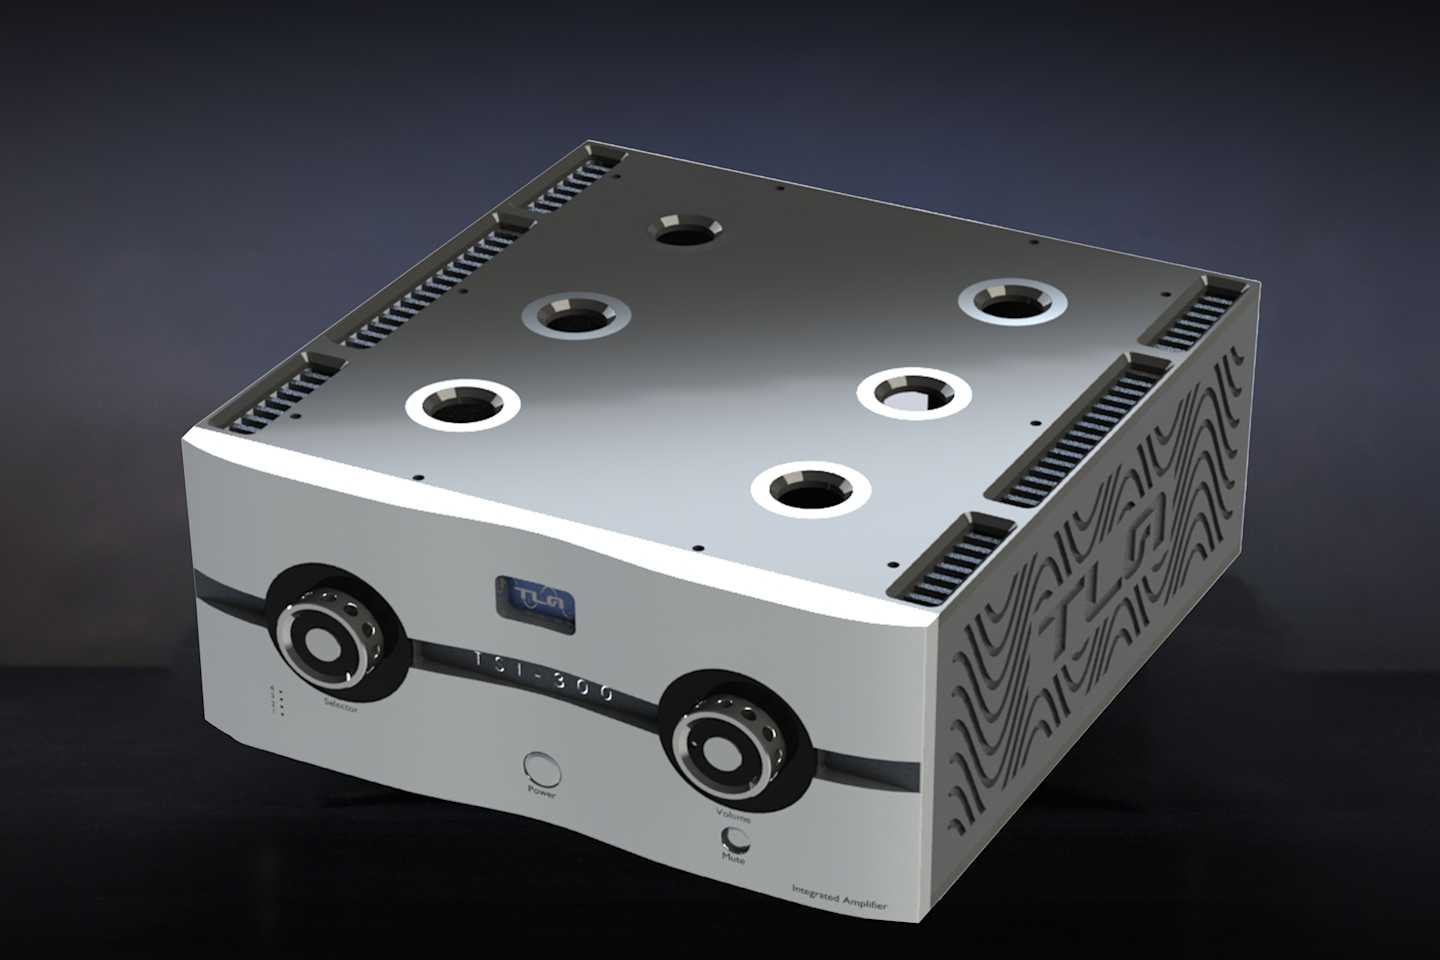
The Mola Mola Makua Preamp, front-top oblique view
In June of this year, I had a wonderful opportunity to attend High End in Munich. With an attendance of well over 20,000, it is certainly one of the largest, if not the largest, trade shows for the audiophile industry of the year. I was accompanied by both Dr. David Robinson, the editor of Positive Feedback, and Bill Parish, principal of GTT Audio.
Without doubt, both David and Bill are audiophiles of the first-order and then some. They've been in this business for decades and are an endless supply of knowledge. Several months prior to the trip, Bill had sent me a Mola Mola Makua preamplifier with the built-in optional phono-stage for me to evaluate. While we were in Germany, he asked me how it was going in regards to the Makua. I sheepishly admitted that I hadn't done much with it because I didn't have a turntable of sufficient quality to give the Makua an accurate representation of its capabilities. Bill suggested that I use it as an aggregator and connect my other sources to its' many inputs and then connect the Makua to the power amplifiers. My initial thought was that of confusion. After all, isn't a preamp designed to take a phono or mic level signal and boost it up to line level? My DAC, Transport, Streamer (etc.), all produce line level outputs already and so the thought of connecting those devices to a preamp such as the Makua did, I'll admit, seemed a bit foreign to me. Bill assured me that this is exactly what I should do, and I would be well pleased with the results.

Dean Waters with drink at Munich 2024
Well, upon my return from the Munich trip, this is exactly what I did. I disconnected all the various components and reconnected everything directly to the Makua. To say that Bill was right would be an understatement. The difference was immediate and surprising. Turns out adding a preamp to line level devices prior to sending those signals to the power amps brought about a new sense of dynamics and ease to all the components in the system. The level of 3-dimensional imaging was increased by orders of magnitude. No longer was I hearing instruments along a left-to-right horizontal plane, I was now hearing instruments and vocals behind and in front of other instruments. I brought a group of friends over for a listening session and we had these great conversations about how far back or how close the singer was to the microphone and where they were in relation to the other instruments being recorded. It was wild. It was like finding a new toy on Christmas morning. Now let's dive into what this is all about….
The Mola-Mola Makua is, at the most basic level, a multi-input preamplifier with an optional integrated phono-stage and an optional integrated Tambaqui TAC (more on this later…). With all the inputs, it also serves as the primary controller and congregator for the various signal generating components in the system that sits right in front of the power amplifier(s).
With the Makua in place, rather than using the volume controls independently on the various transports/DACs/Streamer, you use the Makua as the master volume controller for everything. Simply set the downstream components to line (or max) level and use the circuitry in the Makua to handle the volume changes. This is more valuable than might be realized at first glance. For starters, life gets easier when you need to deal with only one remote to control volume from everything.
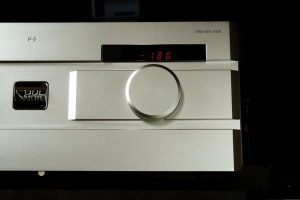
The second benefit is even more important. Most volume control on devices is done through as series of potentiometers. Basically, these are simple devices that control resistance in the signal before leaving the device. That's why most volume controls have been dial-type knobs from the early days, as you were physically moving a signal pickup across a coil that increased or decreased resistance as you turned the dial. This isn't entirely linear, and you notice and the signal itself often changes its characteristics depending on the dial-in potentiometer setting. The Makua instead has dedicated resistance pathways that are switched in and out as you move the 'dial'. Sure, it's a dial on the front of the device (and a large one at that). Internally the dial directs different individually tuned pathways for the signals to take as the dial is turned. This is a linear approach that allows for much more finite control of the desired output level and leaves the signal uncolored with volume changes. That's something that you just don't get with traditional potentiometers.
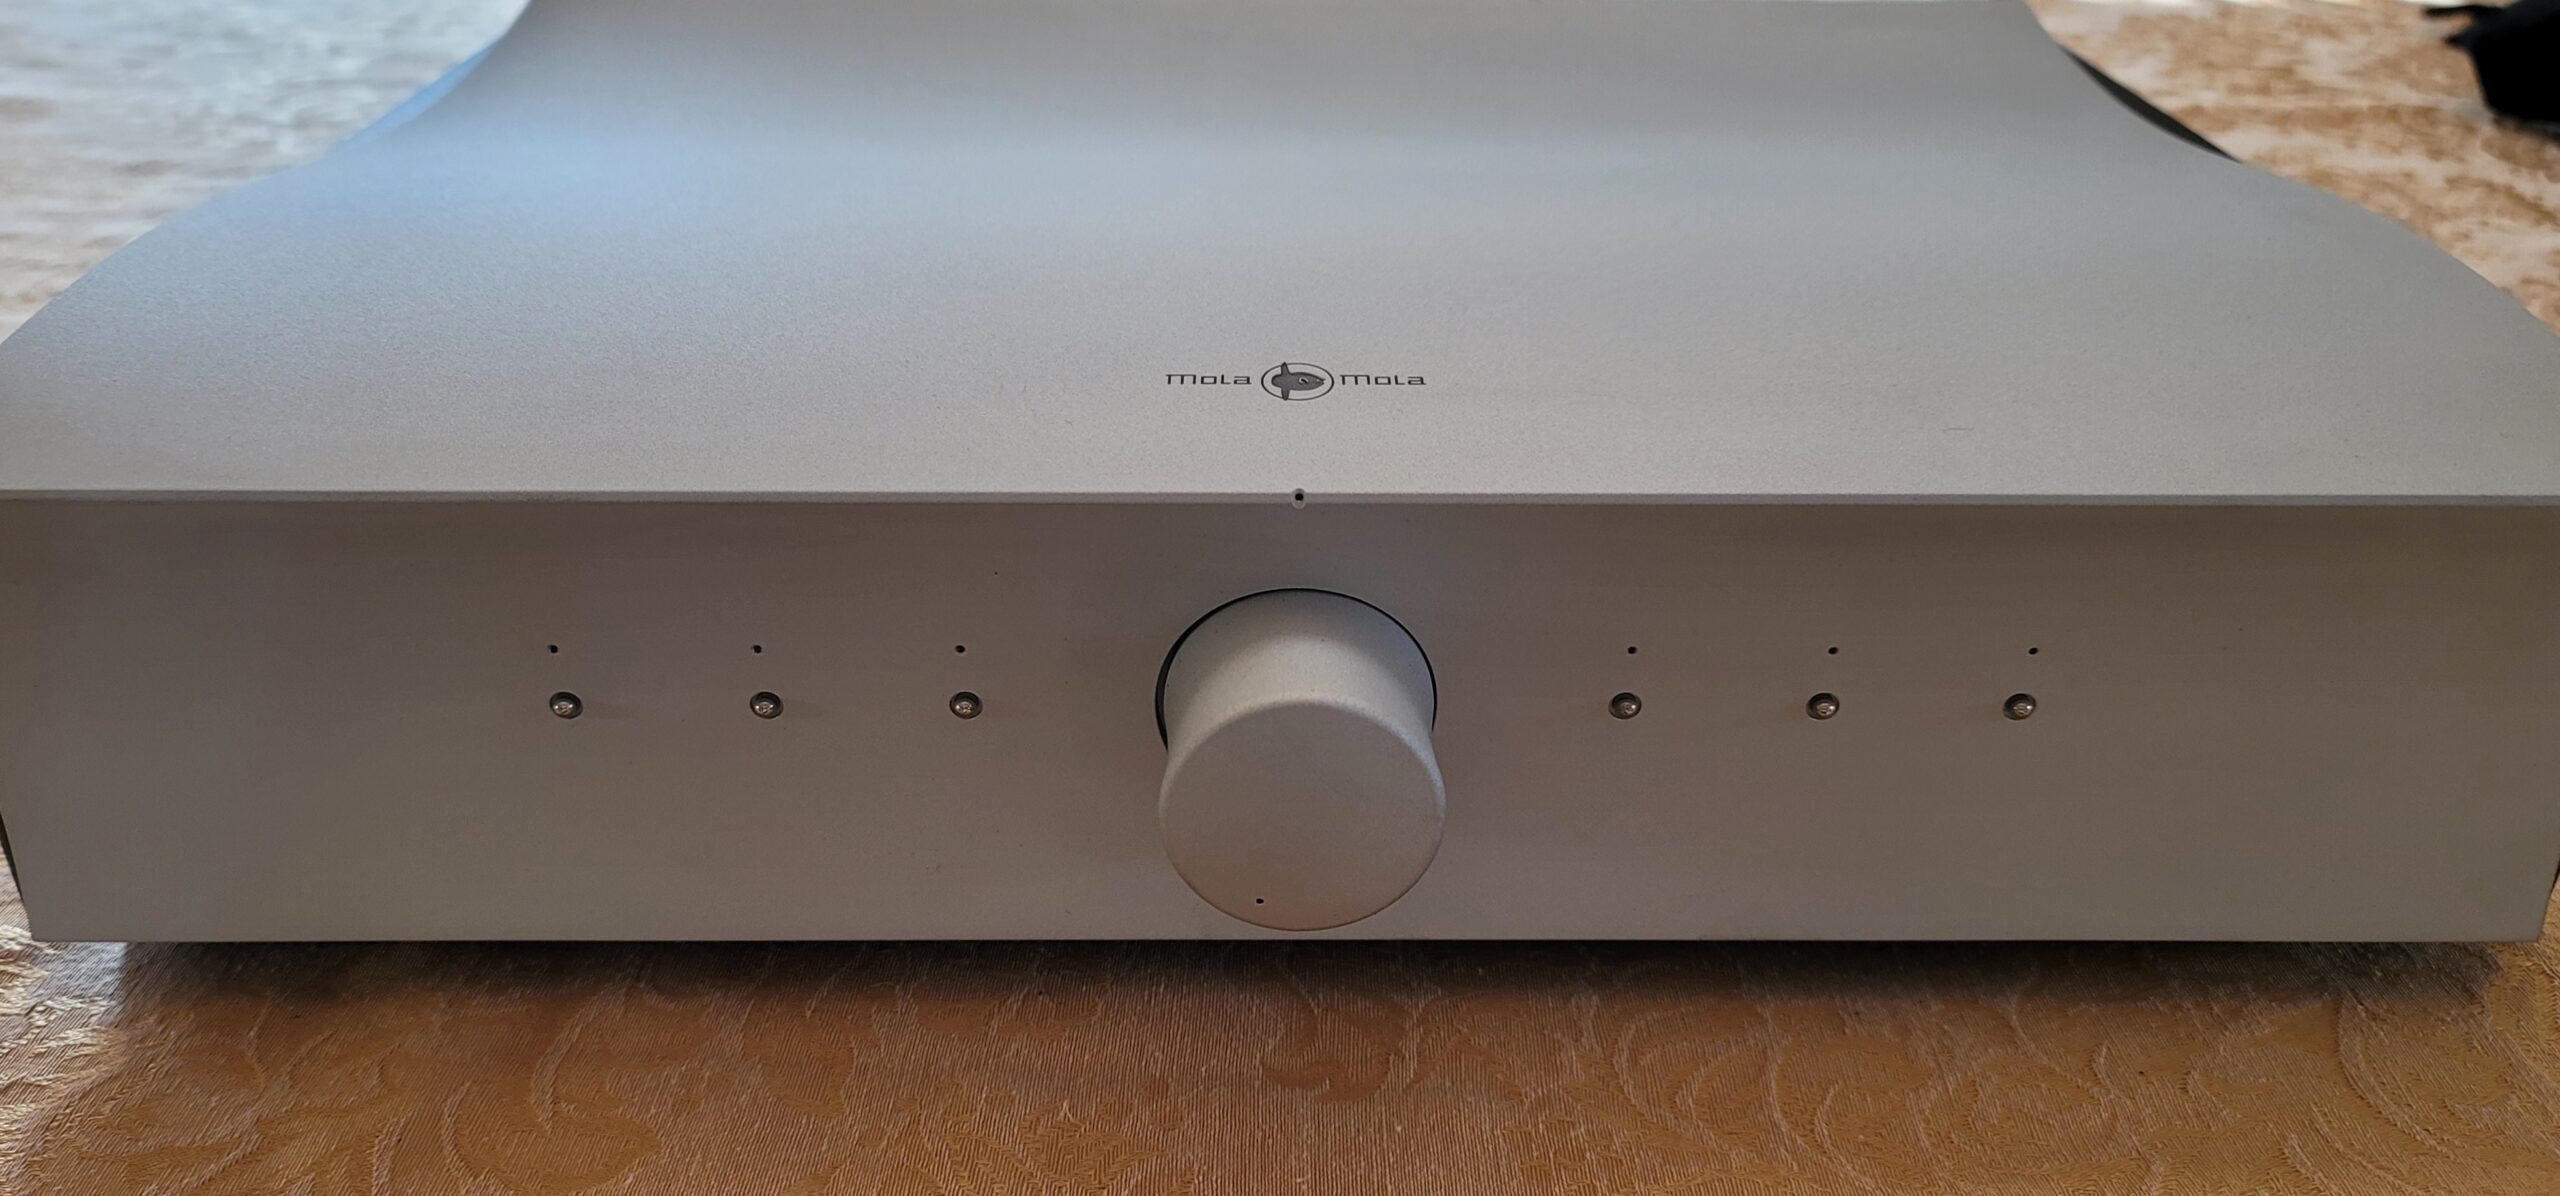
Makua Front view
There are five physical inputs on the Makua (plus a dedicated DAC input if ordered with that option). Each input can handle balanced XLR as well as single-ended RCA connectors. You can switch between these two selections either via a switch on the back next to each input or via the Mola Mola control app on your phone or tablet.
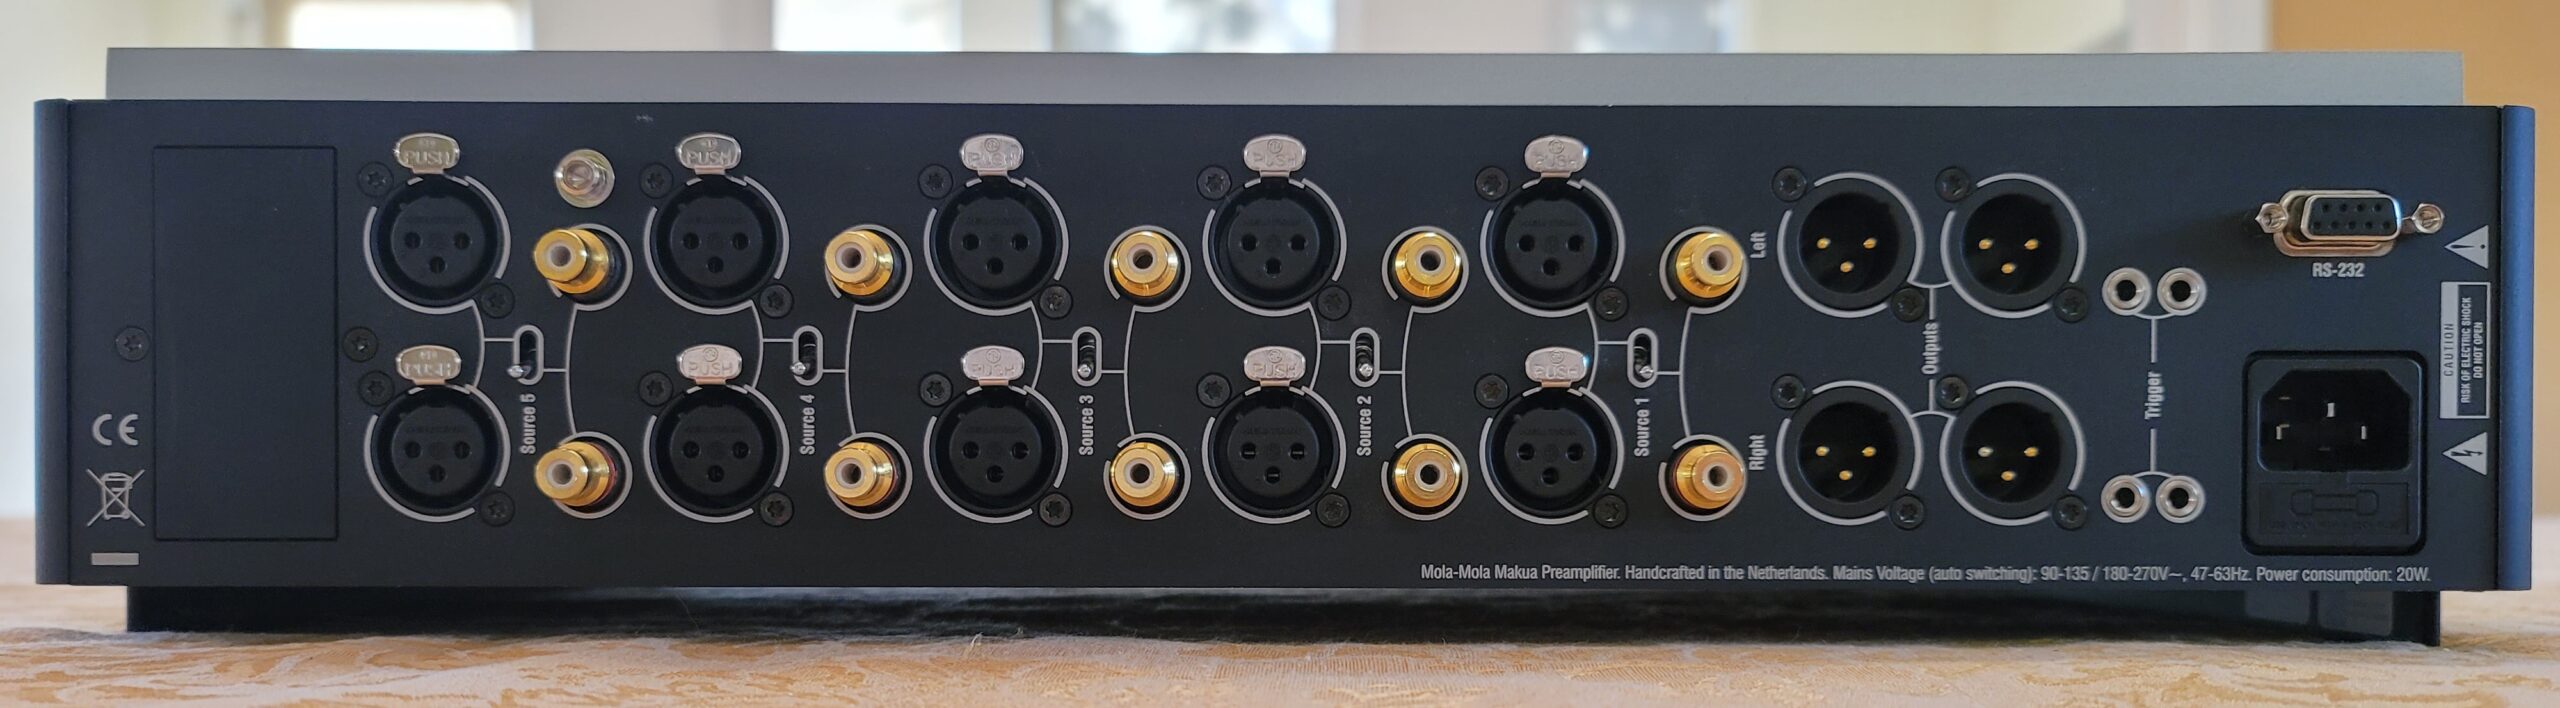
Mola Mola Makua Back view
This ALSO means that you can have additional inputs above the initial five if needed. You can have two devices (one XLR, one RCA) on the same input channel and then switch between them with the app. Granted this is not the recommended setup approach. But I tested it and it worked great. There is an RS-232 serial connection allowing the Makua to be controlled by other devices in complex setups.
There are four individually assignable 12-volt trigger ports. This is much appreciated. Each input channel can be assigned one or more trigger outputs. The Makua can turn on devices (that support trigger inputs) based on what input has been selected. You no longer need to have devices powered up that you aren't using. The Makua will handle that task for you.
There are six preset buttons on the front of the unit, each one with an indicator LED that shows which preset is active. By default, the first five presets are assigned to the five physical inputs on the back, with the 6th preset button dedicated to the optional built-in DAC.
Each of the 6 presets is configurable through an app running on your smartphone or tablet. Both Apple and Android are fully supported. There are a host of options to choose from. You can select the type of input for each port. You can mono/sum the channels together. You can set the gain to variable or, if you're using an amplifier with a separate volume control, to fixed (max) output. My favorite configuration option is the ability to polarity invert one or both left and/or right channels. For starters, it's quick and easy to see if your system is incorrectly wired, polarity-wise. Just invert either of the channels and you'll instantly hear the difference, and you'll know right away if any of your speaker connections are inverted.
There is another benefit, one that tends to get overlooked entirely. In 1988, Clark Johnson published a book titled "The Wood Effect: Unaccounted Contributor to Error and Confusion in Acoustics and Audio." (Available from Positive Feedback, USD $10.00 plus shipping and handling. Contact the Editor-in-Chief, Dr. David W. Robinson, via email at [email protected] to order a copy. Multiple copies available.)
In the book, Mr. Johnson discusses at length and with supporting evidence the idea that as much as half of the music we listen to has inverted polarity. Not that a single channel is inverted relative to the other channel. Rather that both channels have inverted polarity compared to the original source (the microphone(s) in the studio. The reasons are many and varied. Suffice to say, this is one of those issues that generally doesn't get as much attention as it might deserve. With inverted polarity, compressions become rarefactions and vice versa.
My own listening reveals that many records sound better with polarity inverted from the recording media, whether LP, CD, or digital file. Depending on how the original was recorded and mastered, polarity inversion can yield better sound staging and enhanced breadth and depth in the material being presented. The Makua allows the user to invert both channels with two taps on the app screen. Better still, the channel inversions can be tied to one of the six presets. In my case, I have two identical presets tied to the same physical source on the back of the unit, but with one of those two presets configured with inverted polarity. In this configuration, I can switch polarity right from the front of the unit, or with the Makua remote. No need to go into the app to make this change. When I find a recording that is better suited with polarity reversed, I can label the playback media and then I'll know to invert the polarity when listing to those tracks.
Another handy feature is the ability to set a volume off-set for each preset. This is useful as different devices feeding into the Makua will generally have a different range of signal strength being fed into the unit. Once configured, you no longer need to adjust the volume each time you select a different input, simply because one device's feed is 'hotter' than another device in the system. A sound pressure level baseline can be set for each preset that is specific to that preset and the device that is feeding signals into the specified channel(s) on the Makua.
In advanced setups, the Makua can be controlled with an RS-232 serial connection. Power, preset, volume, balance, gain offset, source selection, and other settings can all be controlled remotely by other equipment via the serial connection on the back of the unit.
The optional integrated phono-stage is a delight with exceptional signal handling. The default settings support either MM (moving magnet) and MC (moving coil) cartridges. In addition, specific settings for load resistance, load capacitance and sensitivity (gain) can be set. For those who are into really (really!) old recordings like I am, the stand-out feature of the phono-stage for me has to be the equalization curves. A little history here…
In the early days of recording to physical disks, engineers knew that there were (and still are) physical limitations with the media that had to be addressed. There's much to consider. You can't simply take a source and feed it into a lathe that will cut the masters that will eventually turn into records. These issues took on additional importance when LPs were coming into existence. The old 78 RPMs were about 3 minutes per side. This is one of the reasons that most songs of that era are about 3 minutes long. LPs changed that. However, to make LP's play longer the speed of the turntable was slowed down and, more importantly, the grooves were spaced much closer together. The challenge was (and still is) that without equalization ("pre-emphasis") loud low frequency sounds would cause the cutting blade to move into adjacent groves. The groves needed to be narrower and managing inter-groove spacing (the space between groves) had to be managed with great care. Plus, subtle high frequency sounds would be too subtle to get cut properly into the physical media. Enter the Equalization Curve.
After recordings were captured and processed, they would run through an analog equalizer before being sent to the cutting lathe to make the pressing masters. Certain frequencies were boosted while others were attenuated. This equalization process was then reversed on playback to restore (more or less) what was initially intended. Generally, low frequencies are attenuated on recording and boosted on playback. The opposite is generally true for high frequencies; boosted on recording and reduced on playback. The trick is to use the same equalization curve for recording and (applied in reverse) when listening. There was no standardized way to do this, and each manufacturer and record producer came up with their own standards and eq curves. This led to hundreds of curves, most of which didn't see much use. But the several dozen that remained prevalent were used on everything. The downside here is that your Decca records didn't sound so good on your RCA turntable, etc. It was a real mess. The curves themselves were considered trade secrets and not shared among record or turntable producers.
Fortunately, in 1952 the Recording Industry Association of America (RIAA) was founded and one of their earliest tasks was to create an 'open' (free) equalization curve and then convince everyone to abandon their proprietary curves and adopt this 'new' standard for all their products. Since that time there have been modifications to the base RIAA curve, but those changes were never widely adopted. So pretty much every record produced since around 1953 and continuing to this day uses the 'standard' RIAA equalization on their records. Every phono stage or integrated amplifier that has a phono input also has the RIAA curve built in. If you have a consumer grade turntable that can provide both a 'phono' level as well as a 'line' level out, the line level output will certainly have applied RIAA equalization since this line level from the turntable is designed to be fed directly to a power amplifier. The take-away here is that a phono pre-amp and or a phono stage will have this industry standard RIAA curve integrated into the electronics.
The Makua is special when it comes to equalization curves. And for collectors of pre 1953 recordings, it's a critical feature. The Makua has dozens of equalization curves built into the phono stage. Pretty much every curve that actually saw the light of day from the earliest days of recordings up to (and including) RIAA are there. With the Makua, for the first time, I'm able to listen to the old recordings as they were meant to be heard; with the proper equalization that was used when the records were made. When playing old Decca records, I only need to choose one of the Decca curves from the drop-down list from within the Mola Mola app. Same with RCA, Columbia, Capitol, or any of the others.
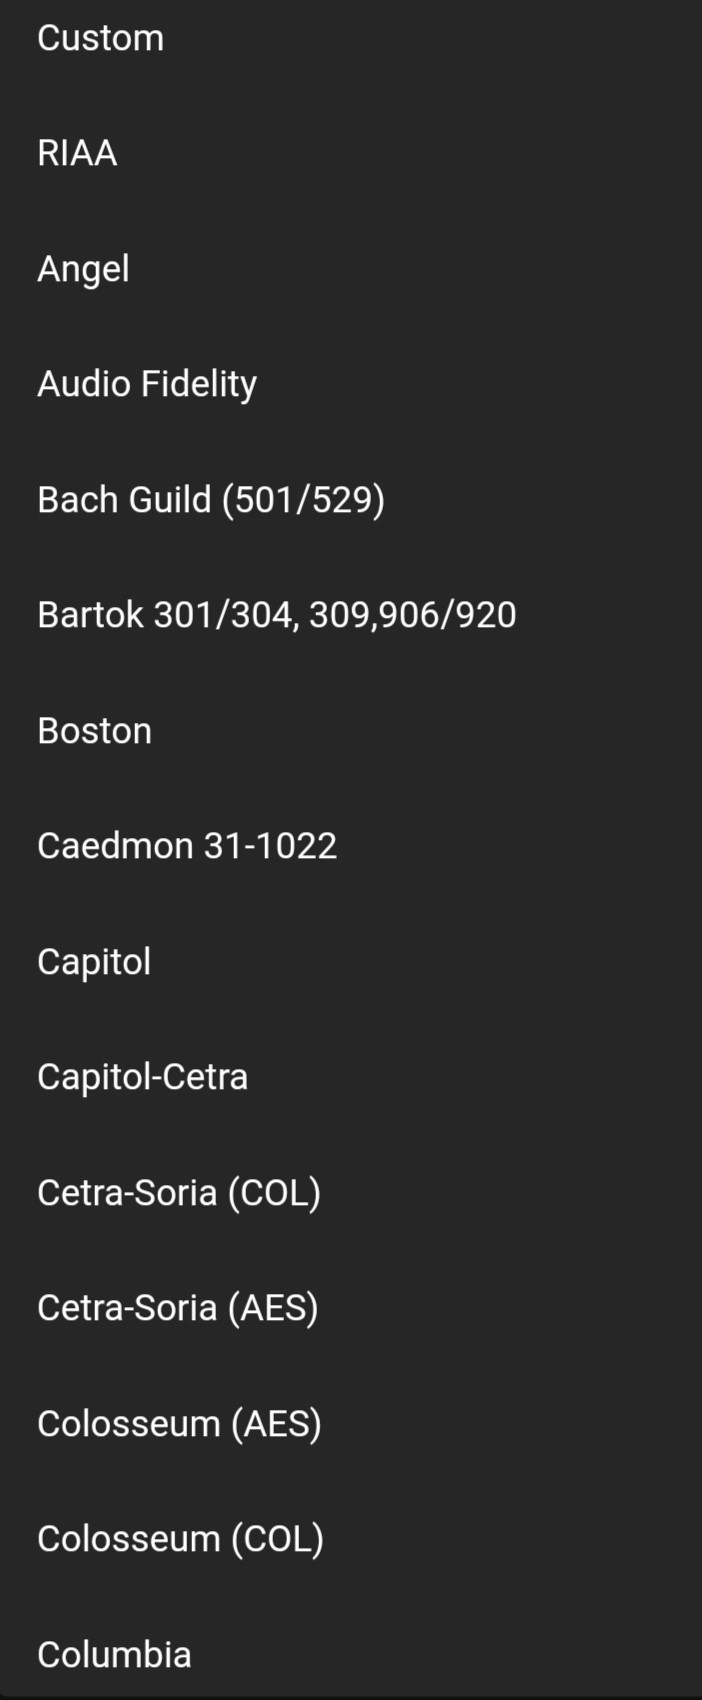
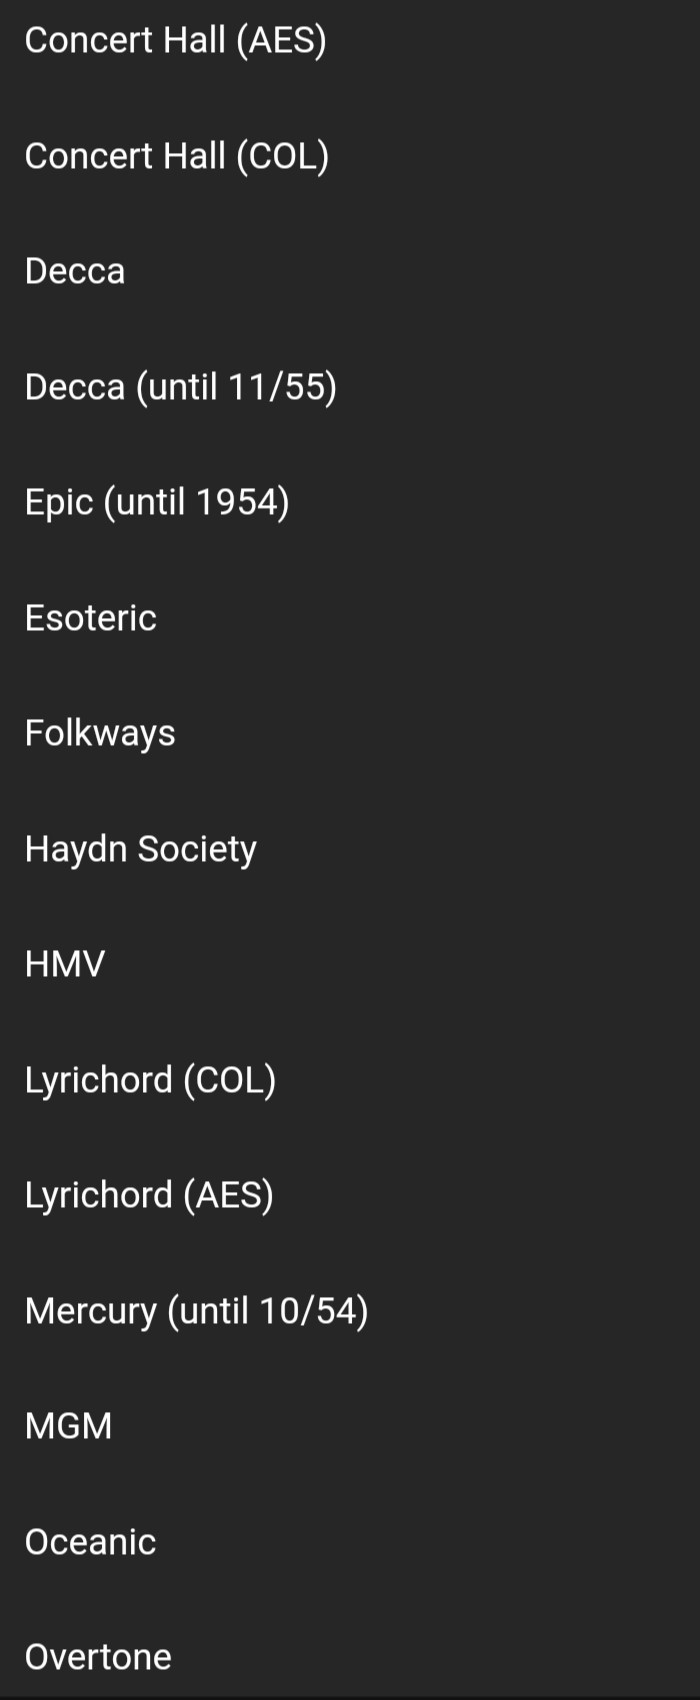
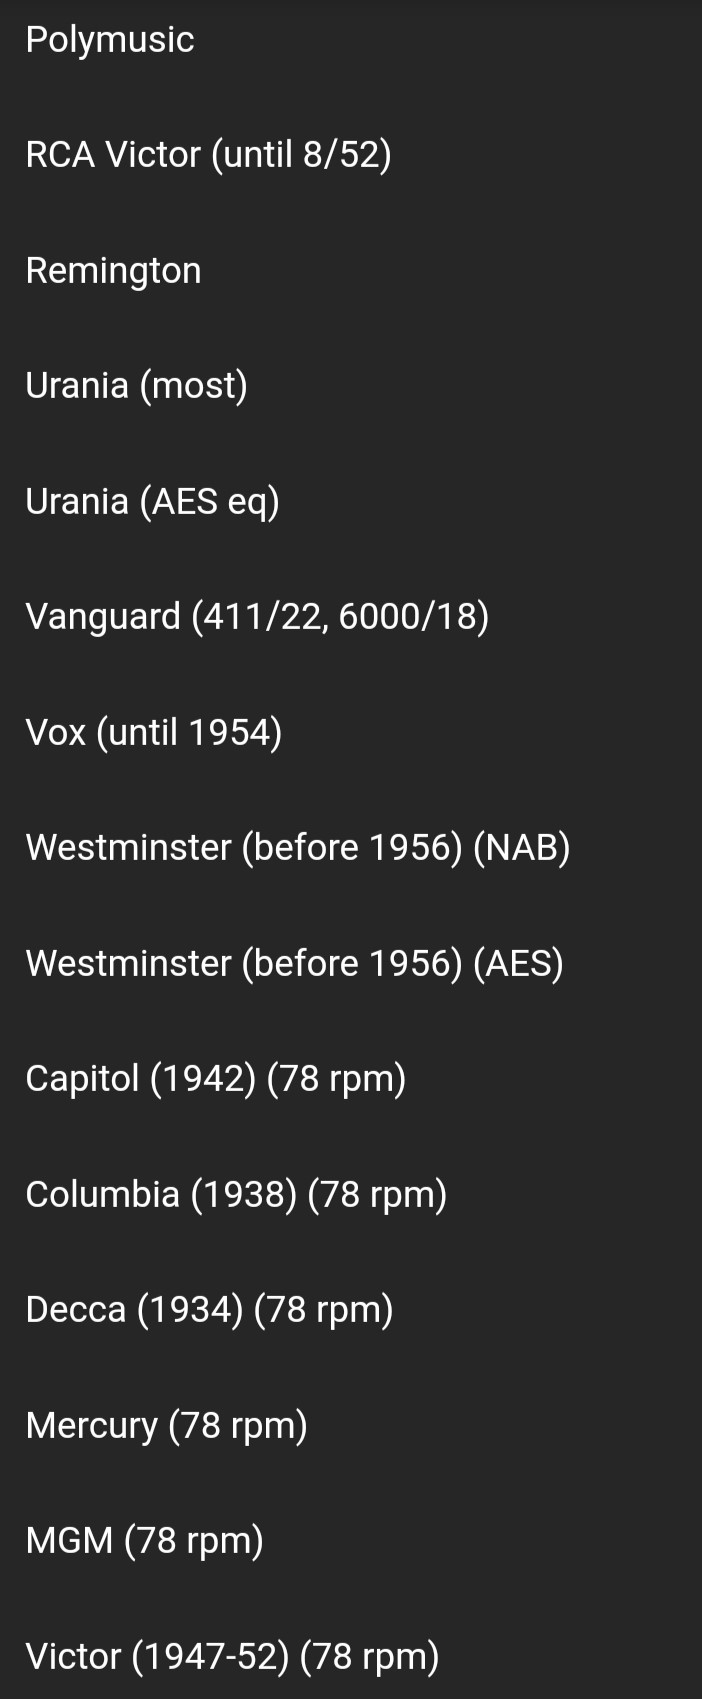
EQ curves available on the Makua. A custom user-defined curve can also be applied.
There's another party trick that can be done with the various curves. Purists will hate this, so my apologies in advance. I've found it rather fun and enlightening to try the different eq curves to current records. The eq curve is a function of software and can be changed with just a tap, so fiddling around with this is easy. One the one hand, we strive to hear music as it was initially intended. And on the other hand, we like to tinker and see if we can come up with interesting results with our libraries. The Makua allows this. Truth be told, I have a handful of recordings that I like better using curves other than RIAA. That's probably as much a function of the room acoustics and other variables that will affect each listening setup and space.
The practical use for someone like me is now I'm able to capture (digitize) the old record library and then listen back (and share with others) what the old recordings actually sounded like. This is a tool that lets us unlock history and hear through the ears of those that were around in the pre-1950s.
The trifecta
I've been listening to the Makua, both with the integrated Tambaqui (DAC) as well as with a stand-alone Tambaqui. Both setups are equally appealing to my ears. For the amplifier, I've been using the Perca stereo amplifier, also by Mola Mola. This is an ideal setup as far as I'm concerned. The three devices are designed to work together in tandem with a single remote and they share the same physical design characteristics that provide for an attractive seamless setup.
To me, this is much more appealing than having a disparate setup with each device conforming to its own design choices. These components simply belong together. Each one is a stand-alone achievement in its own right. Put together and you get a complete package where each device is a complement to the others.
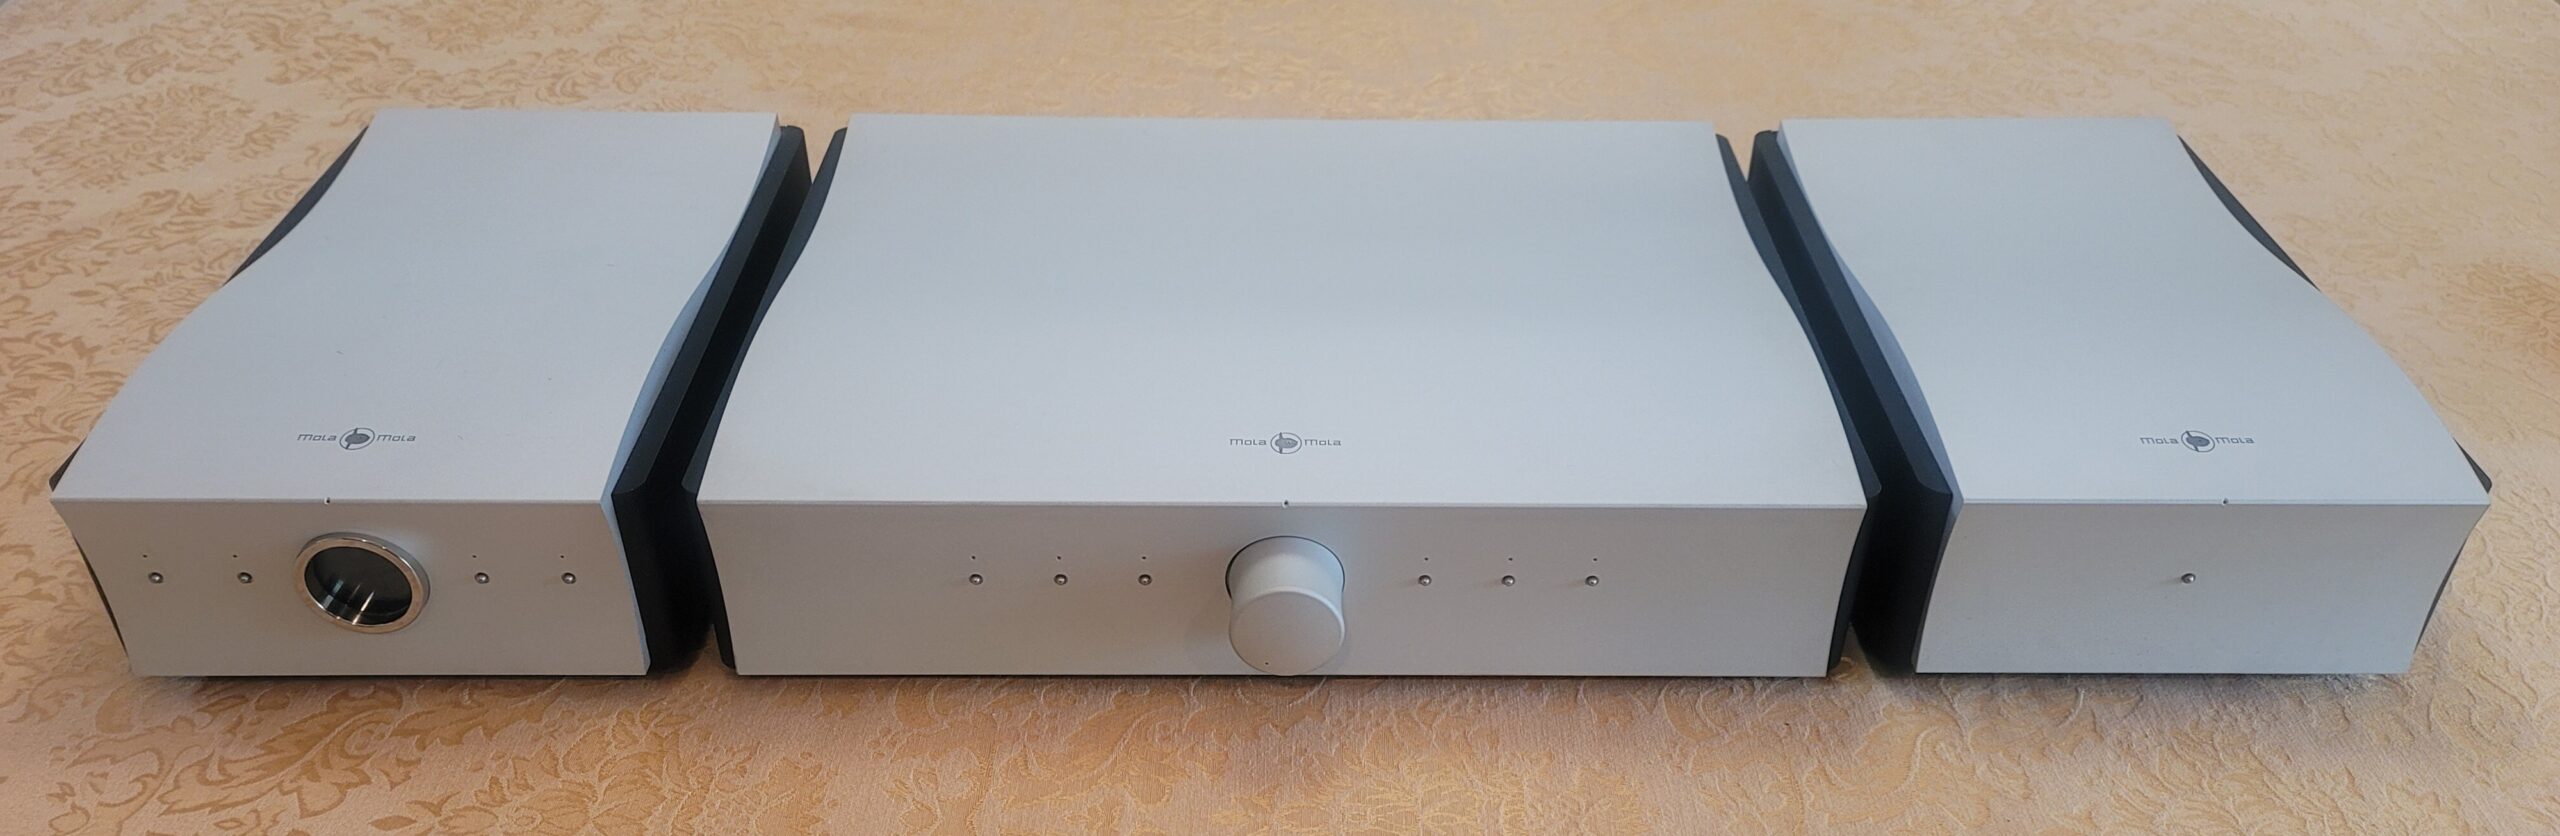
The Tambaqui (DAC), Makua (Pre-Amp @ phono stage), and the Perca stereo amplifier.

Perca (right), Makua (middle), and Tambaqui (left)
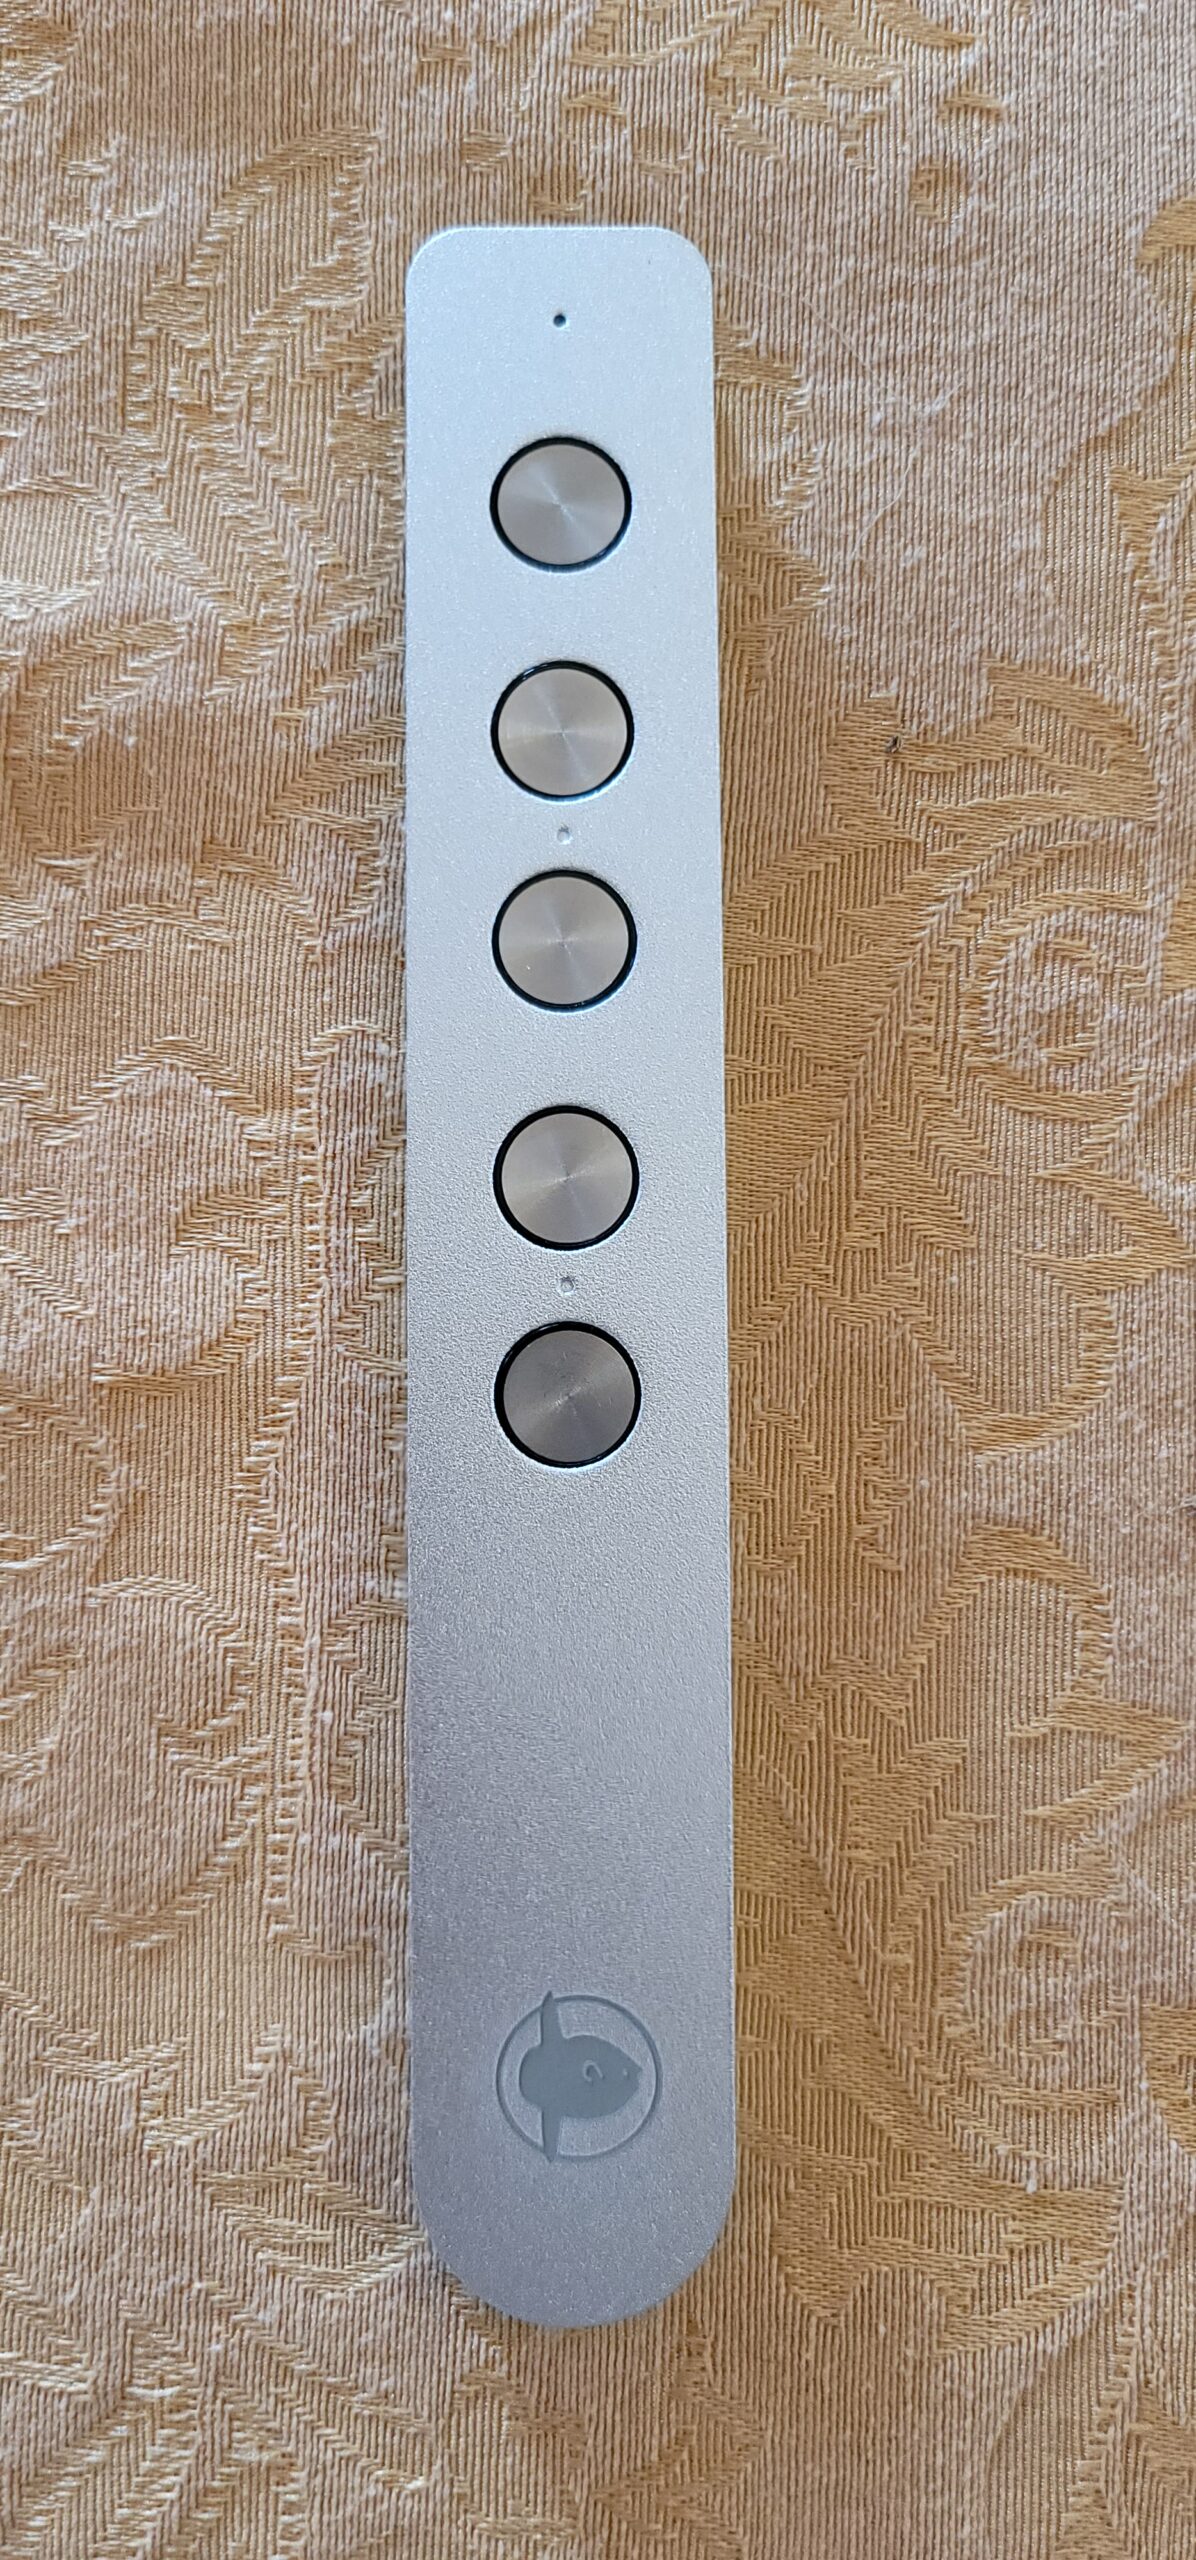
The standard 5-button remote can be used to control all three devices. An optional advanced remote with additional features is also available.
Whether separate, or used together as a group, the sound produced is unmatched in clarity, openness, and life. The staging is exceptional and there are no distractions, or what I often refer to as "system sound." What you are hearing is what was intended, as envisioned, by the artists and engineers.
In a word, brilliant!
Articles on the stand-alone Tambaqui DAC can be found here:
https://positive-feedback.com/reviews/hardware-reviews/mola-mola-tambaqui-dac/
https://positive-feedback.com/audio-discourse/impressions-the-mola-mola-tambaqui-dac/
https://positive-feedback.com/reviews/hardware-reviews/mola-mola-ambaqui-dac/
An Article on the Mola Mola Perca stereo amplifier can be found here:
https://positive-feedback.com/reviews/hardware-reviews/mola-mola-perca-amplifier/
Mola Mola
https://www.mola-mola.nl/makua.php
Retail: Makua: $12,200. Optional integrated phono-stage: $3000. Optional integrated Tambaqui DAC: $8500
In North America, additional information on the Makua, as with the complete line up of Mola Mola products, can be obtained from their authorized distributor, Bill Parish of GTT Audio.
GTT Audio
908.850.3092
Audition sessions by appointment only.
Equipment list used for this review: (borrowed items are in bold)
- Mola Mola Makua Pre-amplifier with built-in phono stage and built-in Tambaqui DAC
- Mola Mola Perca 2-channel amplifier
- Vivid Audio Kaya 90 loudspeakers
- Kubala-Sosna Realization Series power cables
- RSX Technologies Beyond Series speaker cables
- RSX Technologies Benchmark Series interconnect cables
- Sony UBP-X800M2 CD/SACD transport
- Windows™ PC w/ Audirvāna - DSD streaming server
- PS Audio PowerPlant 15 power regenerator
All photographs by Dean Waters, except portraits of Dean, photographs and image processing by David W. Robinson.